Case15 Use with Joystick
Introduction
In this course, we will introduce how to use the Joystick:bit V2 remote control to remotely control the XGO Rider. Students will learn how to program the micro:bit wireless group and how to program the Joystick:bit V2. By combining these two innovative devices, you will be able to experience more fun and interactive ways to bring more functionality and action to the XGO Rider.
Teaching Objectives
- Learn how to use and program the Joystick V2 remote control.
- Learn how to program the Joystick V2 to communicate with the XGO Rider.
Preparation
Before starting the lesson, please make sure you have prepared the following necessary materials:
 | micro:bit V2 * 2 |
|---|---|
 | XGO-Rider |
 | Joysticks V2 |
 | USB Cable |
 | PC |
These materials will provide you with a complete experience and ensure that you can follow through and learn smoothly. If you are ready for the above, we can move on to the next step.
 The XGO Rider will need to be moved back and forth in small increments to keep it balanced when it is turned on, please do not place the XGO Rider on the edge of a table or in a dangerous place to avoid damage.
Teaching Process
Introduction
Both Joystick:bit V2 and XGO Rider use micro:bit as the main controller, and it is possible to communicate between the two main controllers based on the Bluetooth function of micro:bit V2. Therefore, this tutorial will program both devices using a graphical programming platform: MakeCode. Whether you are a beginner or a professional, with this tutorial you will be able to easily master the remote control of the XGO Rider and bring more creativity and inspiration to your research, teaching or entertainment projects. Let's get started!
Exploration Activities
- How is Joysticks V2 programmed?
- How does Joysticks V2 communicate with the XGO Rider?
Start Programming
Add the XGO Rider and Joysticksbit libraries.
1. Go to “makecode.microbit.org” and click New Project.

2. Enter the project name in the pop-up window and click Create.

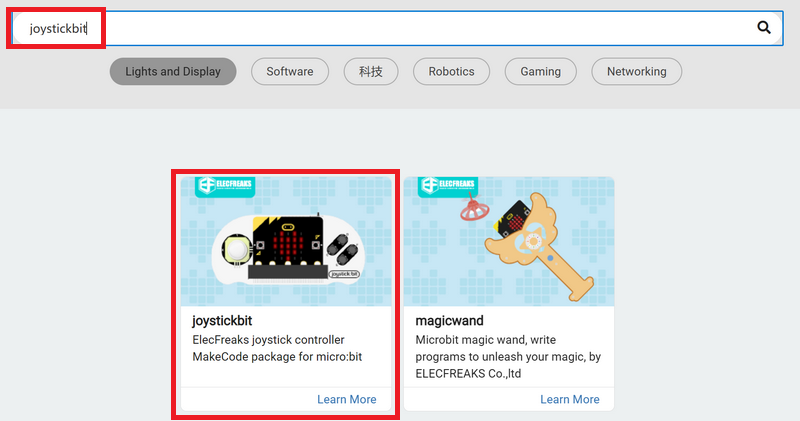
3. Click on Extensions in the Code Drawer, type XGO Rider in the search box on the pop-up screen and click on the search icon, then click on the XGO Rider repository when it is displayed.

4. Add the joystickbit library file. Add the joystickbit library file as shown below:

XGO Rider example program

Reference program link: https://makecode.microbit.org/_4EYafjTwgUTf
Joysticks V2 sample program

Link to reference program: https://makecode.microbit.org/_cuRV7LaiMgH5
 Since the XGO Rider's Performance Mode has forward and backward movement, please place the XGO Rider on a wide, flat surface.
Downloading the program
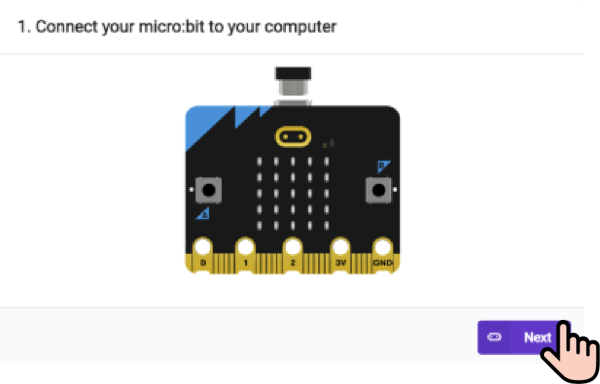
1. Use the USB cable to connect your PC to the micro:bit V2.

2. After successful connection, a disk drive named MICROBIT will be recognized on the computer.

3. Click on the bottom left corner of the ,click Connect Device。

4. click 。
。

5. click 。
。

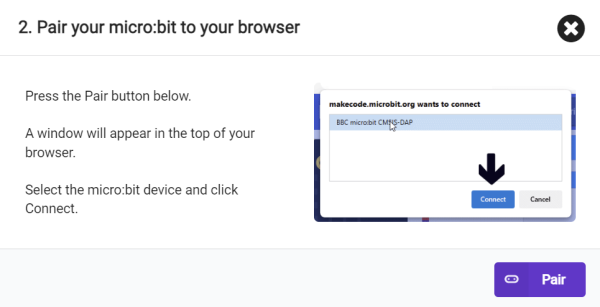
6. Select BBC micro:bit CMSIS-DAP in the popup window, and then select Connect, so far, our micro:bit has been connected successfully.

7. Click Download Program.

Teamwork and Presentation
- Students are divided into teams and work together to complete the code writing for Joysticks V2 remote control XGO Rider.
- Students are encouraged to collaborate, communicate and share their experiences with each other.
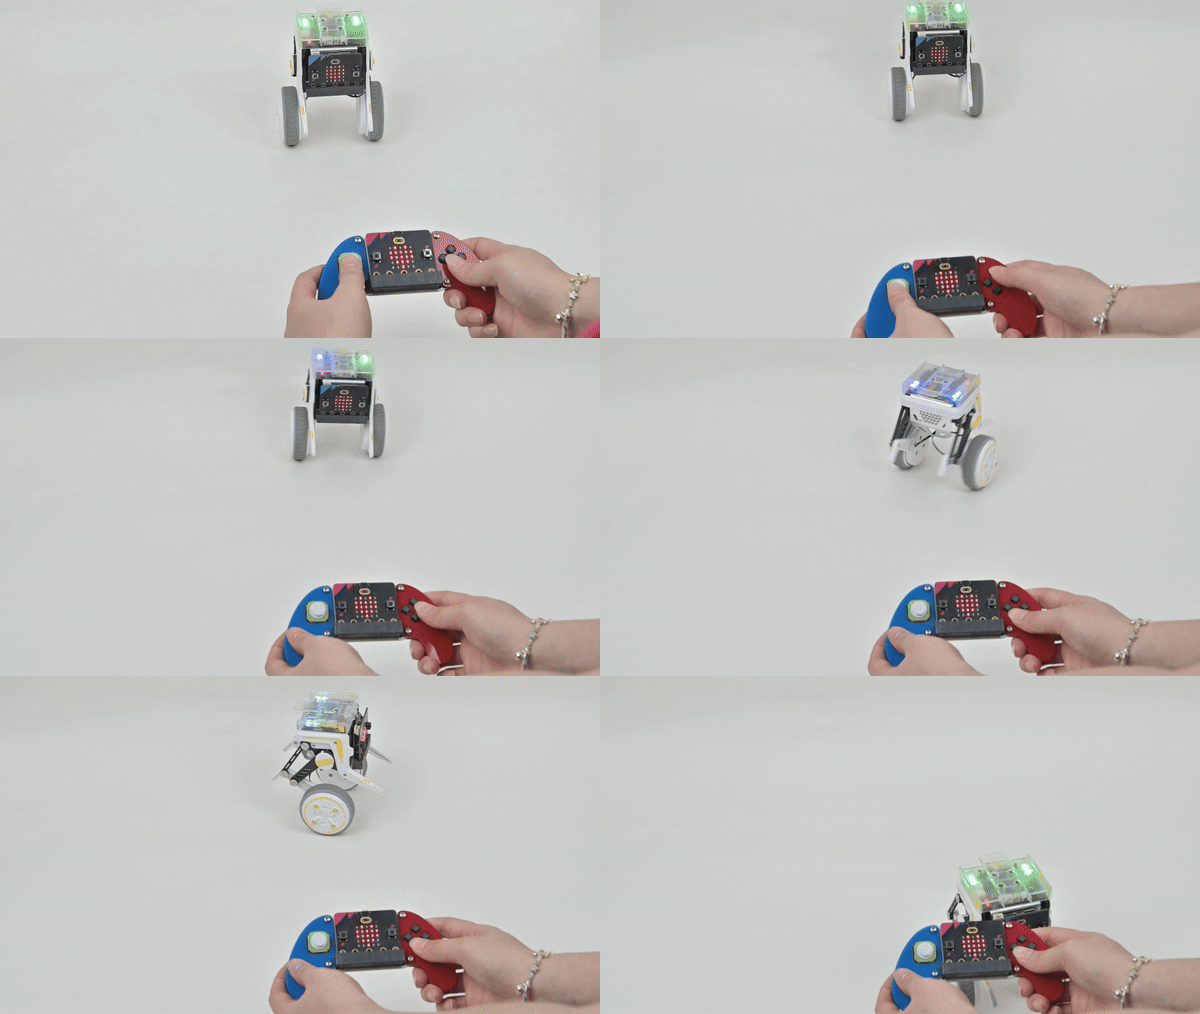
- Each team will have the opportunity to present their programmed and completed XGO Rider to the other teams and demonstrate.
Expected Outcomes:

Summarize and Reflect
Review the course content and remind students what knowledge and skills they have acquired.
Lead students in a discussion about the problems and difficulties they encountered during the production process and how they resolved them.
Lead students to think about and discuss together how they can be more effective in ensuring that their bipedal robot is balanced.
Extended Knowledge
For more information about Joysticks V2, you can refer to this article: Joystick:bit V2(EF08231) | LEARN