Remote Control Cars
Introduction
In this course, we will learn how to make a remote control cart using the cutebot smart racer and joysticks:bit. Through this, you will learn how to control the cart through the joystick. This fun project will allow you to delve deeper into the applications of robotics and programming.
Teaching Objectives
Understand the wireless broadcasting capabilities of the micro:bit.
To be able to program a cart to move according to remote handle commands.
Develop problem solving and teamwork skills.
Teaching Preparation
Before you start teaching, please make sure you have prepared the following necessary materials:
| Picture | Name | Number | Notes |
|---|---|---|---|
 | cutebot | 1 | |
 | joystick:bit V2 | 1 | |
 | AAA battery | 5 | Prepare Yourself |
 | USB Cable | 1 | |
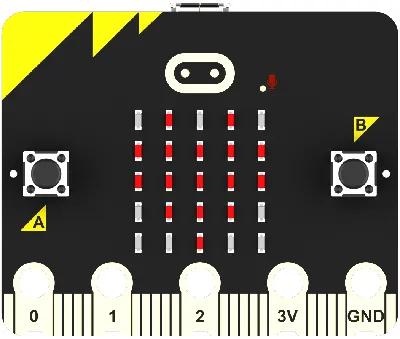 | micro:bit | 2 | Prepare Yourself |
 | PC | 1 | Prepare Yourself |
These materials will provide you with a complete experience and ensure that you can follow through and learn smoothly. If you are ready for the above, we can move on to the next step.
Teaching and Learning Process
Introducing the Lesson
In this lesson, we will explore together how to make a fun RC race car by controlling the direction of travel of the cutebot smart race car with the joysticks: bit handle. Now, let's start this fun learning journey together! Ready to explore the world of graphical programming with the cutebot smart racer?
Exploration Activities
- How does the micro:bit's Bluetooth radio work?
- How do you program the car to respond to commands from the remote control joystick?
Code programming
Create a new project
Open makecode.microbit.org.
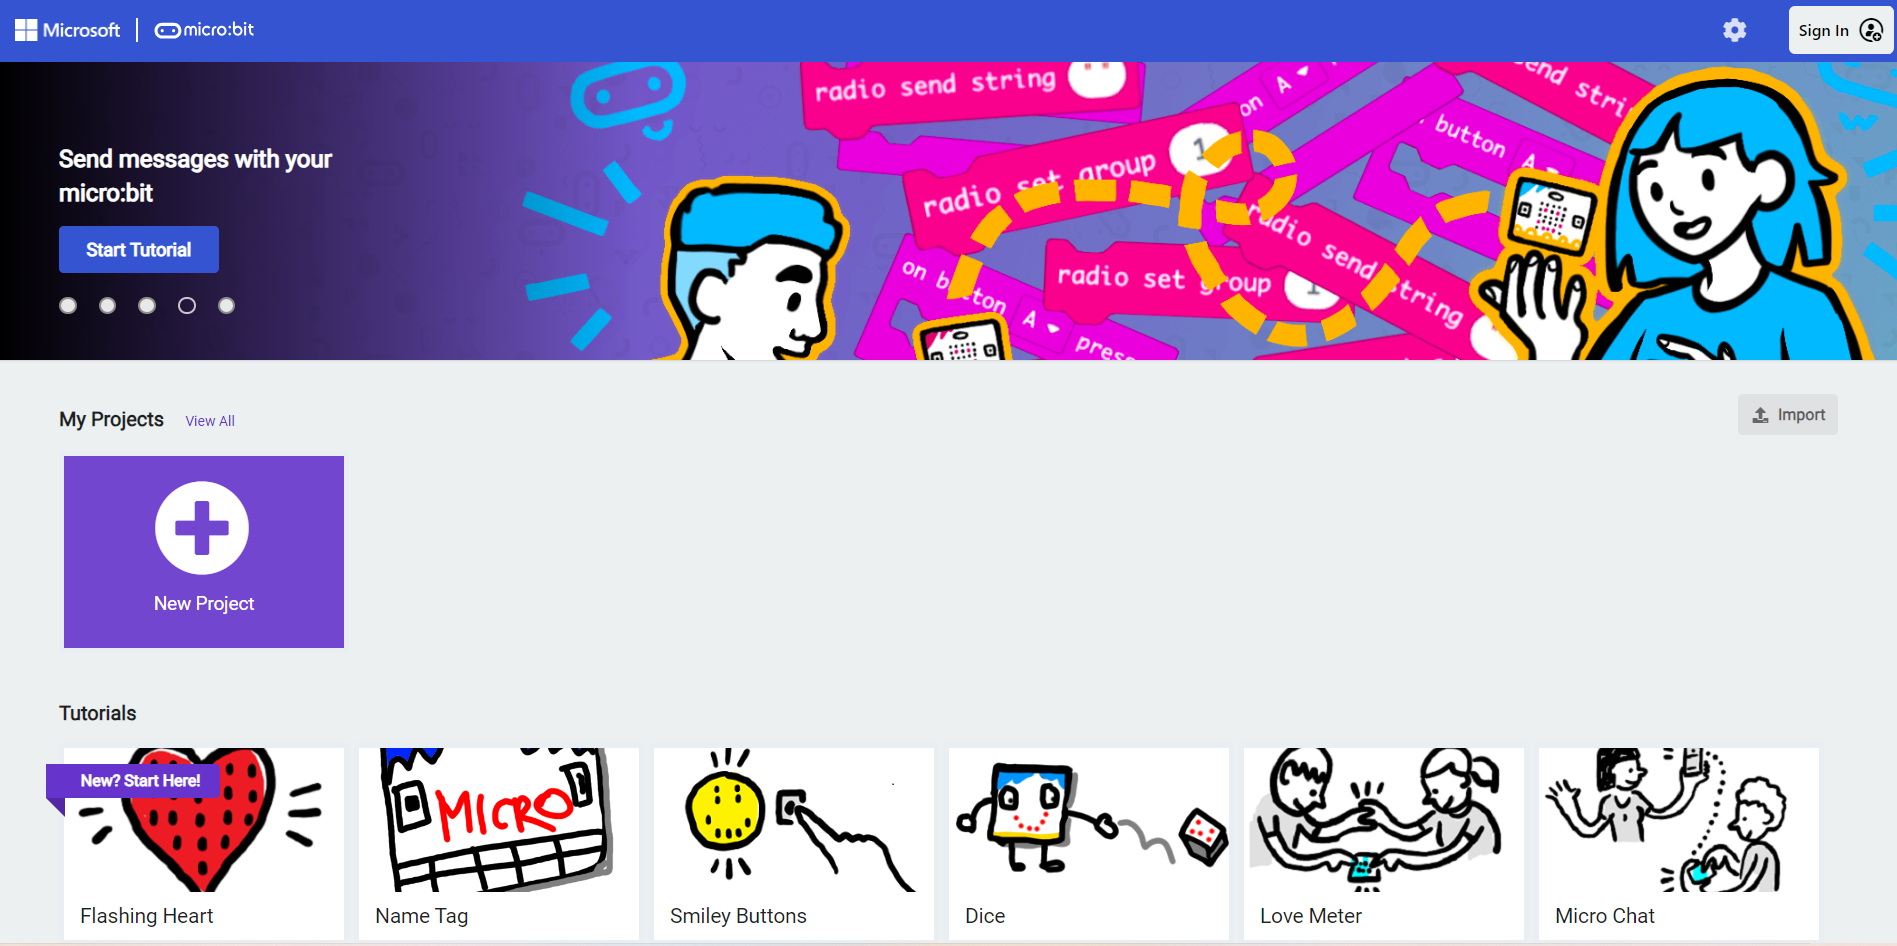
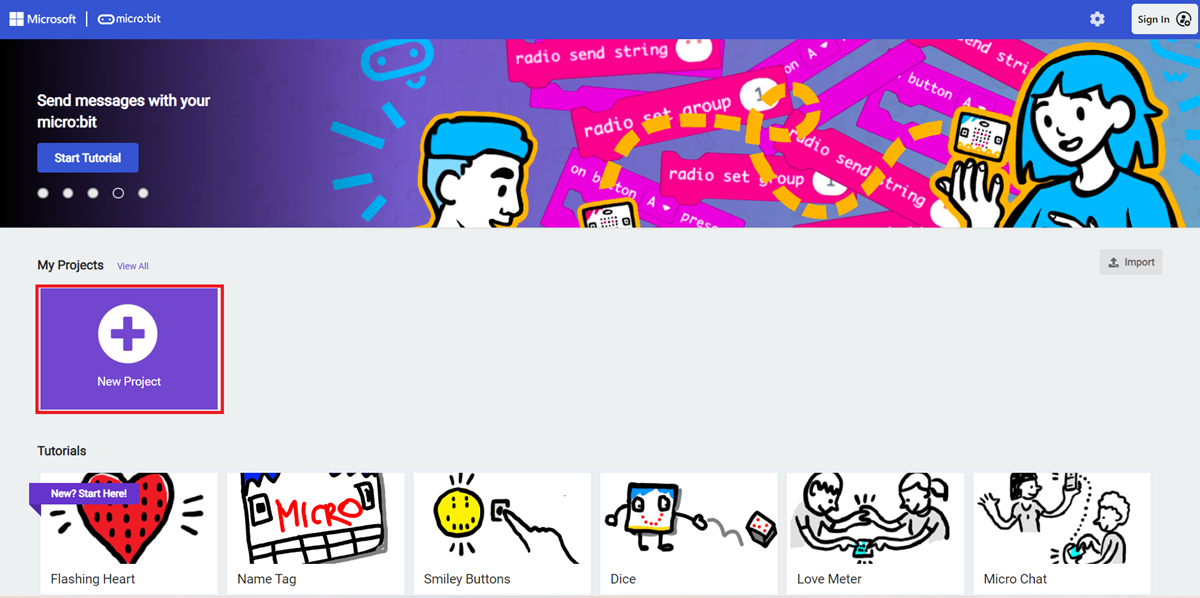
Click to create a new project
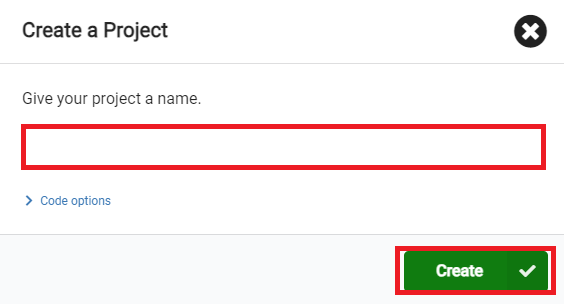
Enter the project name and click OK.
Basics
For more information about the Bluetooth antenna features of the micro:bit V2, check out: [https://microbit.org/get-started/features/radio-and-pins/#radio](https://microbit.org/get-started/ features/radio-and-pins/#radio)
Let's familiarize ourselves with the basic use of this feature with a simple Bluetooth communication example.
Transmitter 
Example link:https://makecode.microbit.org/_5Uk2whHFuV6e
Receiving End

Example link:https://makecode.microbit.org/_5Uk2whHFuV6e
How to download programs to micro: bit?
Connect the PC and micro: bit V2 using a USB cable.
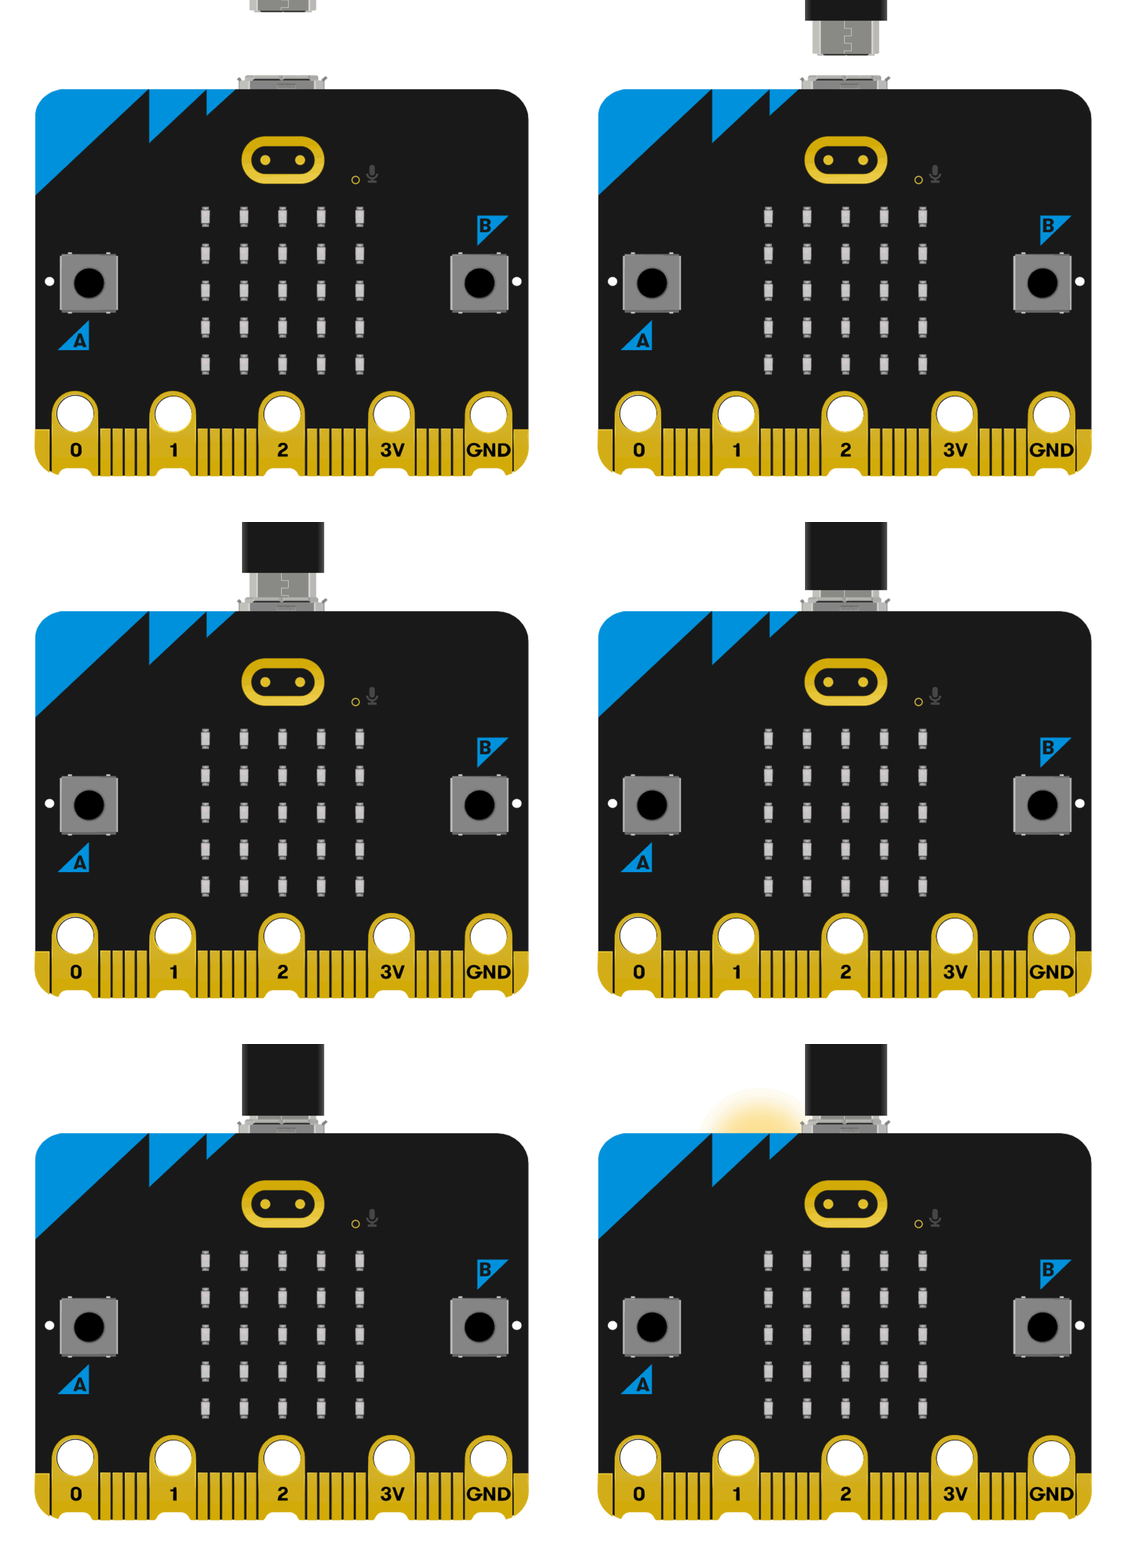
After a successful connection, a disk drive named MICROBIT is recognized on the computer.

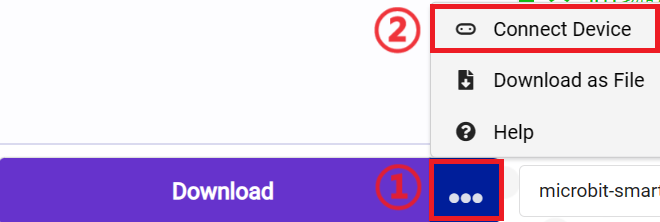
Click on the bottom left corner of ,Select
 Connect Device.
Click 。
。
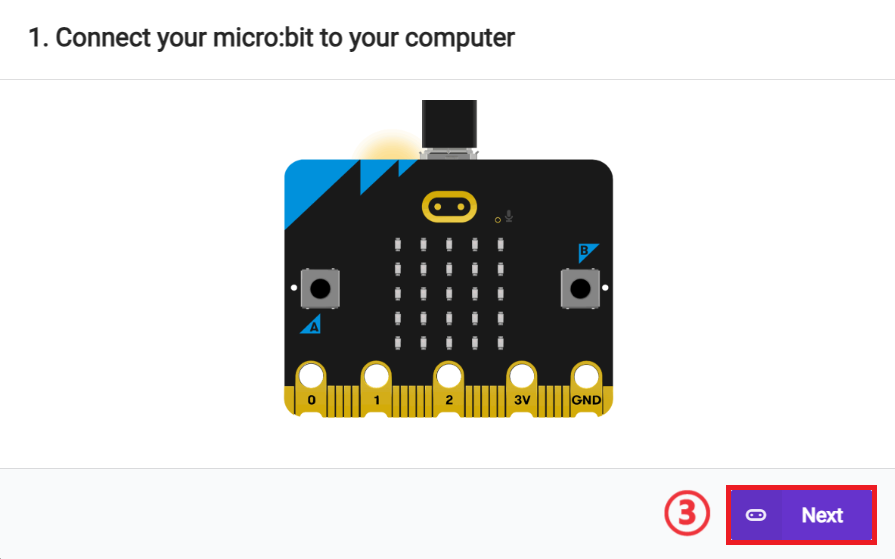
Click 。
。
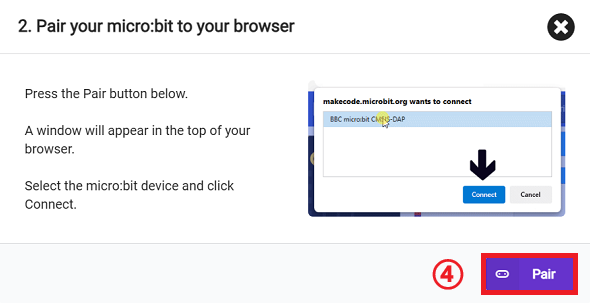
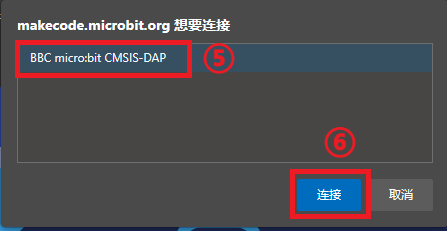
Select BBC micro:bit CMSIS-DAP in the pop-up window and then select Connect, and at this point, our micro:bit has connected successfully.
Click to download the program.

Results
With the A and B buttons of the first micro:bit, you can control the pattern displayed on the LED matrix of the second micro:bit.
Note: Please assign the wireless setup group group of micro:bit according to different subgroups in advance to prevent the classroom students from interfering with each other's signals because of the same group.
Add Software Library
Here we formally enter the production of the remote control car.
Click on Extension to enter the Extension Library Adding interface

To program Cutebot, we need to add the software library for Cutebot. Please enter 'Cutebot' in the search bar, press Enter, and select the software library to add Cutebot.

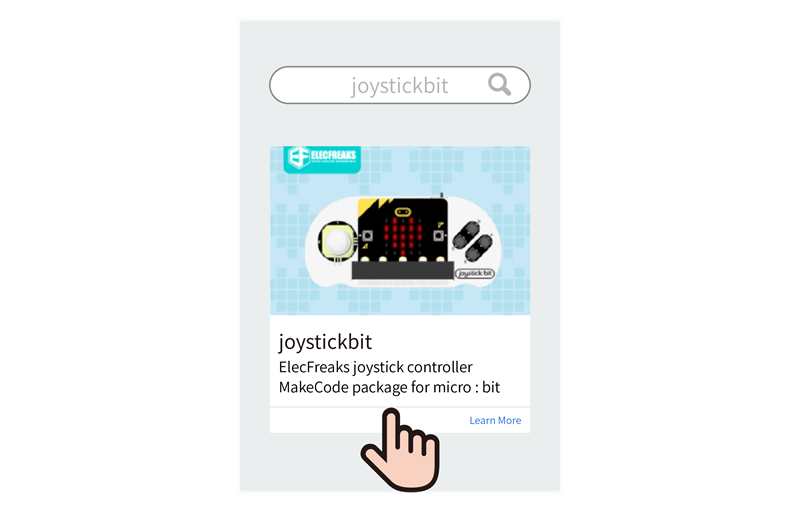
To program joysticks: bit, we need to add a software library for joysticks: bit. Please enter 'joypicksbit' in the search bar, press enter, and select the software library to add joypicks: bit.
Car end program
The following is an example program for the car end. Simply download the program to the micro: bit using the above method.
Example Program :https://makecode.microbit.org/_bueAsJ15thxz

You can also download the program directly from the following webpage.
Remote control controller end program
The following is an example program for a remote controller. Simply download the program to the micro: bit using the above method.
Example program:https://makecode.microbit.org/_5FXEbpPHkFmo

You can also download the program directly from the following webpage.
Result
The driving direction of the car can be controlled through the joystick or button of the remote control handle.