Case 04: JupyterLab environment construction and use
Introduction
This course aims to introduce students to the construction and use of JupyterLab environment.
 Note: After the XGO Rider is turned on, it needs to move back and forth slightly to keep the fuselage balanced. Please do not place the XGO Rider on the edge of the table or in a dangerous place to avoid damage.
Teaching objectives
Understand the actual operation of JupyterLab.
Teaching preparation
Before starting teaching, please make sure you have prepared the following necessary materials:
| Picture | Name | Quantity | Note |
|---|---|---|---|
 | CM4 XGO Rider | 1 | |
 | PC | 1 | Prepare Yourself |
Course Introduction
JupyterLab is the next generation user interface of Jupyter Notebook, which provides a new, more powerful and flexible interactive computing environment. The JupyterLab environment requires the computer and Raspberry Pi to be in the same local area network to work properly. The factory default system starts the JupyterLab service when it is turned on. Next, let's start the learning journey.
Exploration Activities
How to use the JupyterLab interface.
Software
Note: After the XGO Rider is turned on, it needs to move back and forth slightly to keep the fuselage balanced. Please do not place the XGO Rider on the edge of the table or in a dangerous place to avoid damage.
1. Get the IP address of the XGO Rider Raspberry Pi
After turning on the XGO Rider, enter the remote control mode interface to query the corresponding IP address. If there is no IP address, please reconnect to the network according to the network operation.
2. Open the JupyterLab environment
Open the browser on the computer and enter the IP address + port number of the Raspberry Pi in the address bar: 192.168.206.179:8888

3. WinSCP remote file transfer
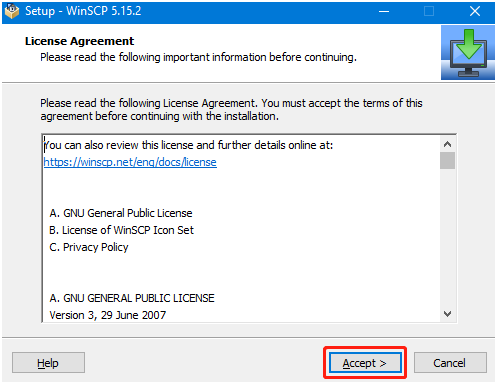
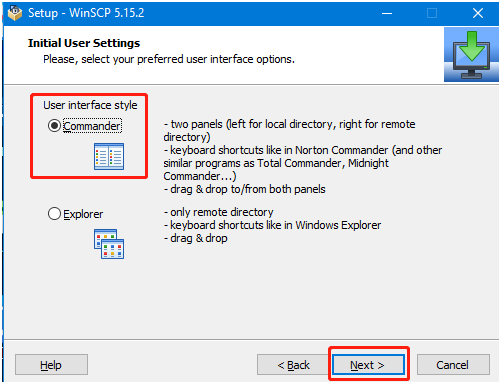
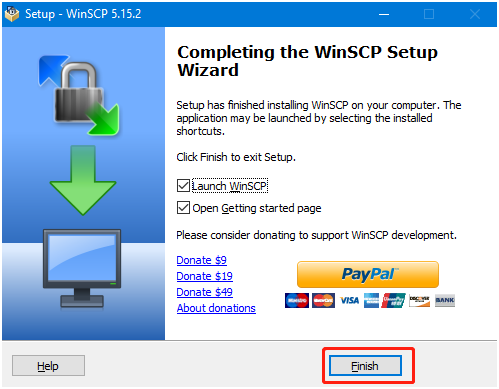
Double-click the WinSCP icon on the desktop to open the WinSCP software. The following login interface appears after opening the WinSCP software.
File protocol: select SFTP for the file protocol, Host name: Raspberry Pi IP address, Port number: 22 is the default, User name: Raspberry Pi user name (pi), Password: login password (pi).
After entering the correct information, you can click Save to save the filled information so that you don’t have to re-enter it the next time you log in.
 Click Login and the following interface will be displayed after successful login. The folder on the left is the folder of the win computer, and the folder on the right is the folder of the Raspberry Pi.
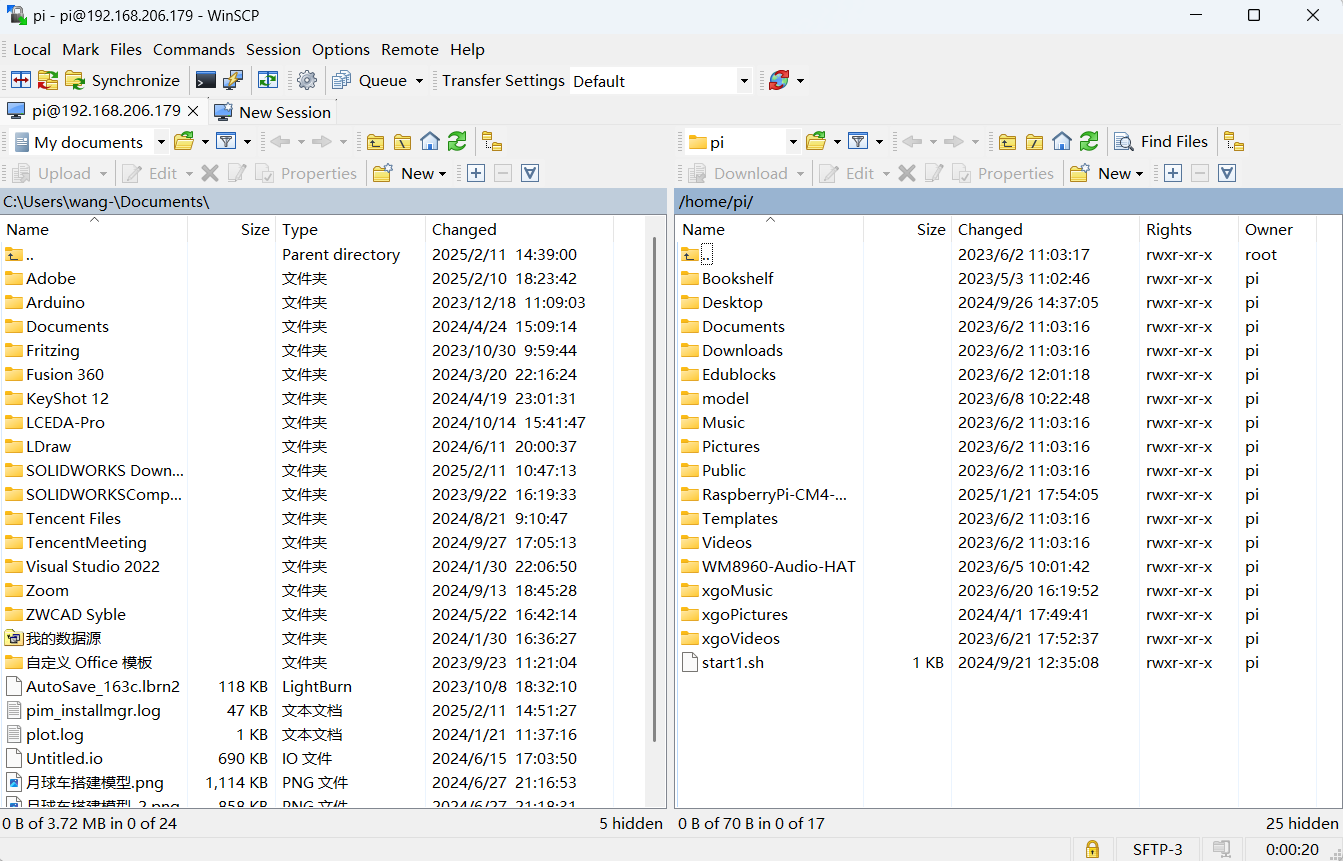
There are three ways to transfer files. The first is to directly drag the file from the left to the right, or from the right to the left, and the system will automatically copy a copy of the file and transfer it.
The second is to select the file with the mouse and press the F5 key, and the selected file will be copied to the other side.
The third is to select the file and click the right button of the mouse. If it is transferred from a Windows computer to a Raspberry Pi, click upload.
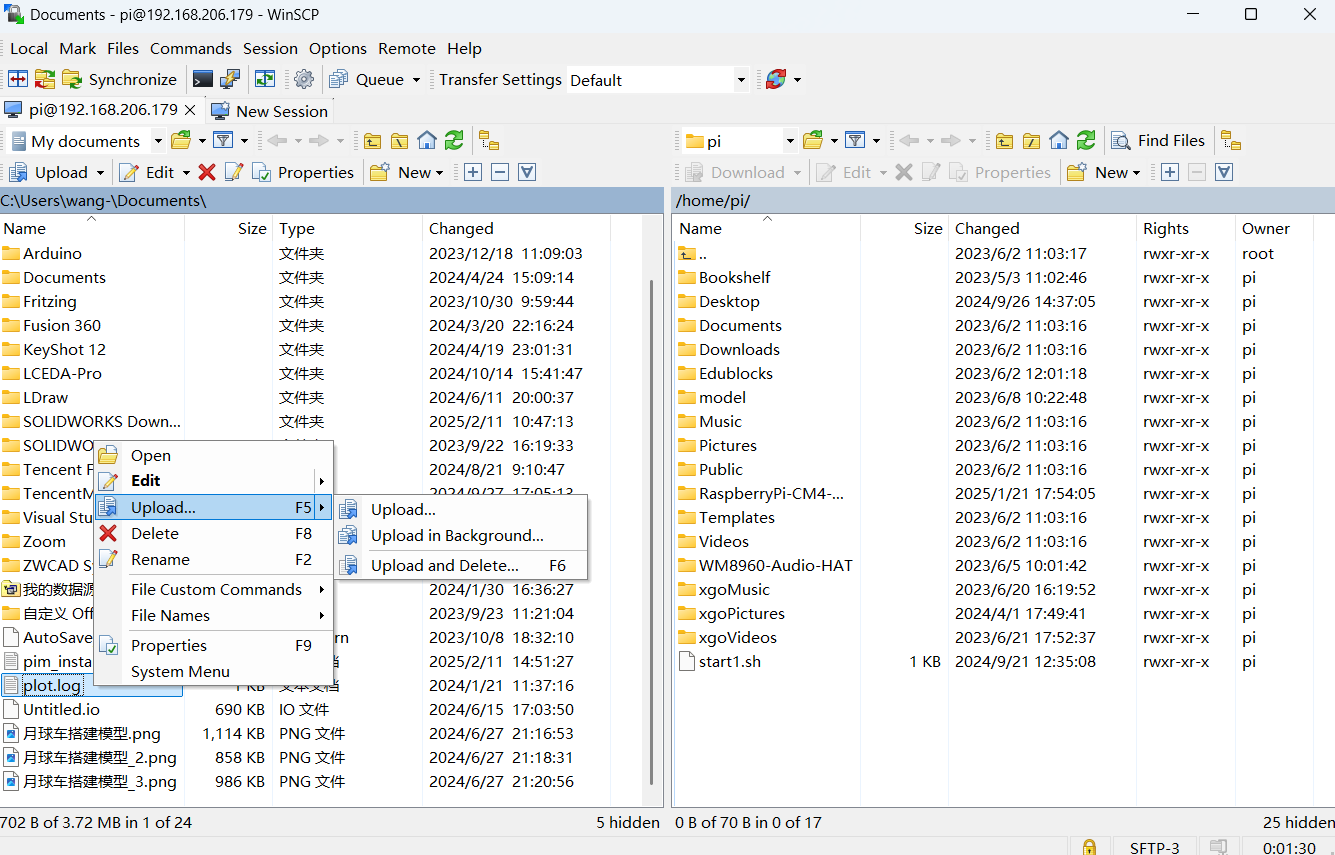
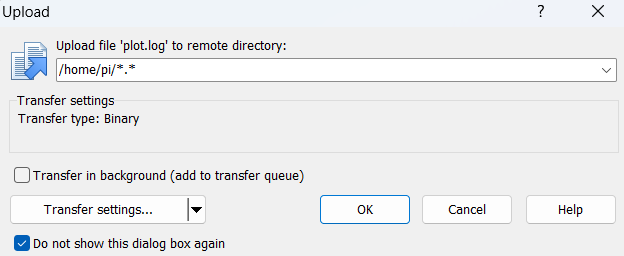
A prompt will pop up. You can choose not to be prompted again and click OK, and the file will be automatically transferred.
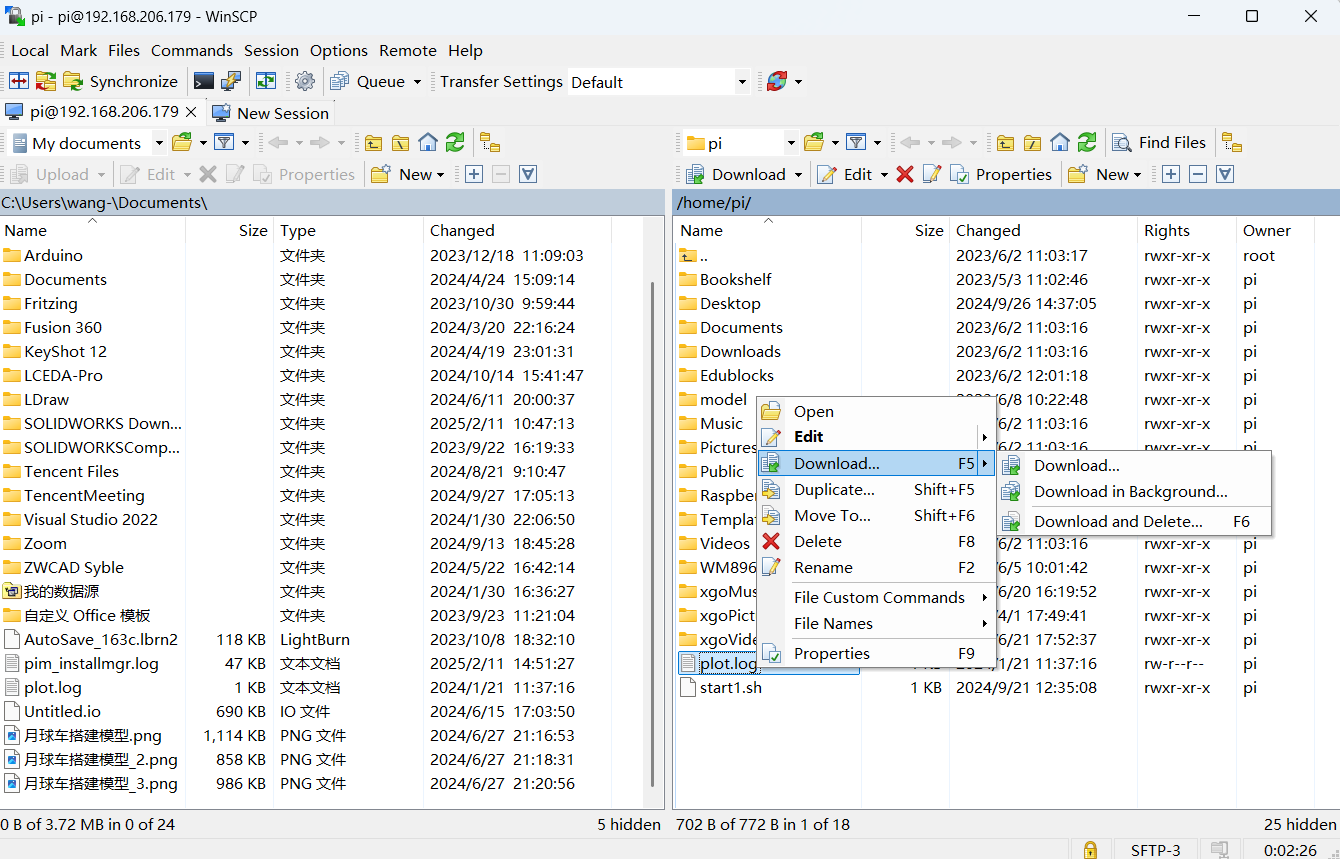
If you want to transfer files from the Raspberry Pi to a Windows computer, right-click the file and select Download.
Note: File transfer requires that the computer and Raspberry Pi are in the same LAN and the SSH service is enabled on the Raspberry Pi. If file transfer fails, it is usually because the Raspberry Pi does not have sufficient permissions. Please operate within the permissions of the user pi directory.