case09-wardrobe-dehumidification-device
Wardrobe Dehumidification Device
Introduction
In this project, we will learn how to make a wardrobe dehumidification device.
Note: This case cannot use the set of structural parts to simulate the application scenario, but can realize the basic case production.
Teaching Objectives
Review the use of temperature and humidity sensors
Teaching Preparation
Before starting the teaching, please make sure you have prepared the following necessary materials:
| Picture | Name | Quantity | Remarks |
|---|---|---|---|
| Smart Home Explorer Kit | 1 | ||
 | micro:bit | 1 | Prepare by yourself |
 | PC | 1 | Prepare by yourself |
These materials will provide you with a complete experience and ensure that you can proceed smoothly with the subsequent operations and learning. If you have prepared the above contents, we can move on to the next step.
Course Introduction
In this class, we will make a wardrobe dehumidification device that automatically ventilates when the wardrobe is humid. The wardrobe dehumidification device detects the temperature and humidity in the wardrobe through a temperature and humidity sensor, and automatically ventilates when the humidity is too high.
Project Production
Hardware Connection
Connect the fan module to the J1 interface of the Petal Basic Expansion Board,
Connect the OLED display and the temperature and humidity sensor to the IIC interface of the Petal Basic Expansion Board.

Programming Platform
We usually use the graphical programming platform makecode to program the micro:bit.
Programming platform entrance: https://makecode.microbit.org/
Create a New Project
Open https://makecode.microbit.org/https://makecode.microbit.org/)

Create a new project

Enter the project name and click Create.

Add Software Library
Click Extensions in the Toolbox of the makecode programming interface.

Search for petal on the pop - up page and click to select the petal software library.

Write the Program
Sample program: https://makecode.microbit.org/_7eEgMzf57Y9f
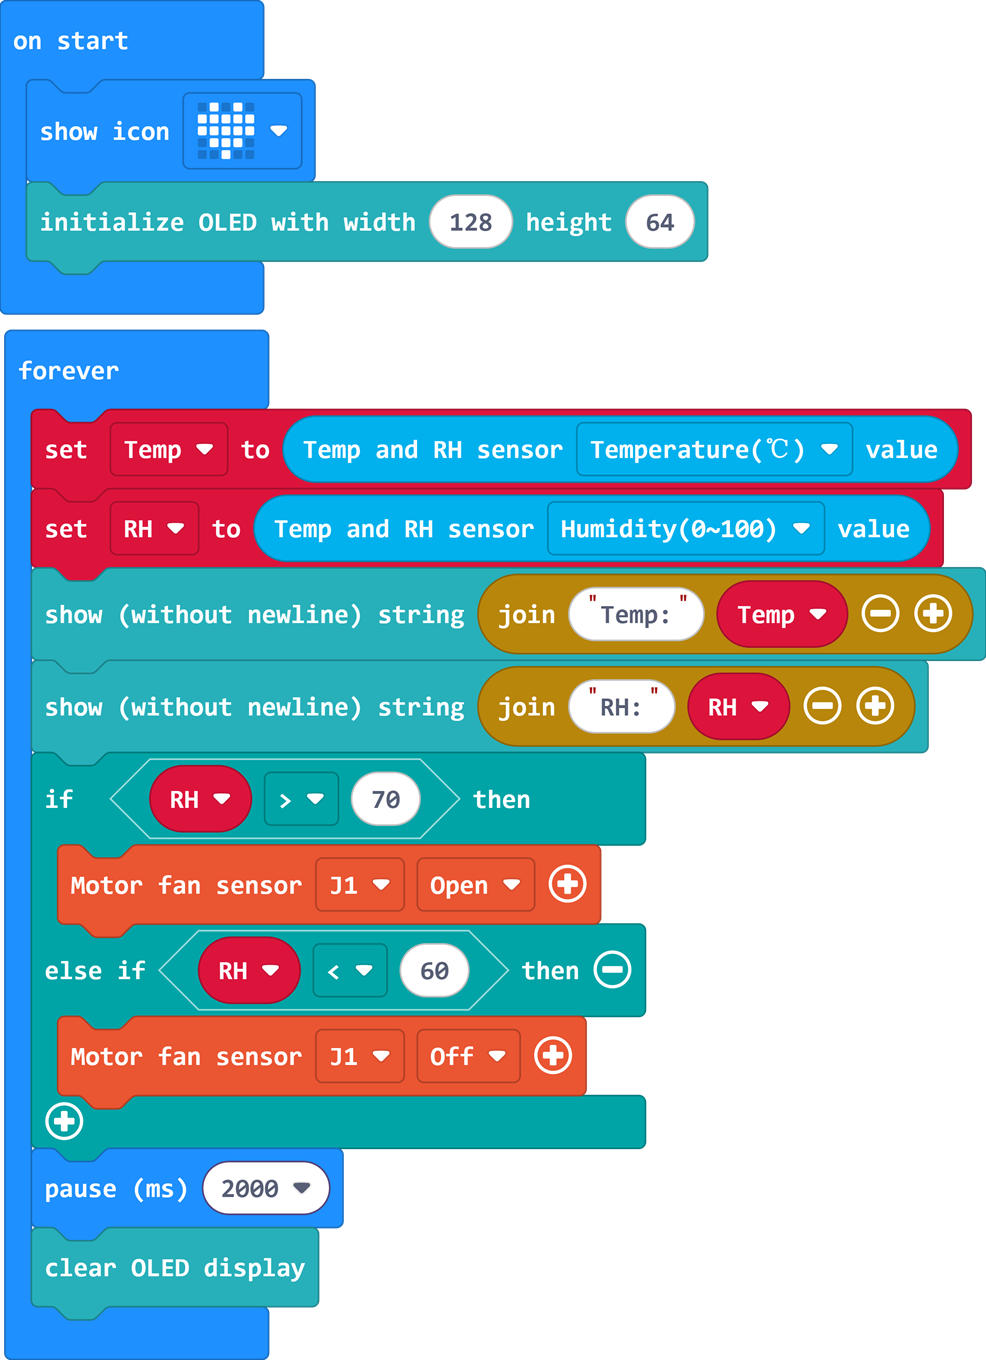
You can also download the program directly through the following web page.
How to Download the Program to micro:bit?
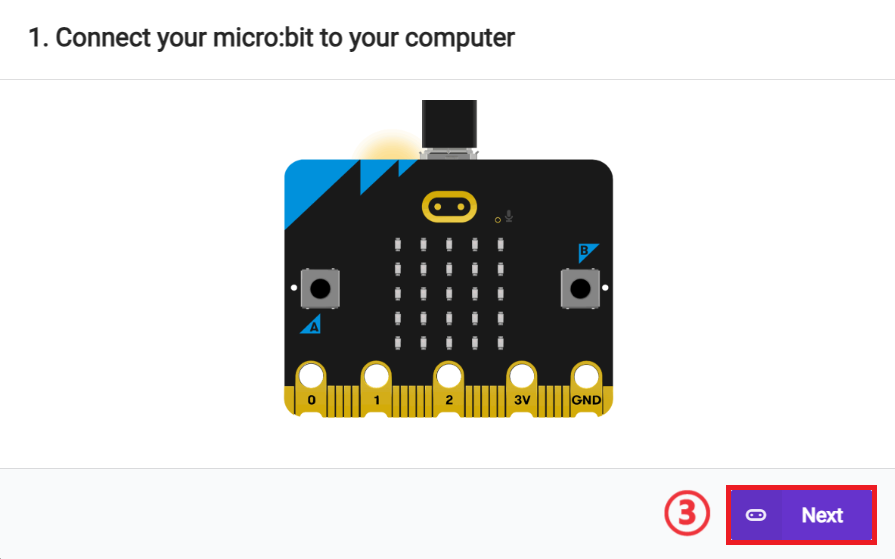
Use a USB cable to connect the PC and micro:bit V2.
After successful connection, a drive named MICROBIT will be recognized on the computer.

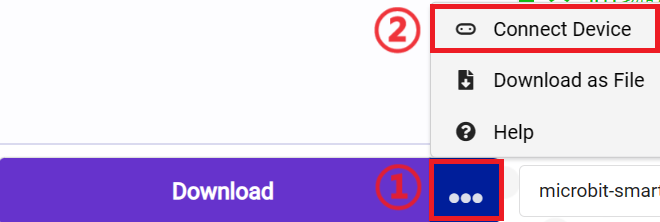
Cklick in the lower left corner and select
 Connect Device.
Click 。
。
Click 。
。
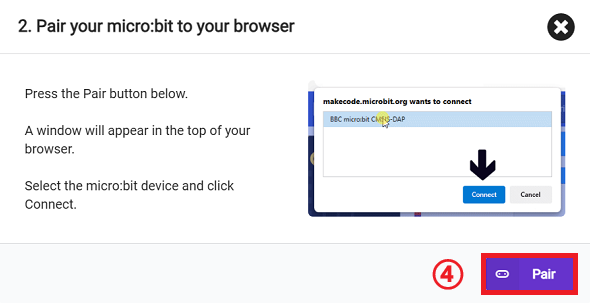
In the pop - up window, select BBC micro:bit CMSIS - DAP, then select Connect. So far, our micro:bit has been connected successfully.
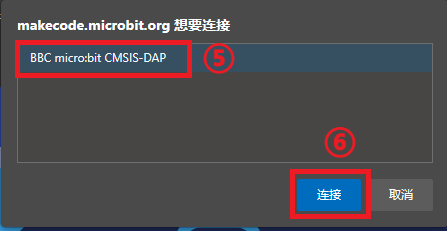
Click to download the program.

Result
When the temperature and humidity sensor detects that the humidity is too high, it will automatically ventilate.
