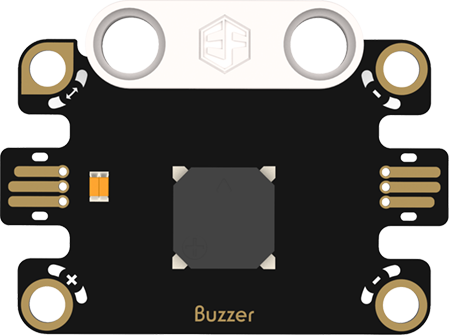
Buzzer
Introduction
Features
Buzzer:
Specifications
| Item | Parameter |
|---|---|
| Name | Buzzer |
| SKU | EF16007 |
| Connection | Actuator |
| Operating Voltage | 4.15V |
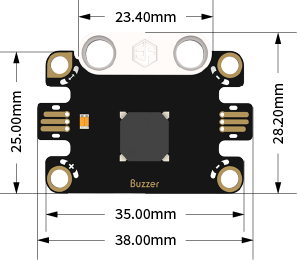
| Product Size | 38.00mm×28.20mm (L×W) |
Appearance and Dimensions
Product Links
None
Quick Start
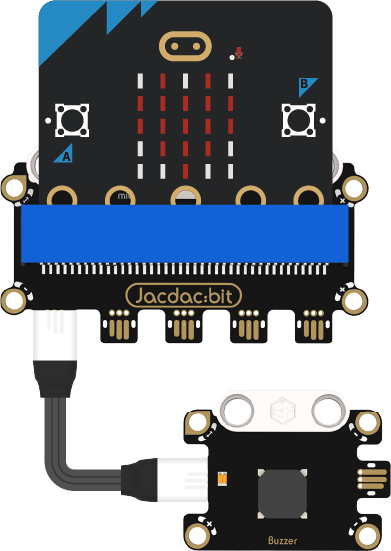
Hardware Connection Diagram
Usage Tutorials
Programming Software
MakeCode Programming
Step 1: How to Add Jacdac Extension
- Go to Microsoft MakeCode and click "New Project".

- Enter the project name in the pop-up window and click "Create".

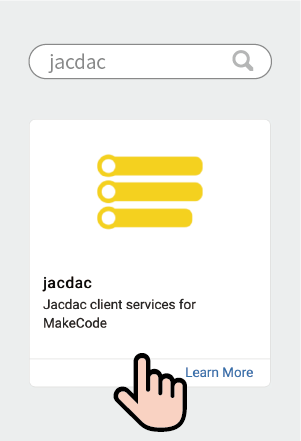
- Click "Extensions" in the code drawer.

- Enter "Jacdac" in the pop-up interface, click the search icon, and select the Jacdac library as shown.
Step 2:
- Connect the micro:bit to the computer with a data cable. Note: If the micro:bit runs a Jacdac program for the first time, please pre-install a blank Jacdac program on the micro:bit first; otherwise, skip this step.
- Connect the sensor. MakeCode will automatically recognize it and simulate its status in real time in the simulation area.
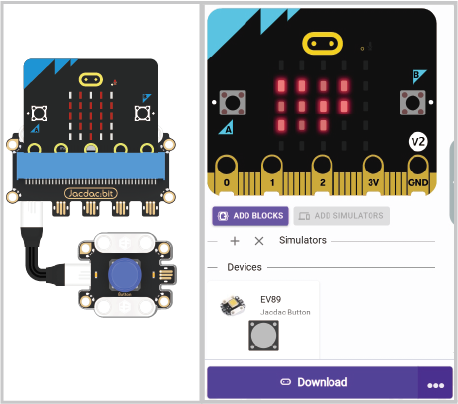
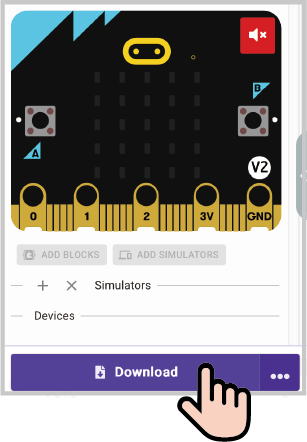
- Click "ADD BLOCKS" for the sensor extension module. Note: When connecting a new sensor, repeat the operation of clicking "ADD BLOCKS" for the sensor extension module.

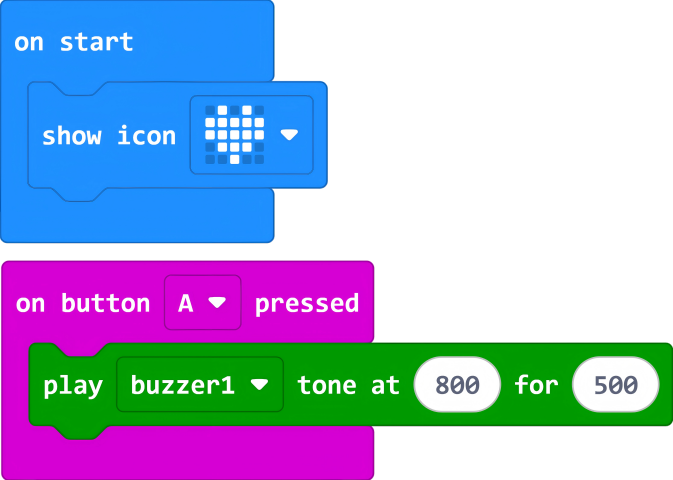
Program Code Example
Reference Program Link
https://makecode.microbit.org/_bW1btg9VzLg9
You can also download and run it via the embedded link:
Result
When pressing button A on the micro:bit, the buzzer emits a sound.
