Case 06 Building a Plant Water Source Alarm
Introduction
This course will introduce students to building a plant water source alarm through the API interface platform IFTTT. Students will learn how to design a plant water source alarm and send alarm information to personal email through API calls.
Teaching Objectives
Understand how to use the IFTTT platform.
Analyze the trigger conditions under extreme conditions and write programs.
Teaching Preparation
Before starting teaching, make sure you have prepared the following necessary items:
| Picture | Name |
|---|---|
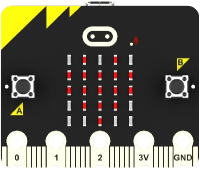 | micro:bit |
 | IOT:bit |
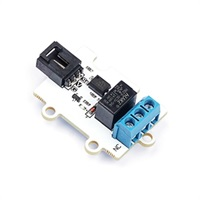 | 3V Relay Module |
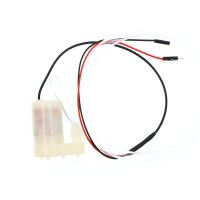 | 3V Vertical Water Pump |
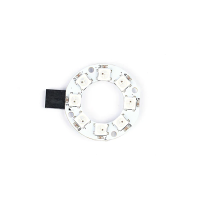 | 8 Rainbow LED Light |
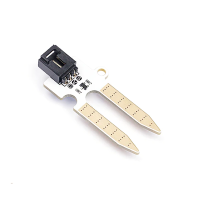 | Octopus Soil Moisture Sensor Brick |
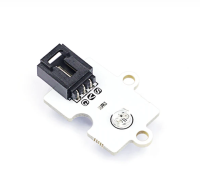 | Octopus Light Sensor |
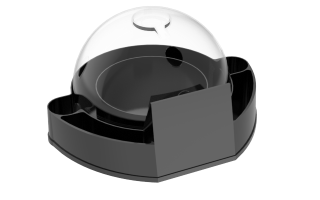 | Greenhouse Model |
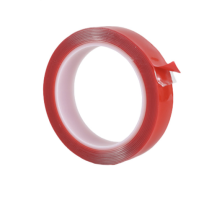 | Double-sided Tape |
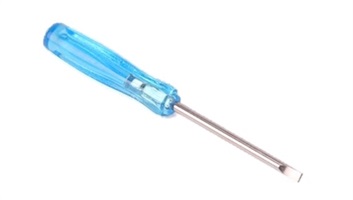 | Flat Screwdriver |
 | PC |
 | USB Cable |
 | 4P male to female Dupont line |
 | 5P female to female Dupont cable |
These items will provide you with a complete experience, ensuring that you can smoothly carry out subsequent operations and learning. If you have prepared the above content, we can proceed to the next step.
Teaching process
Course introduction
In the previous course, we watched the environmental data of plant growth in real time through the ThingSpeak platform, but the plant growth cycle is very long, and we can't always stare at the dashboard data of the ThingSpeak platform. We just hope that when the plant growth environment changes and causes harm to plant growth, we can understand it in time and make adjustments according to the situation. In this class, we will use the API platform IFTTT to make a plant water source alarm.
Now, let's get started!
Exploration activities
How to obtain all the data that needs to be detected during plant growth through programming?
How to use the IFTTT platform to set the plant growth environment contact conditions and send data to a personal mailbox?
Assemble the smart greenhouse
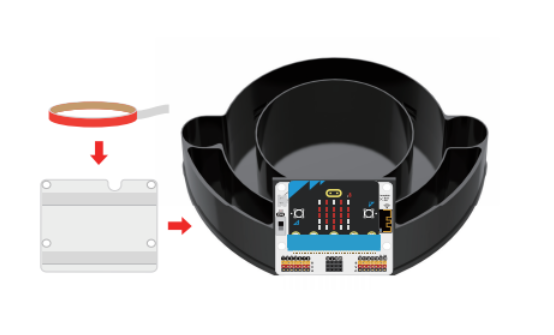
Insert the micro:bit into the IOT:bit expansion board, stick the traceless glue on the back of the IOT:bit expansion board, and fix it to the base of the greenhouse model, as shown below:
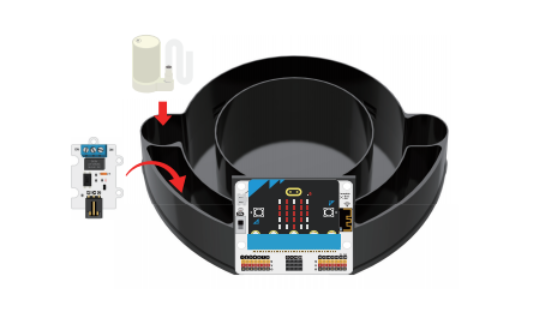
Place the 3V water pump and 3V relay as shown in the figure below:
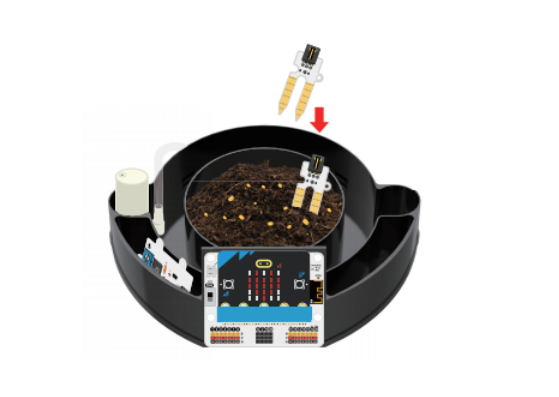
Pour an appropriate amount of soil into the plant growth pool at the greenhouse base and place the seeds, and insert the soil moisture sensor into the soil.
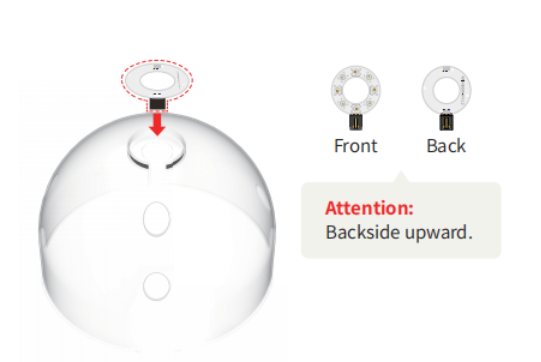
Fix the 8 rainbow light rings to the top of the transparent cover.
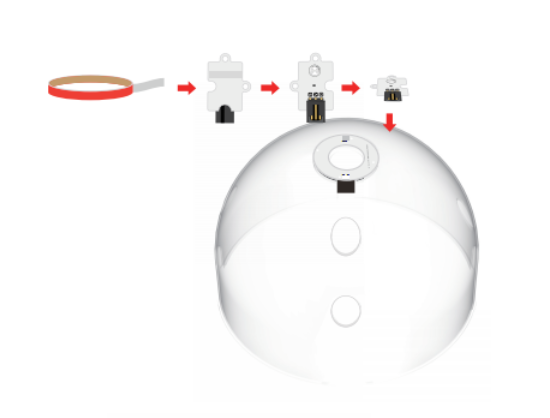
Use traceless glue to stick the light sensor to the top of the transparent cover of the greenhouse model, as shown in the figure below.
Pass the connection wires of the soil moisture sensor, the connection wires of the 8 rainbow light rings, the connection wires of the light sensor, and the 3V water pump hose through the holes of the transparent outer cover of the greenhouse as shown in the figure below, and then lower it:
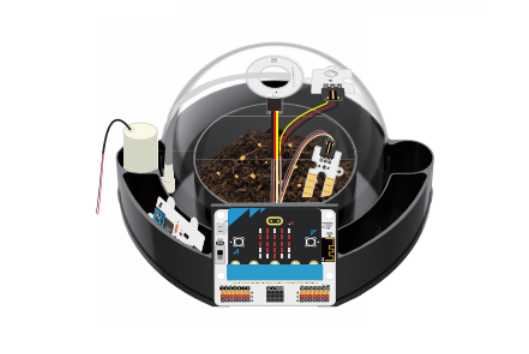
Connect the 3V water pump, 3V relay, soil moisture sensor, light sensor and 8 rainbow LEDs to the IOT:bit expansion board as shown in the following wiring diagram.
| Components | IOT:bit corresponding pin |
|---|---|
| 8 rainbow LED lights | P1 |
| Soil Moisture Sensor | P2 |
| Light sensor | P3 |
| 3V Relay | P9 |

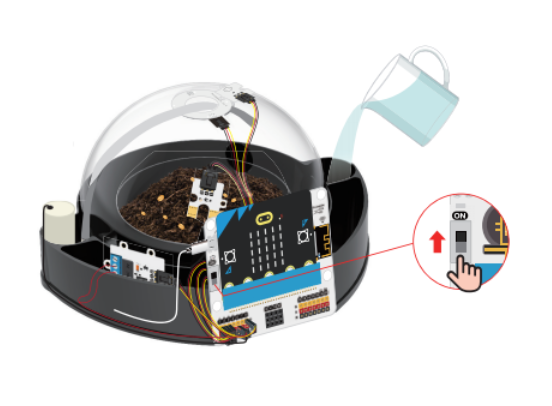
Pour an appropriate amount of water into the water tank at the bottom of the greenhouse.

Connect the power supply to the IOT:bit expansion board using the USB cable, then turn on the power switch.
Coding
Add software library
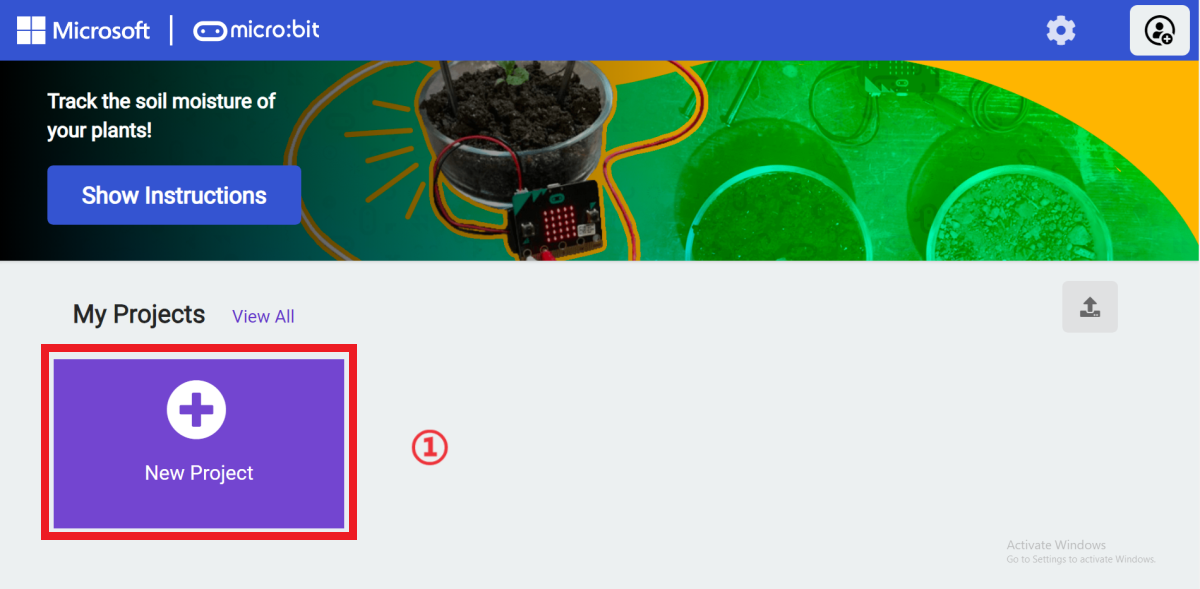
Go to "makecode.microbit.org" and click "New Project".
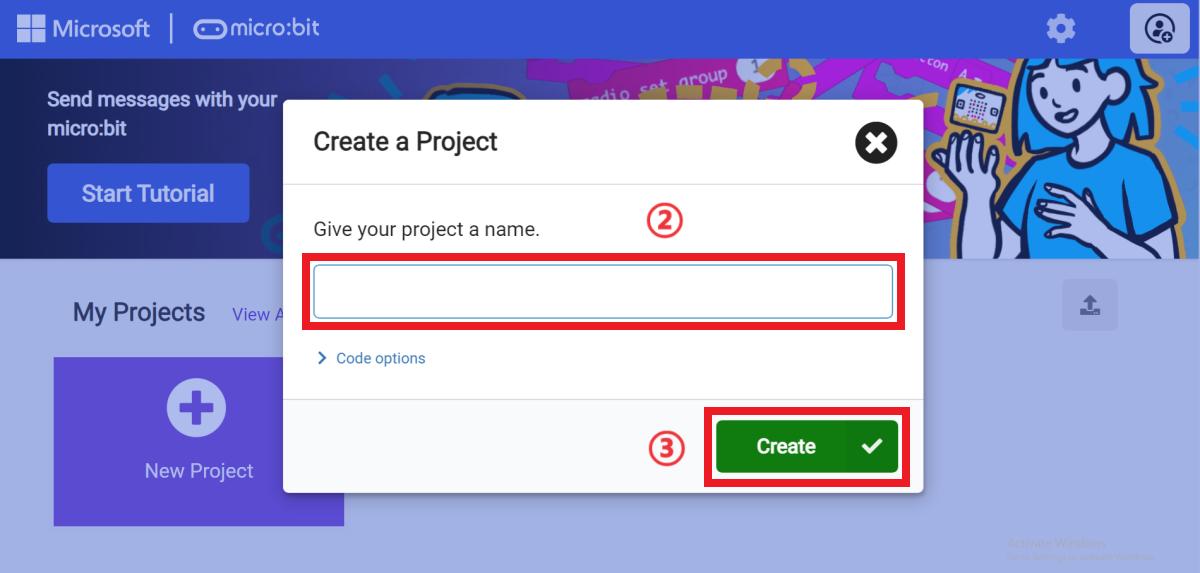
Enter a project name in the pop-up window and click "Create".
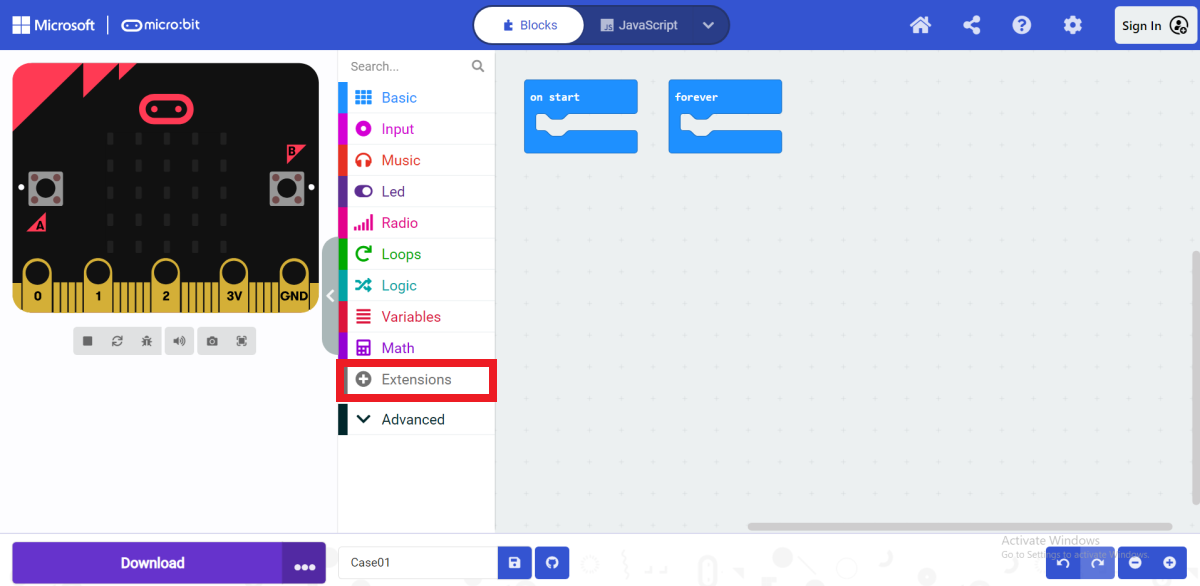
In the opened programming interface, click "Extensions" in the programming block drawer.
After opening the extension page, enter "iot-environment-kit" in the search bar, click Search, and select the "iot-environment-kit" programming building block library in the search results.

After adding successfully, you can see "ESP8266_IoT, OLED, RTC1307, Octopus" in the programming block drawer column.

Sample Code
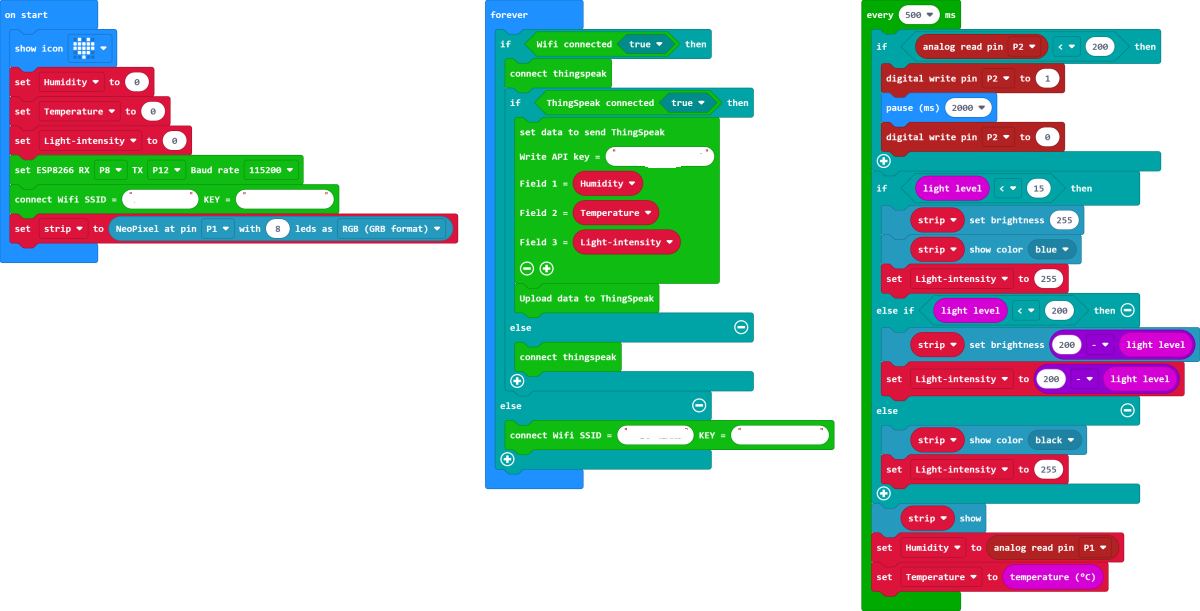
Please refer to the program link: https://makecode.microbit.org/_a06HbiXK1767.
Download the program
Use a USB data cable to connect the computer and micro:bit V2.

After the connection is successful, a drive letter named MICROBIT will be recognized on the computer.

Click  in the lower left corner and select Connect Device.

Click 。
。
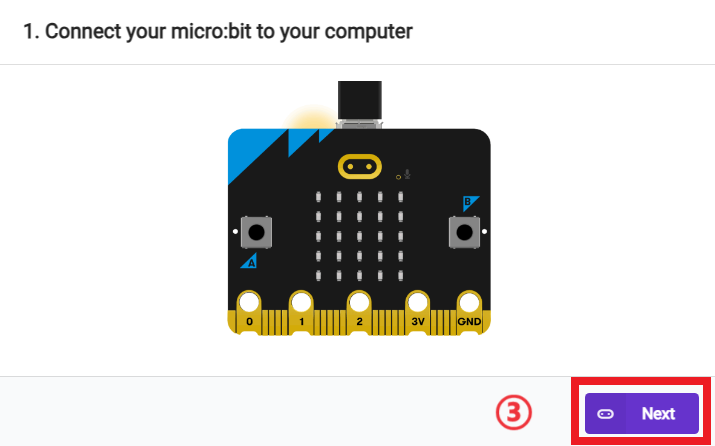
Click 。
。
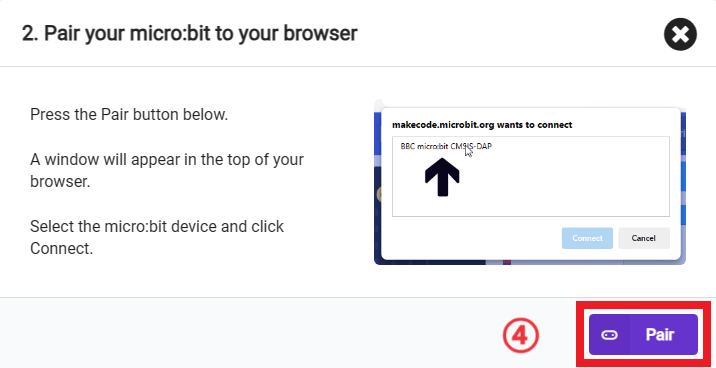
In the pop-up window, select "BBC micro:bit CMSIS-DAP", then select "Connect". At this point, our micro:bit has been successfully connected.

Click Downloader.

IFTTT platform calls API
For how to use the IFTTT platform, please refer to this article: https://wiki.elecfreaks.com/en/microbit/wisdom-life/microbit-smart-science-iot-kit/how-to-use-IFTTT/
As shown in the figure below:
Teamwork and presentation
Students are divided into groups to complete the installation and programming of the smart greenhouse.
Encourage students to cooperate, communicate and share experiences with each other.
Each group has the opportunity to show the smart greenhouse they made to other groups and demonstrate.
Expected results: .
(GIF animation)
Summary and reflection
Review the course content and remind students what knowledge and skills they have mastered.
Guide students to discuss the problems and difficulties they encountered during the production process and how to solve these problems.
Guide students to think about the optimization and improvement direction of the program, such as what interesting cases can be made using micro:bit.
Extended Knowledge
IFTTT (If This Then That) is an online service that allows users to create simple conditional statements, which are called "Applets". These Applets can connect different applications and services to automate tasks and workflows. IFTTT supports a large number of services, including social media, smart home devices, weather services, and more.
The main components of IFTTT:
Triggers: This is the "if" part of the Applet, that is, the events or conditions that trigger the automatic action. For example, "when I leave home" or "when I post a new tweet on Twitter".
Actions: This is the "then" part of the Applet, that is, the actions that occur when the trigger is activated. For example, "turn on my smart lights" or "send an email notification".
Use scenarios:
Smart Home: Automatically turn off lights when it detects that you are away from home.
Social Media Management: Automatically forward to Facebook when you post a new photo on Instagram
Health & Fitness: Automatically record your steps in Google Sheets when you reach a certain step goal on Fitbit.
Message Alert: Send a reminder message when the weather forecast shows rain.