Quick Start Guide
This Quick Start Guide will provide you with a concise guide to using the Smart Greenhouse Suite. Whether you have programming experience or not, this guide will help you get up to speed quickly with the basics. Through simple steps, you will learn how to assemble the Smart Greenhouse Shed and create a real-world example to experience.
Preparation
Before you start the Quick Start, make sure you have the following necessary materials ready:
Translated with DeepL.com (free version)
| Picture | Name |
|---|---|
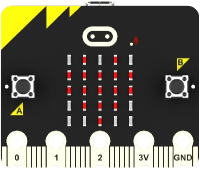 | micro:bit |
 | IOT:bit |
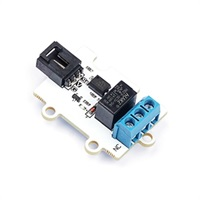 | 3V Relay Module |
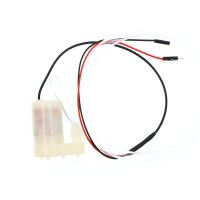 | 3V Vertical Water Pump |
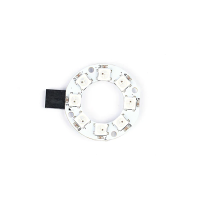 | 8 Rainbow LED Light |
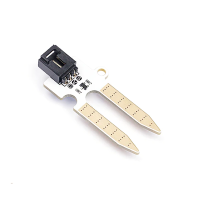 | Octopus Soil Moisture Sensor Brick |
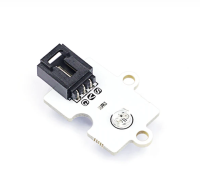 | Octopus Light Sensor |
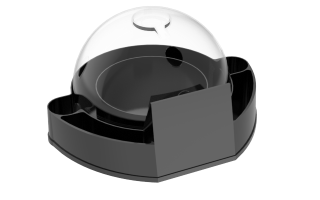 | Greenhouse Model |
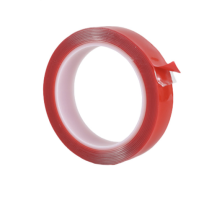 | Double-sided Tape |
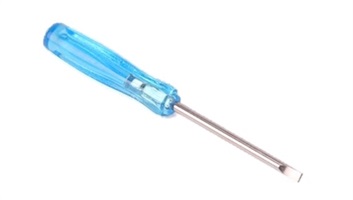 | Flat Screwdriver |
 | PC |
 | USB Cable |
 | 4 Pin Male to Female Dupont line |
 | 5 Pin female to female Dupont cable |
These materials will provide you with a complete experience and ensure that you can follow through and learn smoothly. Once you have the above materials ready, let's move on to the next step.
Quick start
1. Assembling the Greenhouse
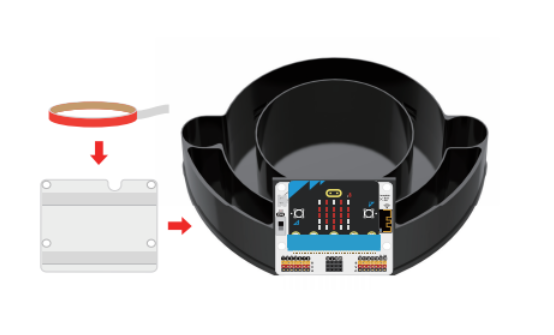
Insert the micro:bit into the IOT:bit expansion board, and after applying non-marking adhesive on the back of the IOT:bit expansion board, secure it to the top of the Greenhouse Shed model base, as shown below:
Translated with DeepL.com (free version)
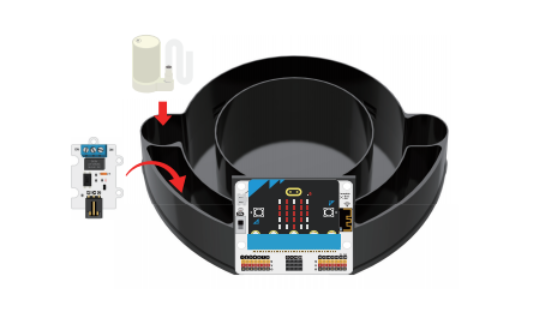
Place the 3V water pump and 3V relay as shown in the figure below:
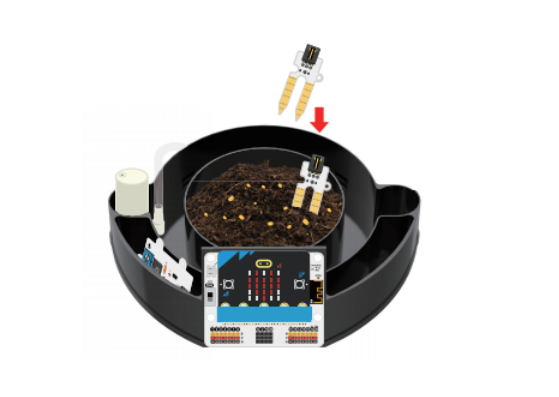
Pour an appropriate amount of soil into the plant growth pool at the greenhouse base and place the seeds, and insert the soil moisture sensor into the soil.
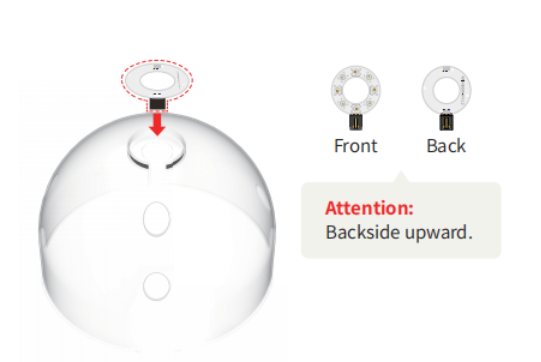
Attach the 8 rainbow light rings to the top of the clear outer cover.
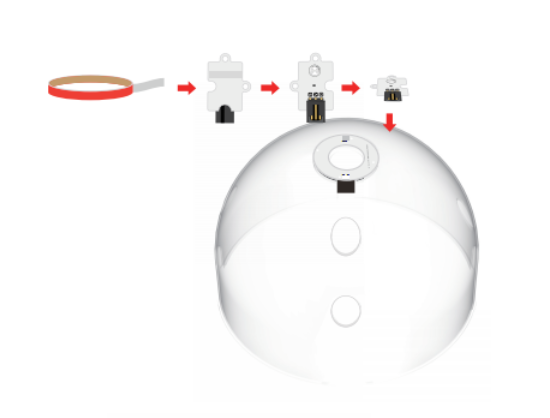
Use non-marking tape to stick the light sensor to the top of the transparent cover of the greenhouse model, as shown in the figure below.
Pass the connection wires of the soil moisture sensor, the connection wires of the 8 rainbow light rings, the connection wires of the light sensor, and the 3V water pump hose through the holes of the greenhouse transparent cover as shown in the figure below, and then lower it:
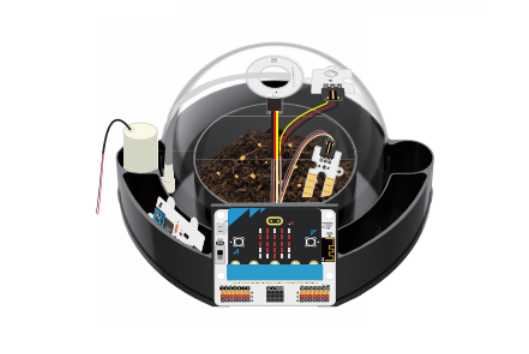
Connect the 3V water pump, 3V relay, soil moisture sensor, light sensor and 8 rainbow LEDs to the IOT:bit expansion board as shown in the following wiring diagram.
| Component | IOT:bit corresponding pin |
|---|---|
| 8 Rainbow LED Light | P1 |
| Soil Moisture Sensor | P2 |
| Light Sensor | P3 |
| 3V Relay Module | P9 |

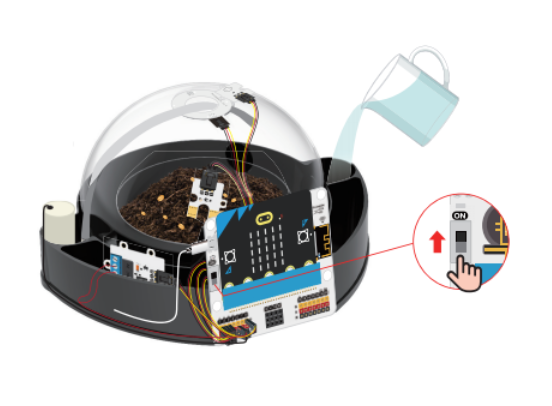
Pour an appropriate amount of water into the water tank at the bottom of the greenhouse.

Connect the power supply to the IOT:bit expansion board using the USB cable, then turn on the power switch.
2. Download the program
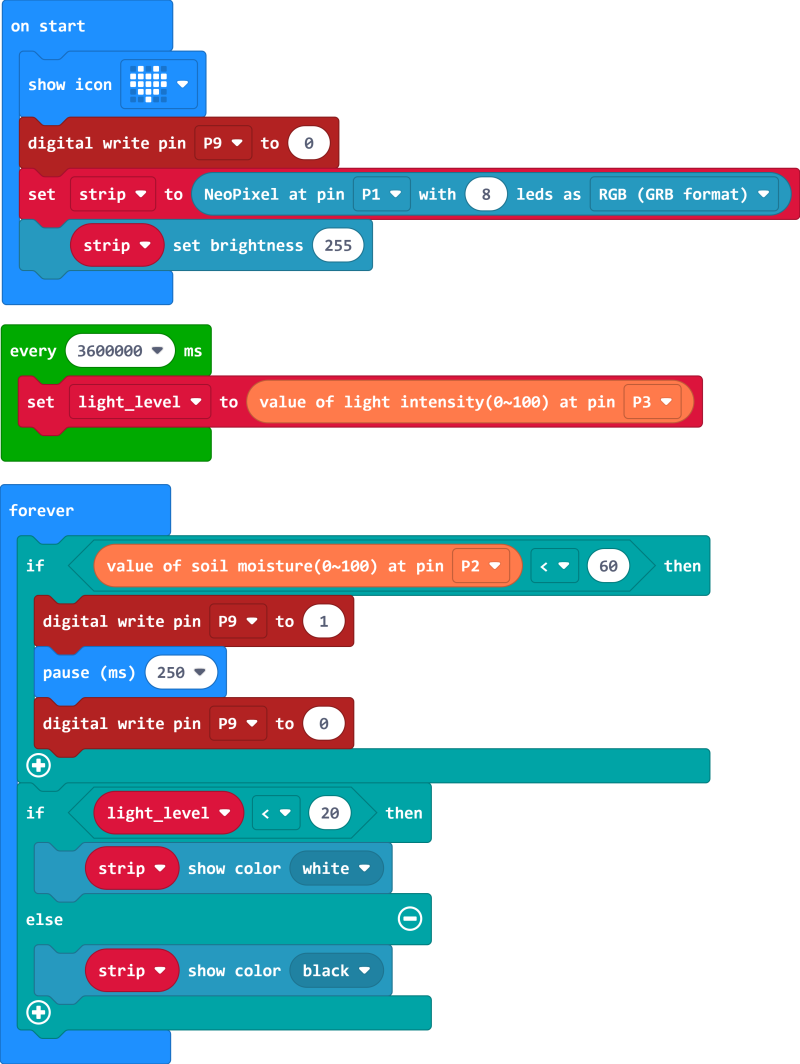
Download the program :microbit-smart-greenhouse-kit.hex
Use a USB cable to connect PC and micro:bit V2.

After the connection is successful, a drive letter named MICROBIT will be recognized on the computer.

Copy the downloaded program file microbit-smart-greenhouse-kit.hex to MICROBIT.
 After the download is successful, the micro:bit V2 will automatically disconnect and reconnect. At this time, the program file microbit-smart-greenhouse-kit.hex you copied to MICROBIT will disappear. This is normal.