Case 01 Measuring the temperature and humidity of the plant growth environment
Introduction
This course will introduce students to the MakeCode graphical programming platform, micro:bit temperature sensor, and smart greenhouse kit. Students will use the smart greenhouse kit to learn how to write programs to measure the temperature and soil moisture values of the plant growth environment and display them on the micro:bit LED display.
Teaching objectives
- Understand the graphical programming platform MakeCode.
- Learn the concept and use of variables in programming.
- Understand the micro:bit onboard temperature sensor and programming methods.
- Understand the smart greenhouse kit.
Teaching preparation
Before starting teaching, make sure you have prepared the following necessary items:
| Picture | Name |
|---|---|
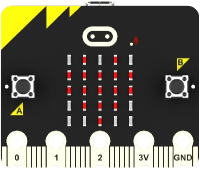 | micro:bit |
 | IOT:bit |
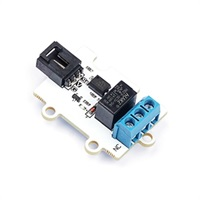 | 3V Relay Module |
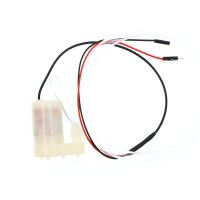 | 3V Vertical Water Pump |
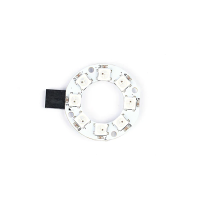 | 8 Rainbow LED Light |
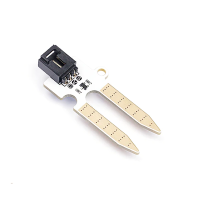 | Octopus Soil Moisture Sensor Brick |
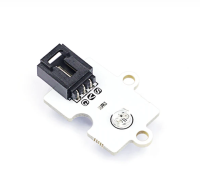 | Octopus Light Sensor |
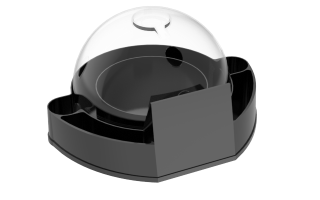 | Greenhouse Model |
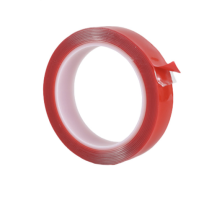 | Double-sided Tape |
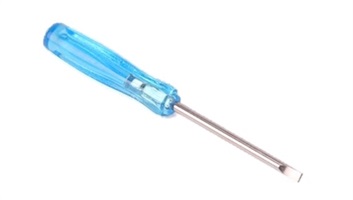 | Flat Screwdriver |
 | PC |
 | USB Cable |
 | 4P male to female Dupont line |
 | 5P female to female Dupont cable |
These items will provide you with a complete experience, ensuring that you can smoothly carry out subsequent operations and learning. If you are ready for the above, we can move on to the next step.
Teaching process
Course introduction
The advancement of modern plant cultivation technology has liberated people from heavy labor, so what technologies are used in modern plant cultivation? How to grow plants more effectively through intelligent management? In this lesson, we will learn about the principles of smart greenhouses and obtain temperature and humidity data of plant growth environments through programming.
Are you ready to explore the world of modern plant cultivation technology with Smart Greenhouse kit? Now, let's embark on this interesting learning journey!
Exploration activities
How to correctly add the software libraries required by Smart Greenhouse kit?
How to display different numbers on the mciro:bit LED display?
How to record and display the temperature value detected by the temperature sensor and the soil moisture value detected by the soil moisture sensor through the variable mechanism?
Assemble the smart greenhouse
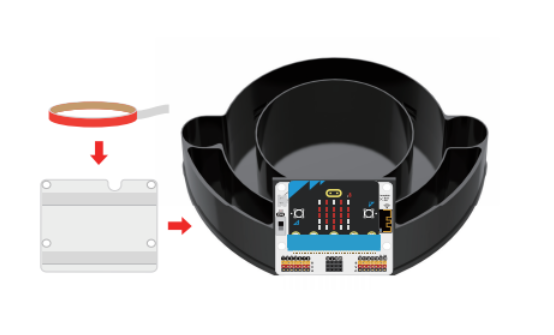
Insert the micro:bit into the IOT:bit expansion board, apply traceless glue on the back of the IOT:bit expansion board, and fix it to the base of the greenhouse model, as shown below:
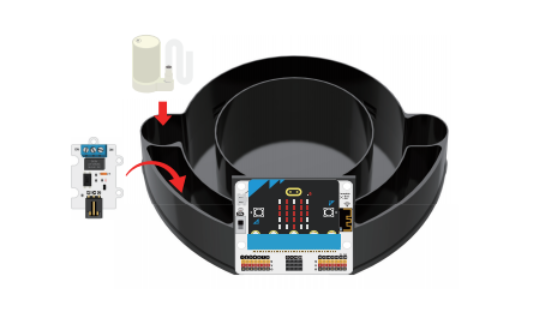
Place the 3V water pump and 3V relay as shown in the figure below:
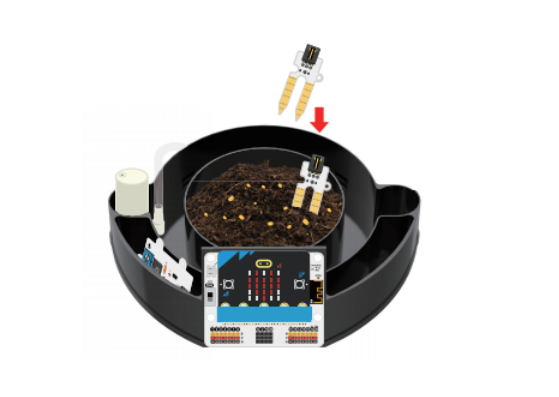
Pour an appropriate amount of soil into the plant growth pool at the greenhouse base and place the seeds, and insert the soil moisture sensor into the soil.
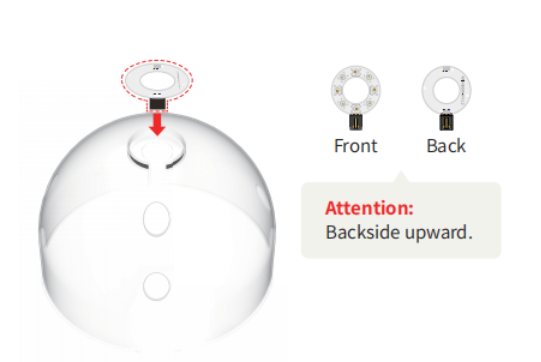
Fix the 8 rainbow light rings to the top of the transparent cover.
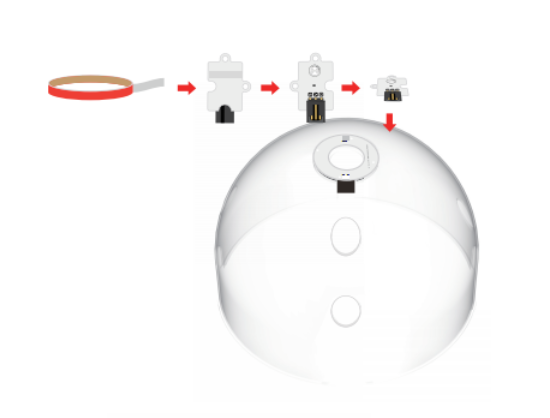
Use traceless glue to stick the light sensor to the top of the transparent cover of the greenhouse model, as shown in the figure below.
Pass the connection wires of the soil moisture sensor, the connection wires of the 8 rainbow light rings, the connection wires of the light sensor, and the 3V water pump hose through the holes of the transparent outer cover of the greenhouse as shown in the figure below, and then lower it:
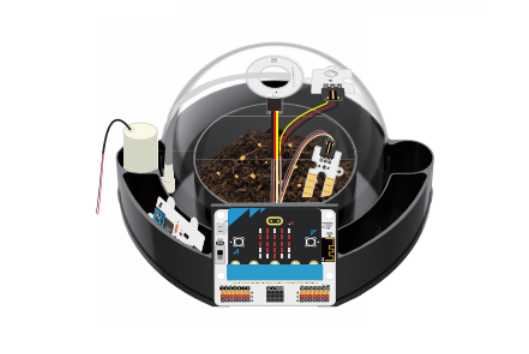
Connect the 3V water pump, 3V relay, soil moisture sensor, light sensor and 8 rainbow LED to the IOT:bit expansion board as shown in the following wiring diagram.
| Component | IOT:bit corresponding pin |
|---|---|
| 8 rainbow LED | P1 |
| soil moisture sensor | P2 |
| light sensor | P3 |
| 3V relay | P9 |

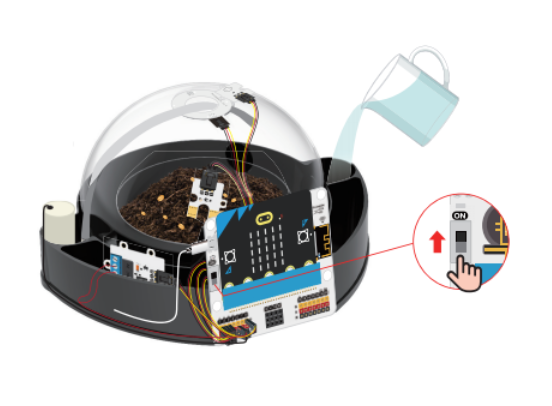
Pour an appropriate amount of water into the water tank at the bottom of the greenhouse.

Connect the power supply to the IOT:bit expansion board using the USB cable, then turn on the power switch.
Coding
Add software library
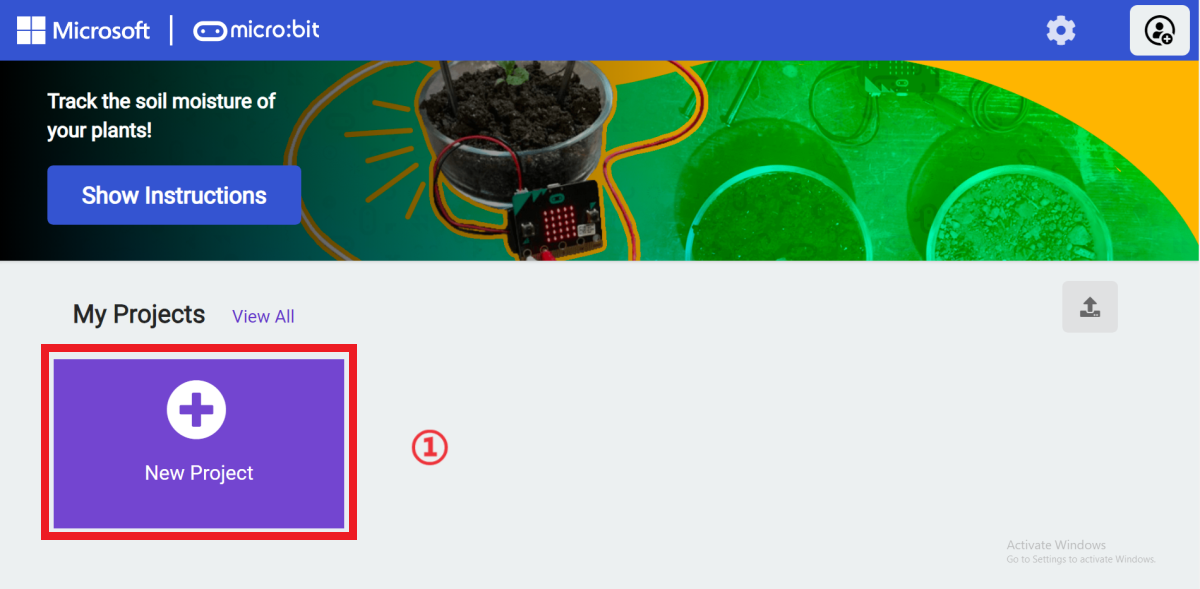
Go to "makecode.microbit.org" and click "New Project".
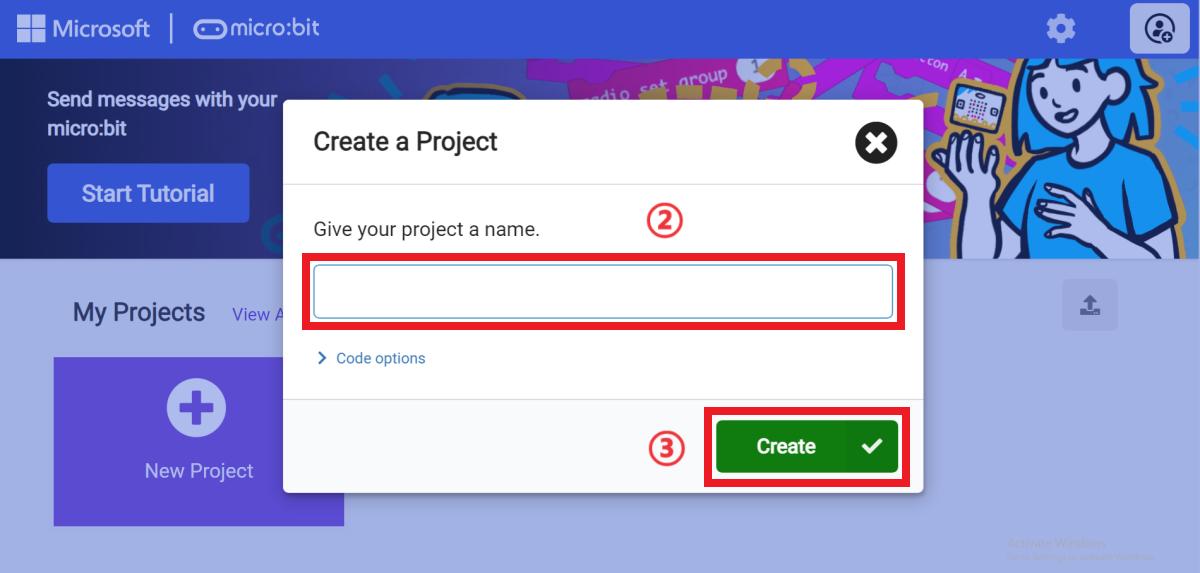
Enter a project name in the pop-up window and click "Create".
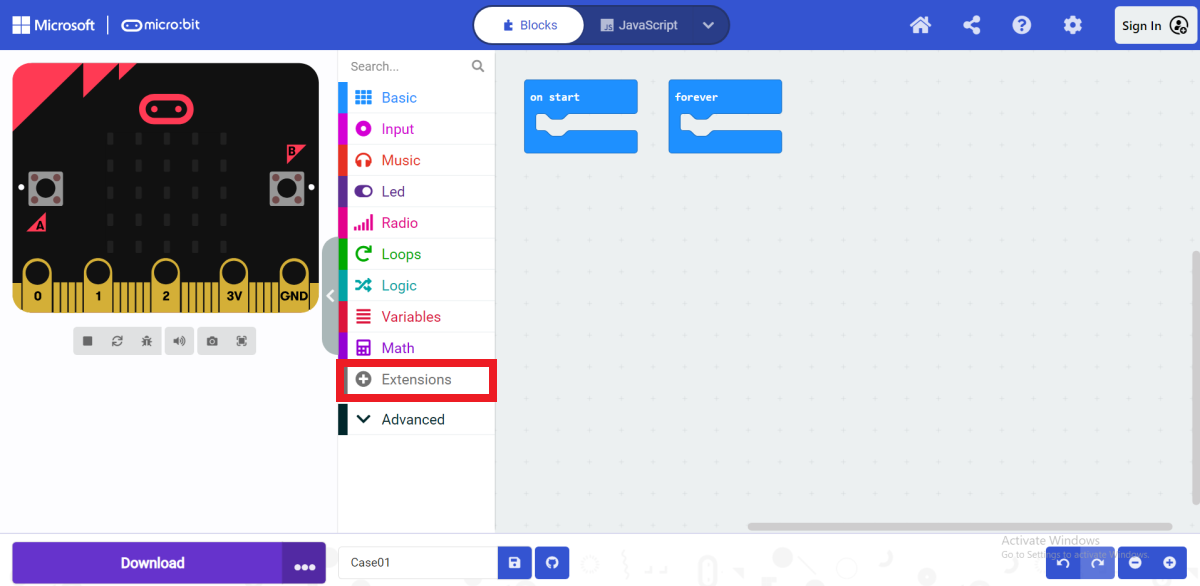
In the opened programming interface, click "Extensions" in the programming block drawer.
After opening the extension page, enter "iot-environment-kit" in the search bar, click Search, and select the "iot-environment-kit" programming building block library in the search results.

After adding successfully, you can see "ESP8266_IoT, OLED, RTC1307, Octopus" in the programming block drawer column.

Sample Code

Please refer to the program link: https://makecode.microbit.org/_ipbEHbbjtfiT
Download the program
Use a USB data cable to connect the computer and micro:bit V2.

After the connection is successful, a drive letter named MICROBIT will be recognized on the computer.

Click  in the lower left corner and select Connect Device.

Click  。
。
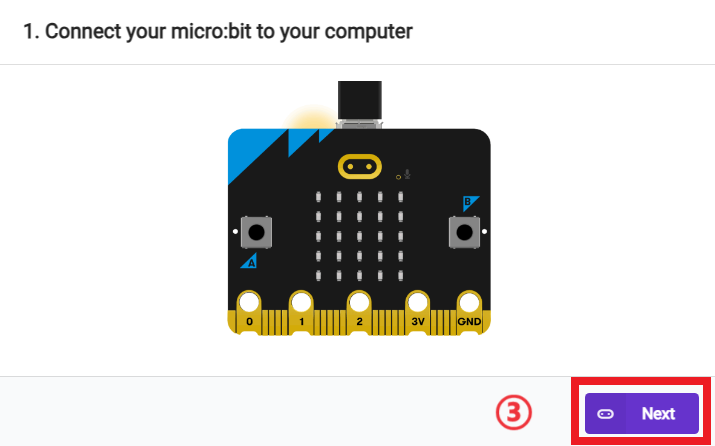
Click 。
。
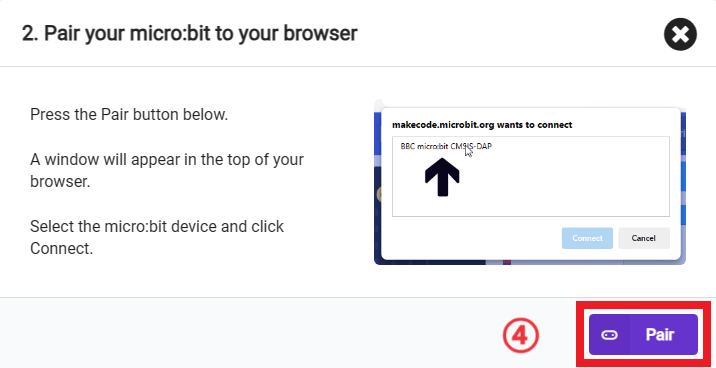
In the pop-up window, select "BBC micro:bit CMSIS-DAP", then select "Connect". At this point, our micro:bit has been successfully connected.

Click Downloader.

Teamwork and Presentation
Students are divided into groups to complete the installation and programming of the smart greenhouse.
Encourage students to cooperate, communicate and share experiences with each other.
Each group has the opportunity to show the smart greenhouse they made to other groups and demonstrate.
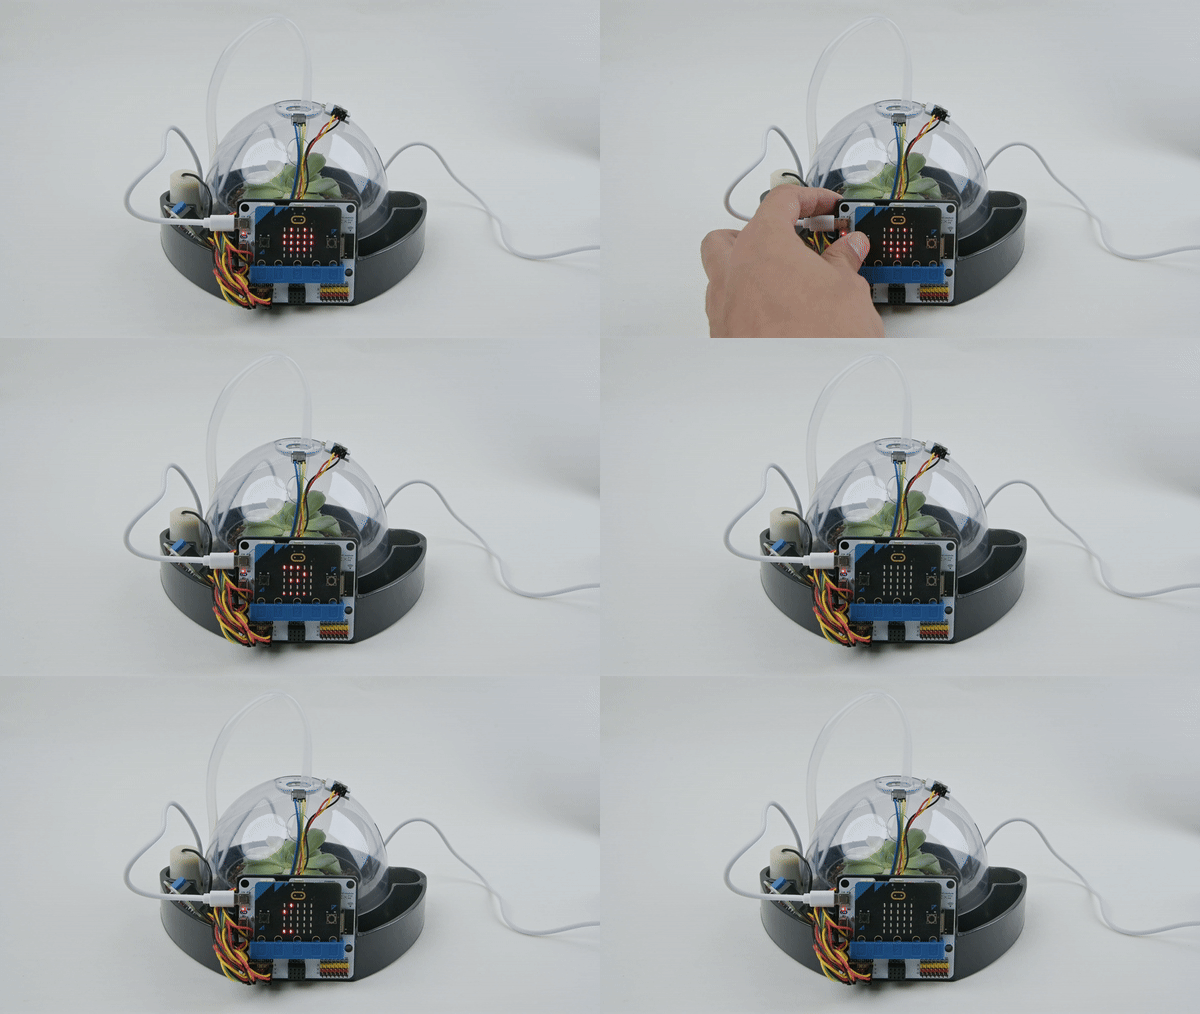
Expected effect: Press button A, the micro:bit LED display screen displays temperature and humidity.
Summary and reflection
Review the course content and remind students what knowledge and skills they have mastered.
Guide students to discuss the problems and difficulties they encountered during the production process and how to solve these problems.
Guide students to think about the optimization and improvement direction of the program, such as what interesting cases can be made using micro:bit.
Expand knowledge
Smart greenhouse: Smart greenhouse is a facility that uses modern scientific and technological means to monitor, adjust and manage the environment in the greenhouse through an automated control system. It uses various sensors and actuators, combined with data acquisition, analysis and processing technologies, to achieve real-time monitoring and adjustment of environmental factors such as temperature, humidity, light, and carbon dioxide concentration in the greenhouse to improve the growth quality and yield of crops.
Smart greenhouses usually include the following features and functions:
Real-time monitoring and data recording of environmental factors such as temperature, humidity, light, and carbon dioxide concentration;
Automated greenhouse ventilation, shading, and irrigation systems, which can be automatically adjusted according to environmental parameters;
Intelligent lighting system, which can be intelligently controlled according to crop needs and light time;
Remote monitoring and control functions, which can remotely monitor and control the greenhouse environment in real time through mobile phones or computers;
Data analysis and prediction functions, which provide decision support through analysis and prediction of collected data.
The application of smart greenhouses can effectively improve the growth rate, yield and quality of crops, reduce the waste of energy and resources, reduce production costs, and also reduce the impact on the environment. Therefore, it has been widely used and promoted in modern agricultural production.