Case 10: Password Master
Introduction:
A password system built using a rotary encoder and a button sensor, where a light ring acts as an indicator for password verification.
Case Purpose:
Understand the variable building blocks in MakeCode
Understand the For loop building blocks in MakeCode
Materials required:
| Item | Picture | Number |
|---|---|---|
| micro:bit V2 | .png) | 1 |
| Jacdac expansion board | 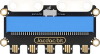 | 1 |
| Jacdac 10cm Connection lines |  | 3 |
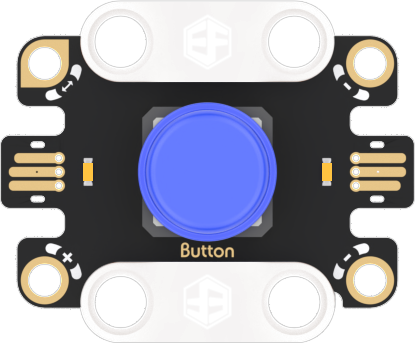
| button sensors | 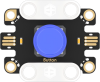 | 1 |
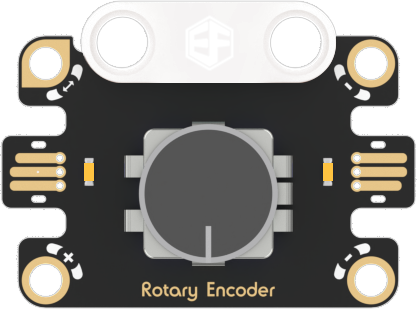
| knob encoders | 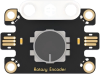 | 1 |
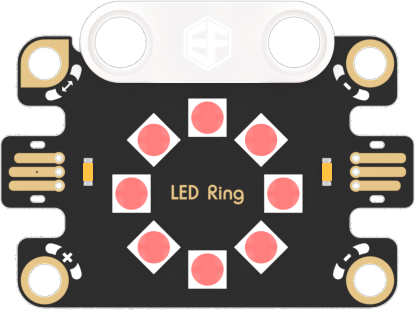
| Light Ring | 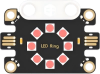 | 1 |
| USB Cable |  | 1 |
Sensor principle description:
Principle description
Button sensor: A sensor used to detect the status of a button, which outputs signals carrying "0" and "1".
 Principle description:
Rotary encoder: A sensor used to detect the direction and value of rotational motion.
Principle description:
Light ring: A circular light ring composed of 8 RGB lights.
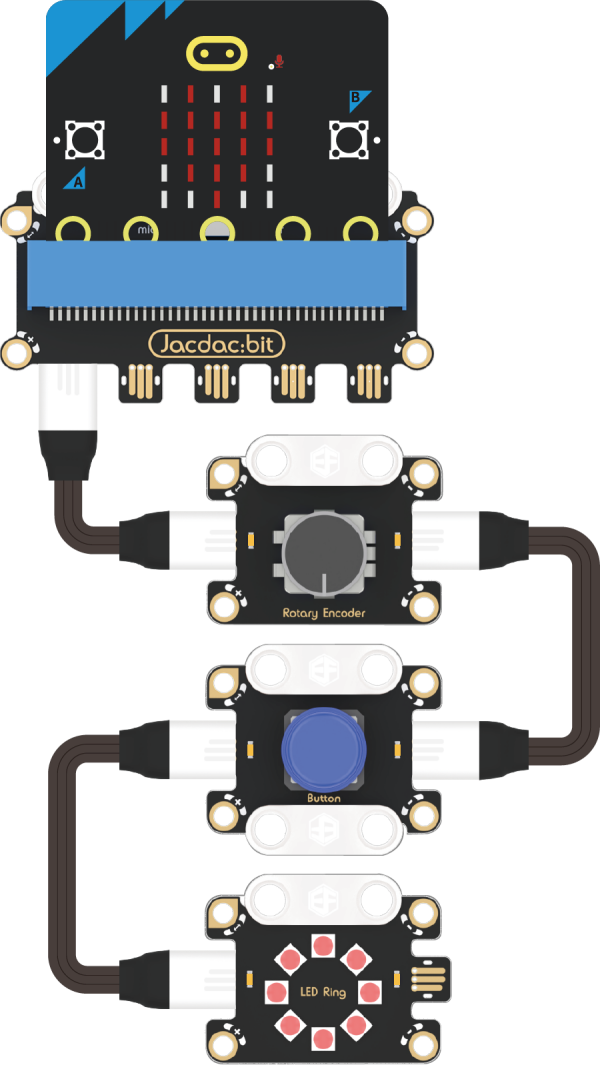
Connection diagram
As shown in the figure below, insert the micro:bit into the Jacdac expansion board, and use the connecting wire to connect the rotary encoder, button sensor, and light ring to the gold finger interface of the Jacdac expansion board in a daisy chain manner.
Programming software
Makecode programming
Step 1: How to add Jacdac extension
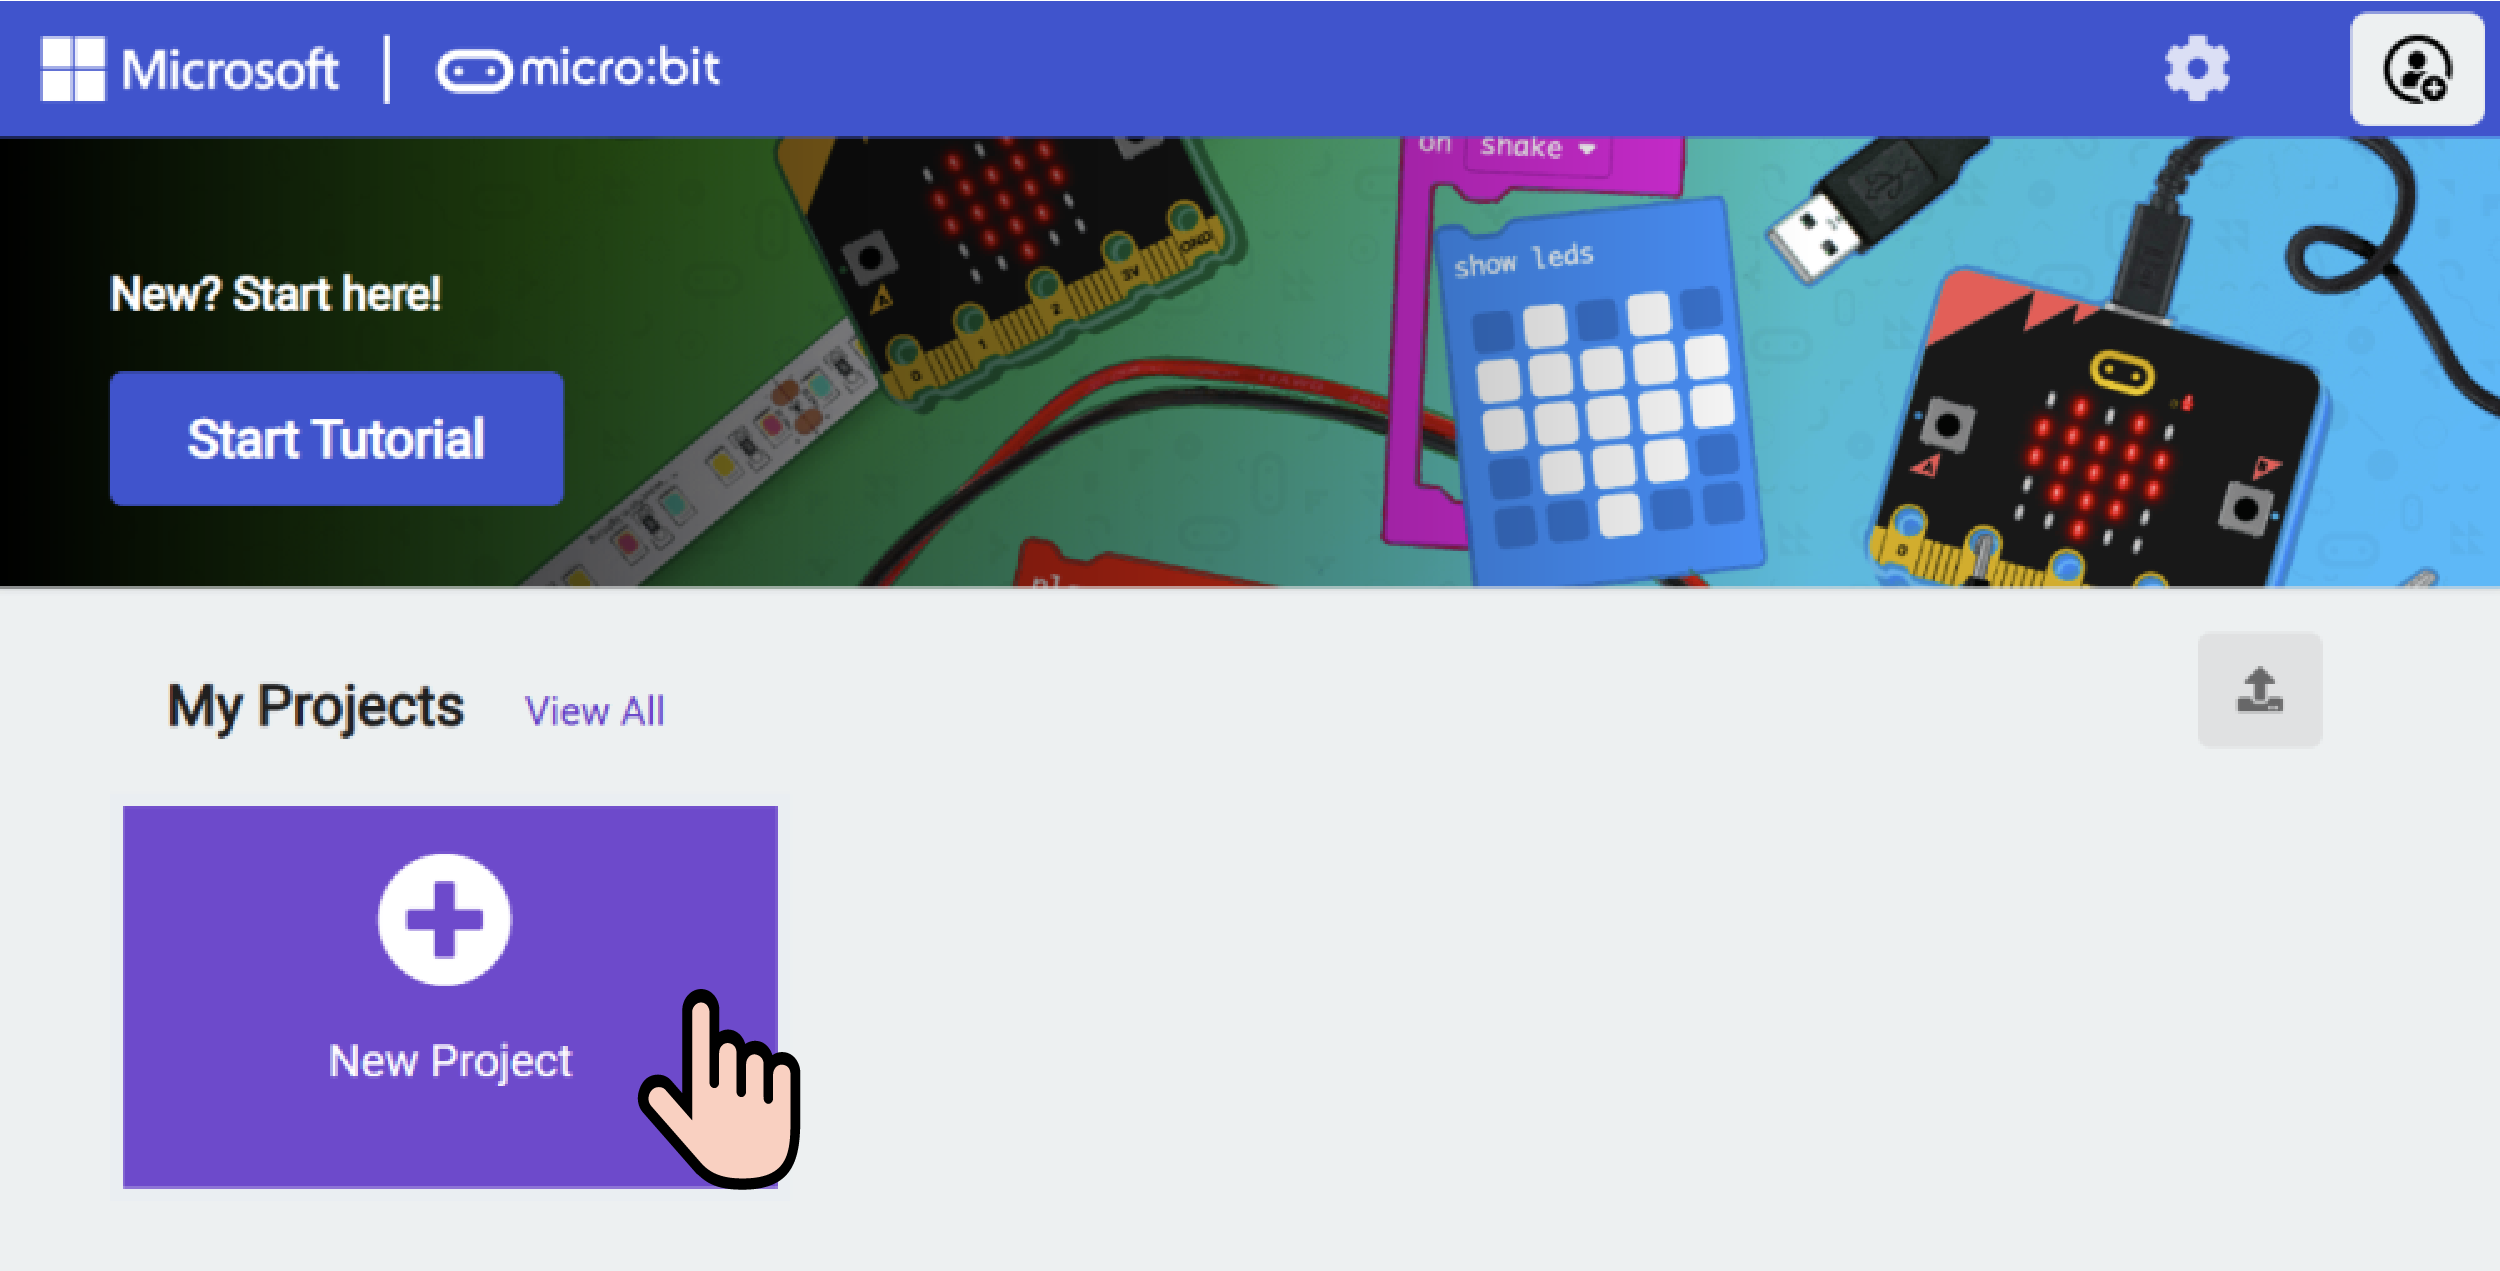
- Enter Microsoft Makecode and click "New Project"
- In the pop-up window, enter a project name and click Create.

- Click "Extend" in the code drawer.

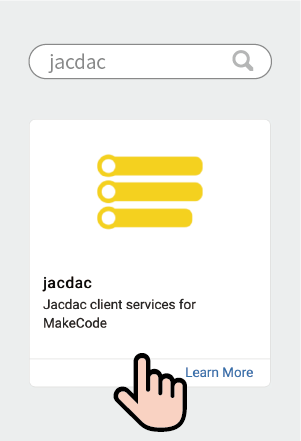
- In the pop-up interface, enter "Jacdac" and click the search icon, select the Jacdac software library, as shown in the figure.
Step 2:
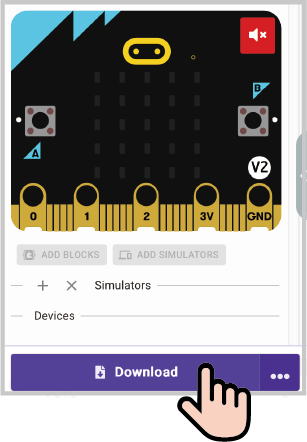
Connect the micro:bit mainboard to the computer with a data cable.
Note: If the micro:bit is running the Jacdac program for the first time, please pre-install a blank Jacdac program on the mainboard, otherwise skip this step.
- Connect the sensor, MakeCode will automatically identify and simulate it, and the sensor will provide real-time feedback of the sensor status in the simulation area.
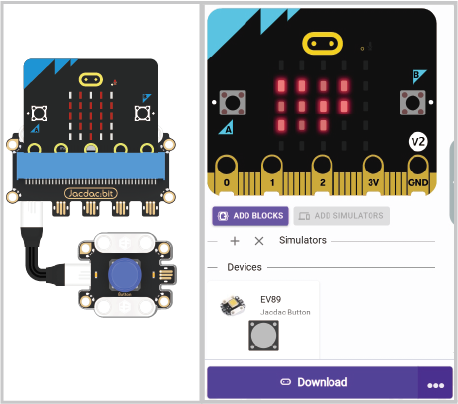
Click on "ADD BLOCKS" sensor expansion module.
Note: To connect a new sensor, repeat the "Click on "ADD BLOCKS" sensor expansion module" operation process.

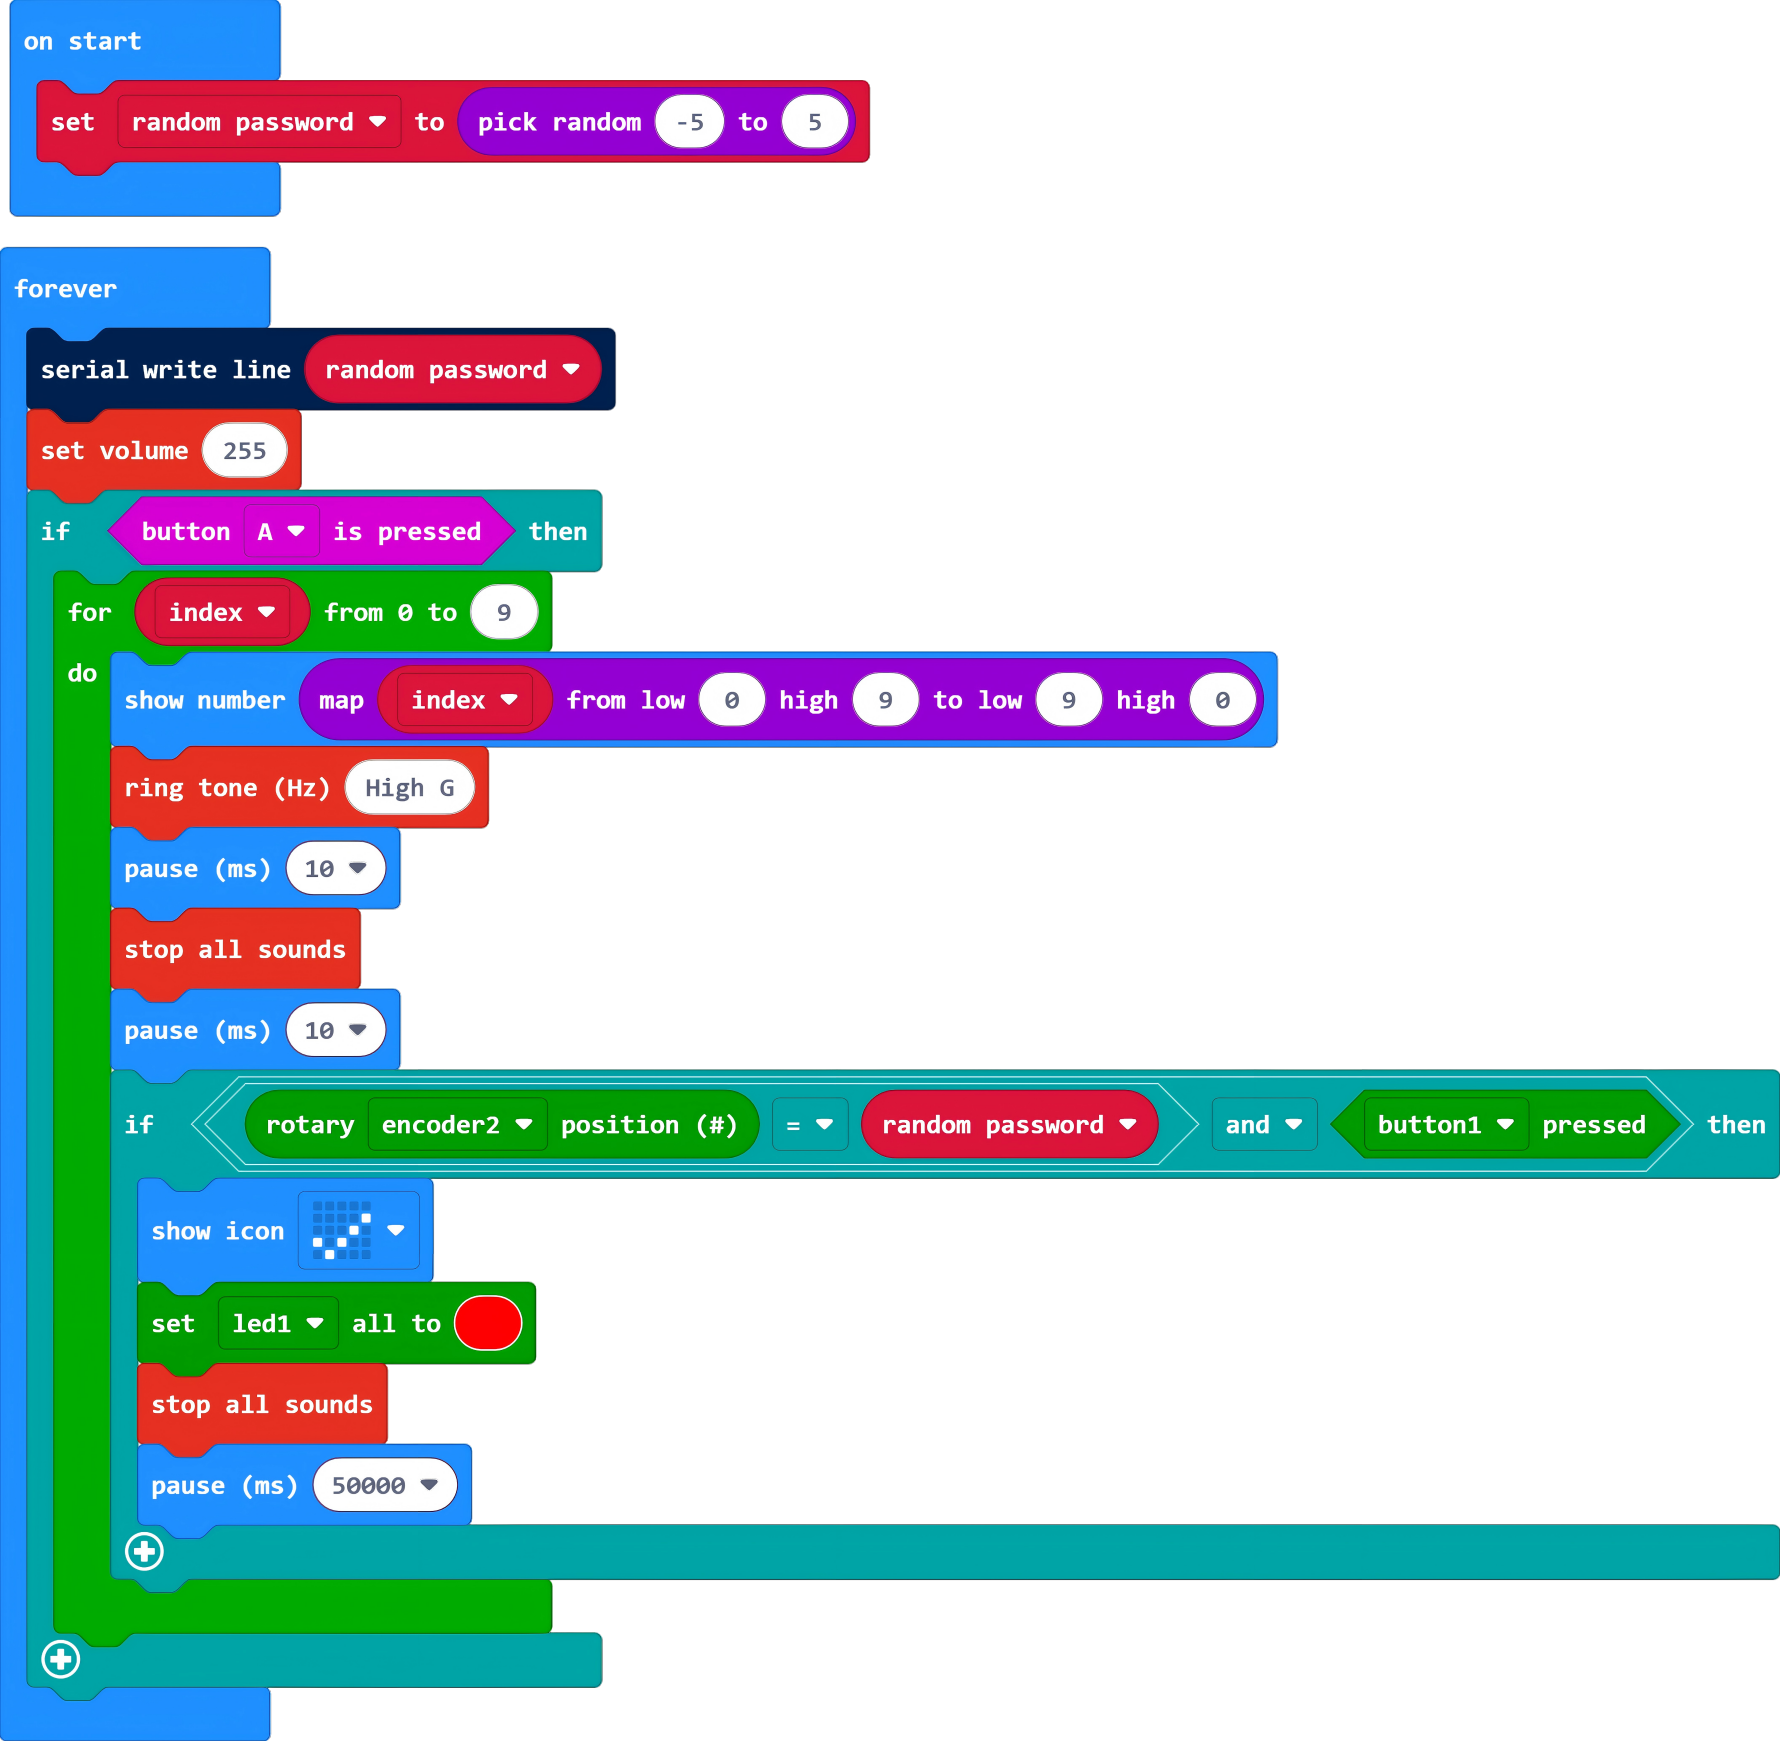
Write the program as shown
Reference program link:
You can also download the program directly from the following webpage and start running the program after the download is complete.
Result
After the micro:bit is turned on, it will automatically generate a random number of "-5 ~ 5" as the password. Press the micro:bit motherboard button "A" to start the game. After the game starts, the micro:bit motherboard will display a countdown from 9 to 0 and play a sound. The player needs to enter the password he guessed by rotating the encoder. The initial position of the rotary encoder is the password "0". Rotating it one grid to the left will reduce the password by 1, and rotating it one grid to the right will increase the secret by 1. When the player rotates the code to the password he thinks is correct, press the button sensor to confirm whether it is correct. If the password is correct, the screen will display a "√" pattern. If the correct password is not entered before the countdown ends, the game fails.
If you need to restart the game, press the reset button of the micro:bit motherboard. Note that the rotary encoder will not initialize the position.

Thinking
How to build a more complex password?