Case 69: The Trimpot Remote Control Car
Introduction
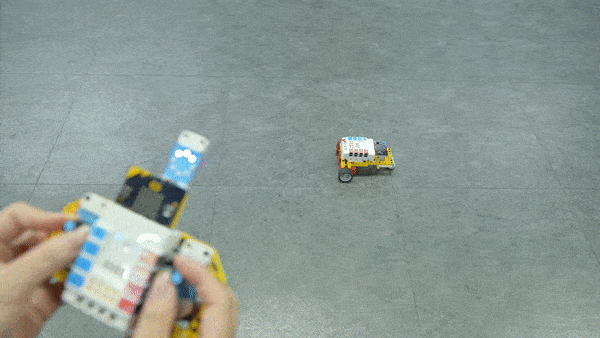
Use Nezha 48 IN 1 Inventor's Kit with ELECFREAKS Interactive Coding Accessories Pack to make a remote control car through the potentiometer, which includes two blocks parts of the remote controller and the car.
Case Building
Materials Required
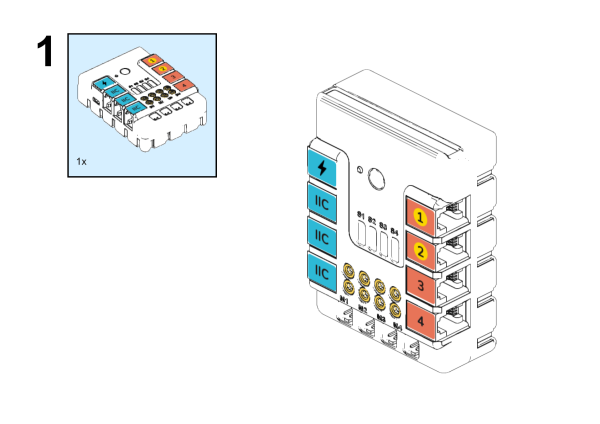
ELECFREAKS micro:bit Nezha 48 IN 1 Inventor's Kit
ELECFREAKS Interactive Coding Accessories Pack
Structure Building
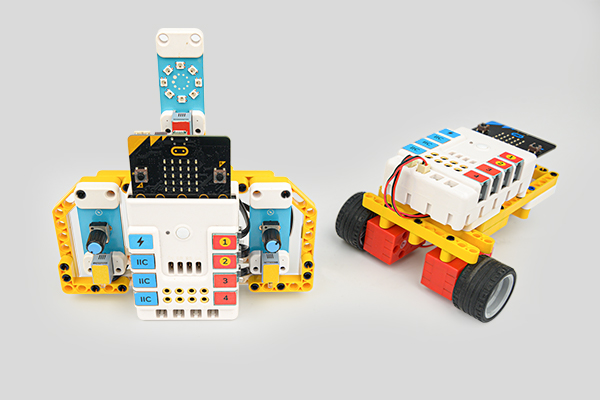
In this case we will make two block structures, the remote control car and remote control handle respectively.
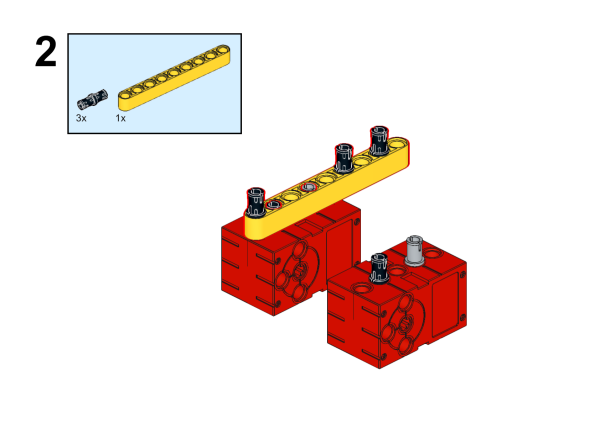
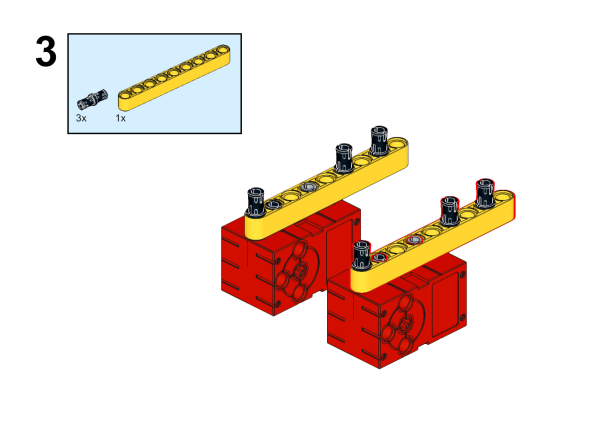
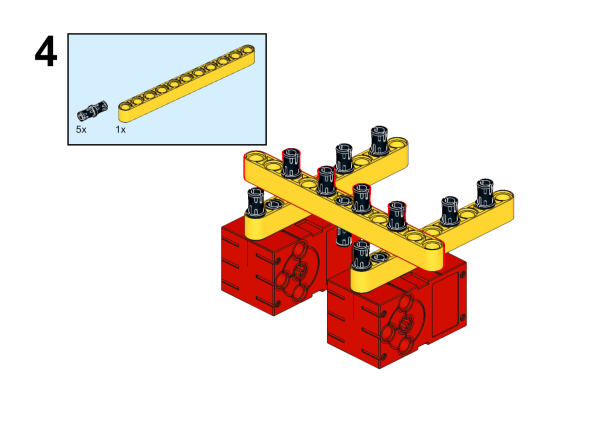
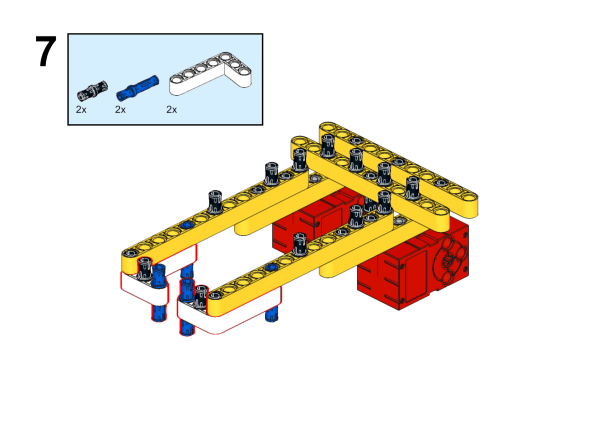
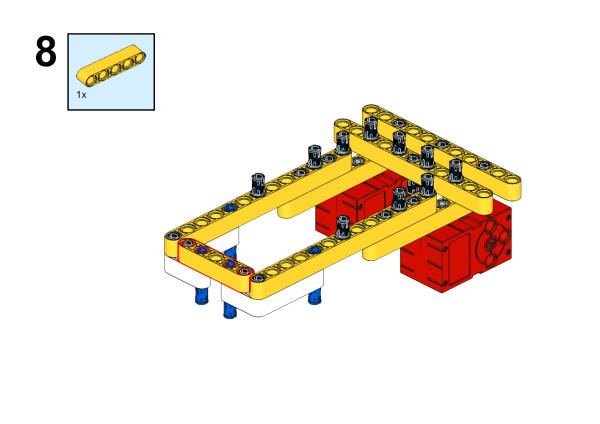
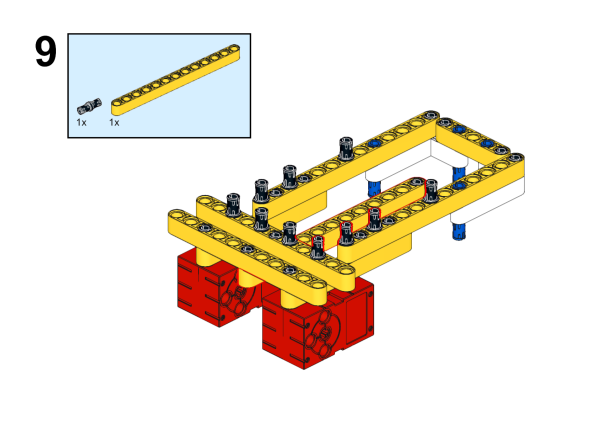
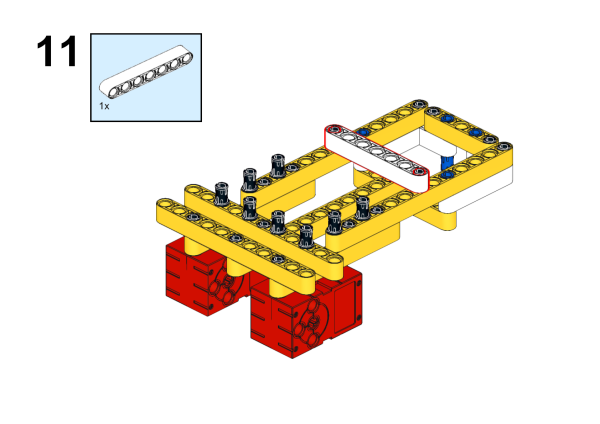
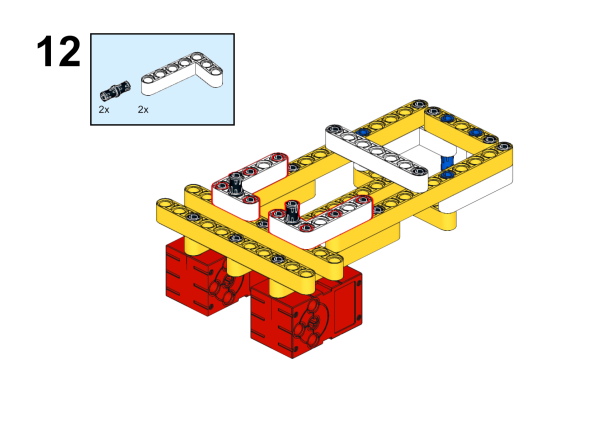
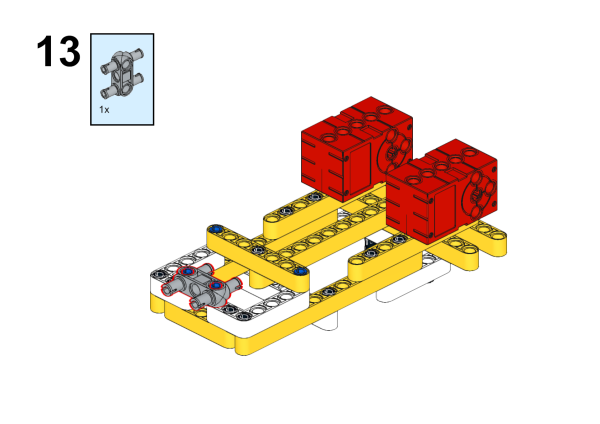
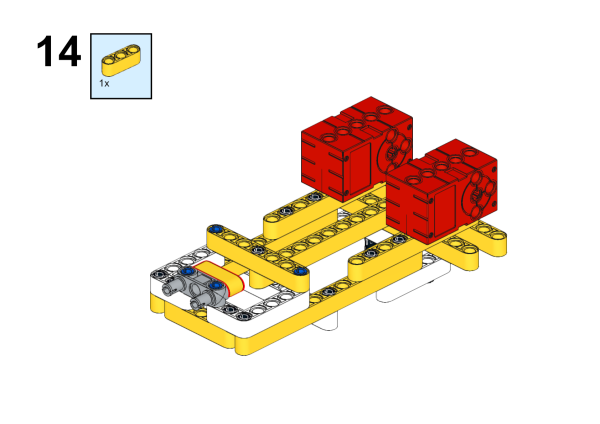
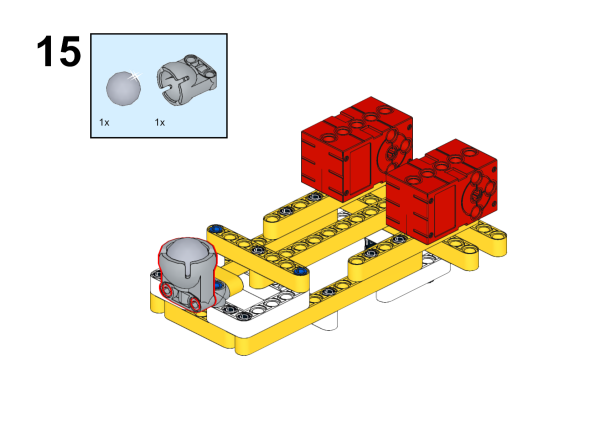
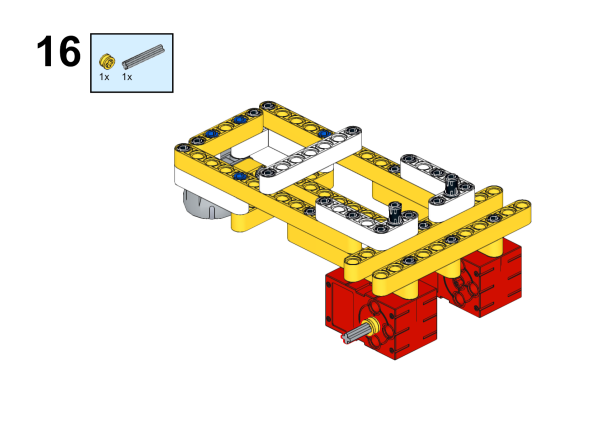
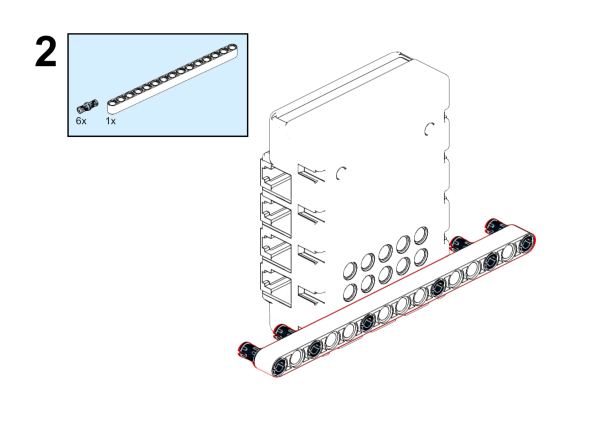
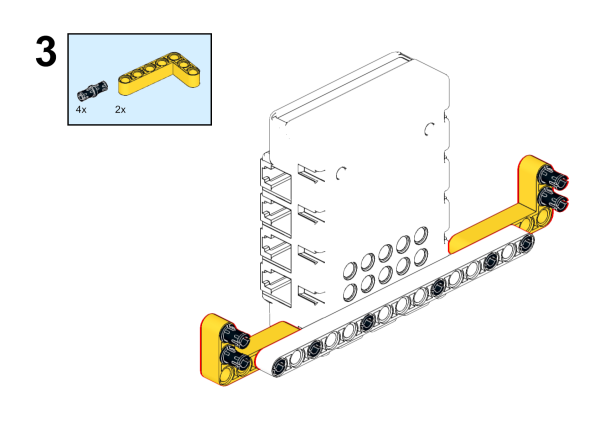
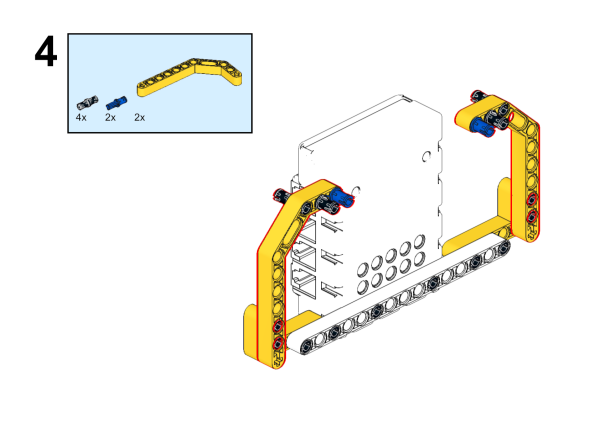
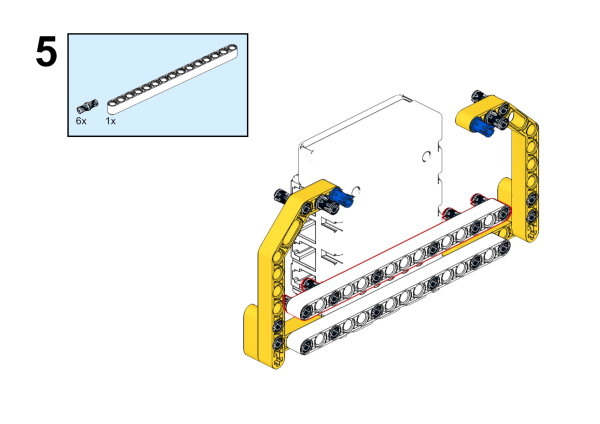
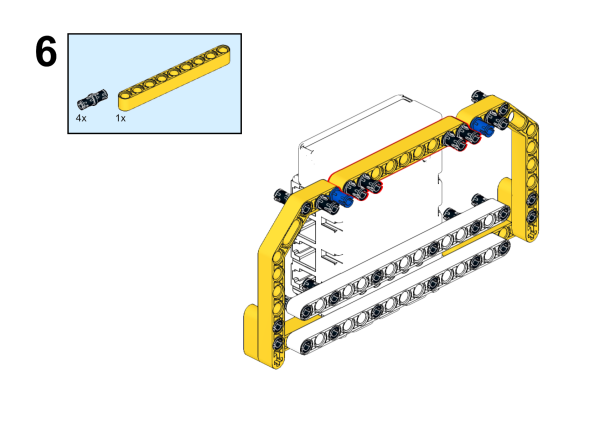
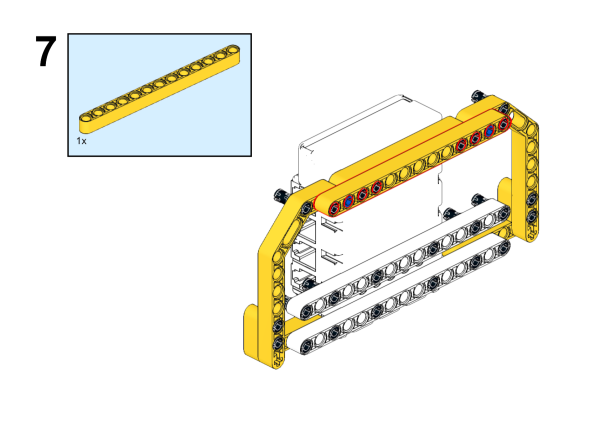
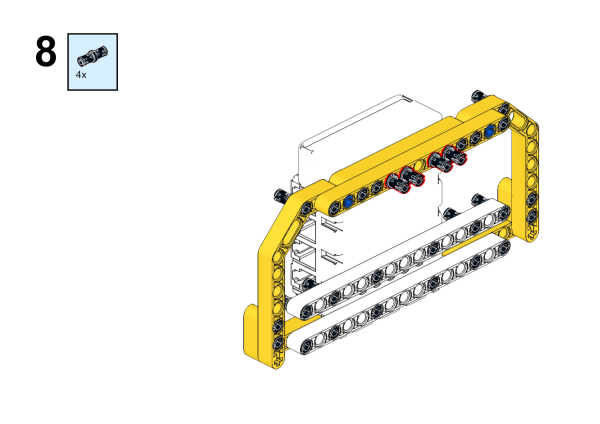
Remote control car building steps
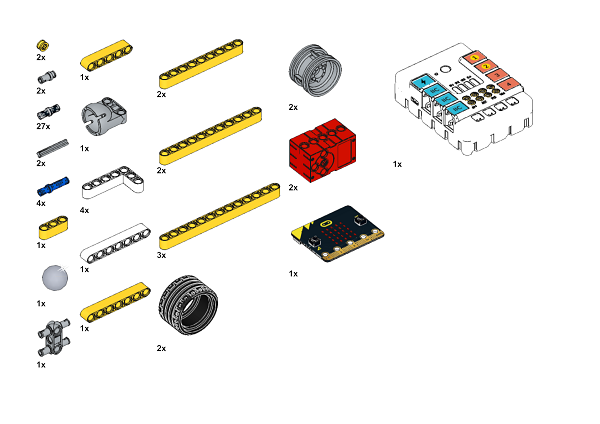
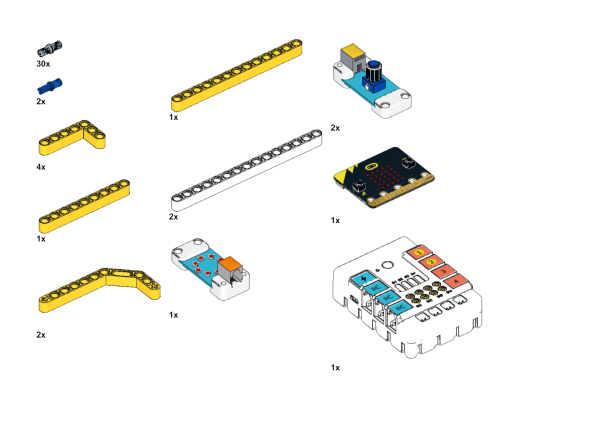
Parts list
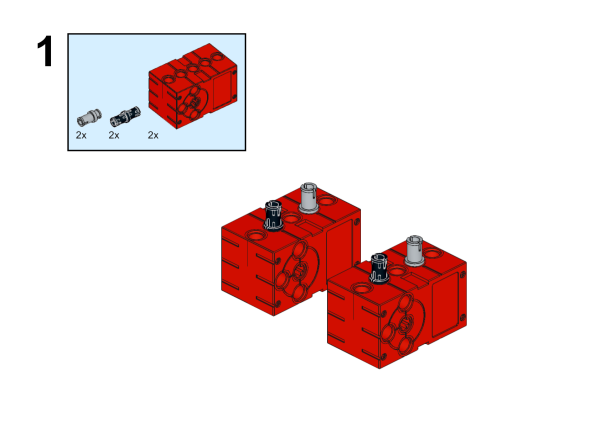
The structure is built as shown in the figure:

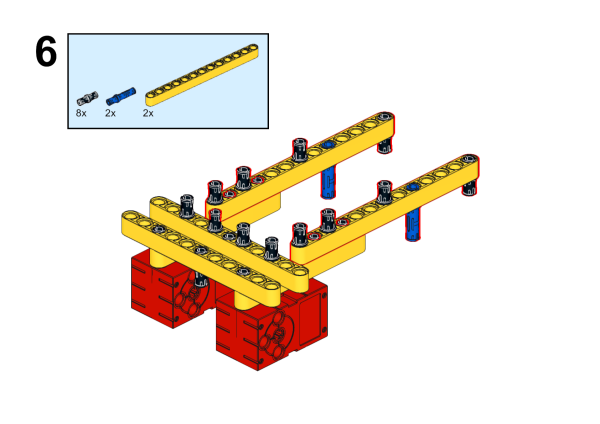
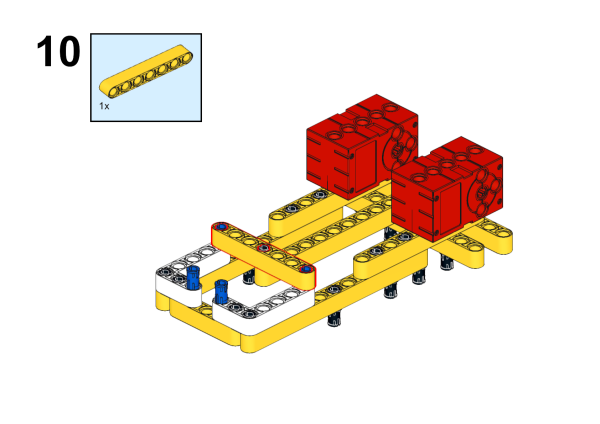
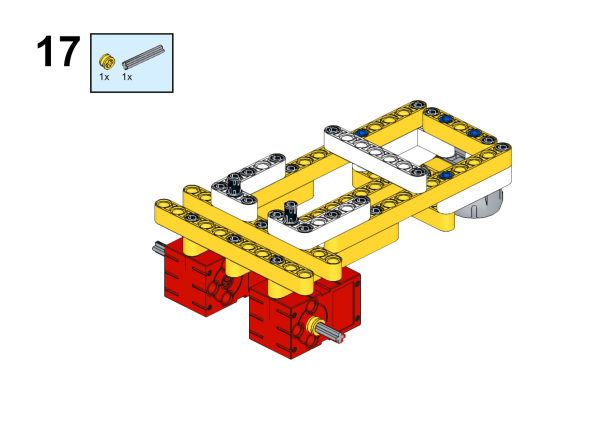
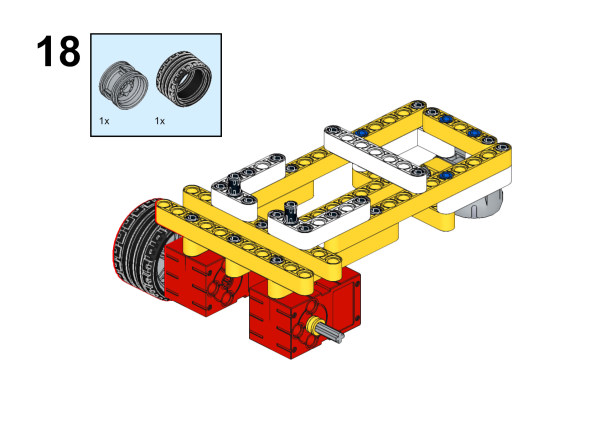
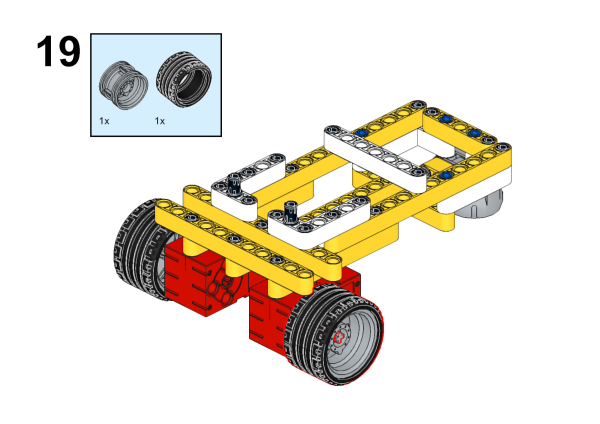
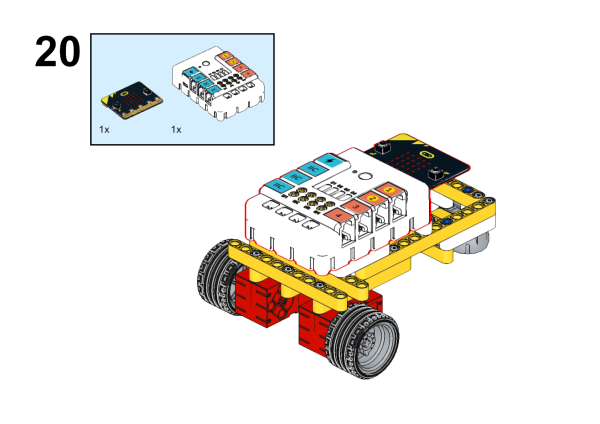
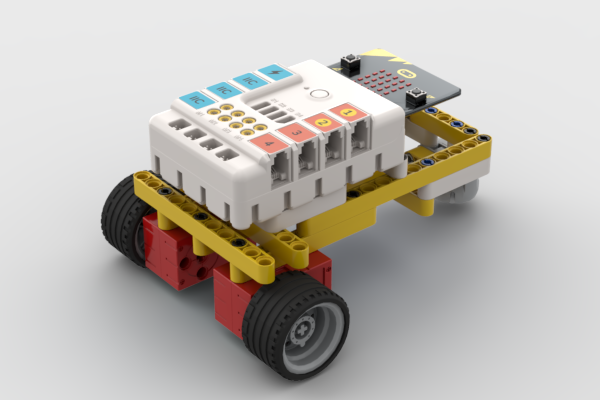
Build completion:
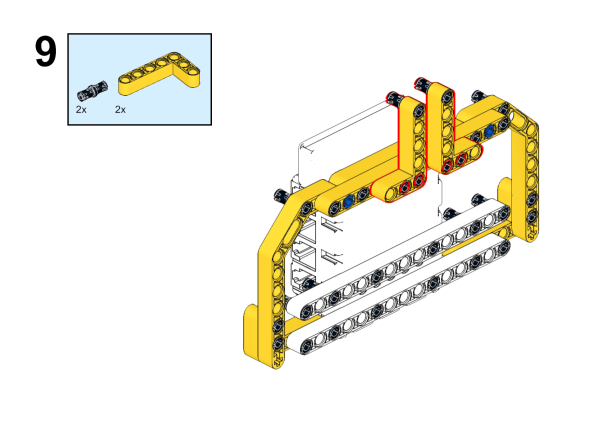
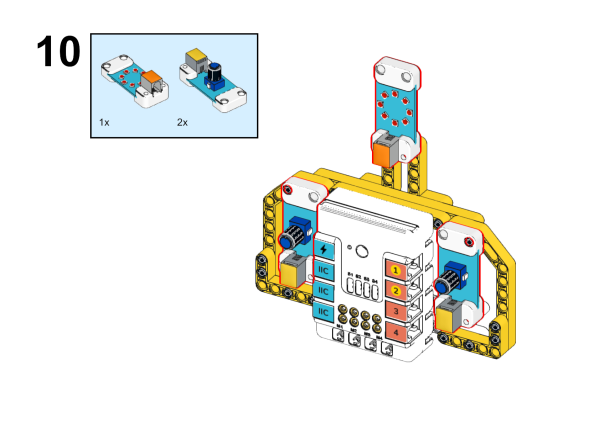
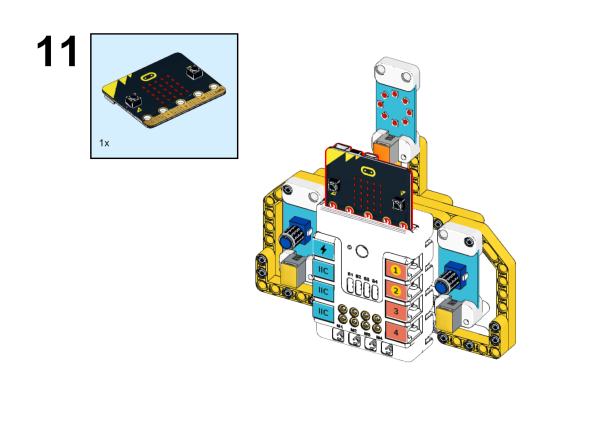
Remote control handle building steps
Parts list
The structure is built as shown in the figure:
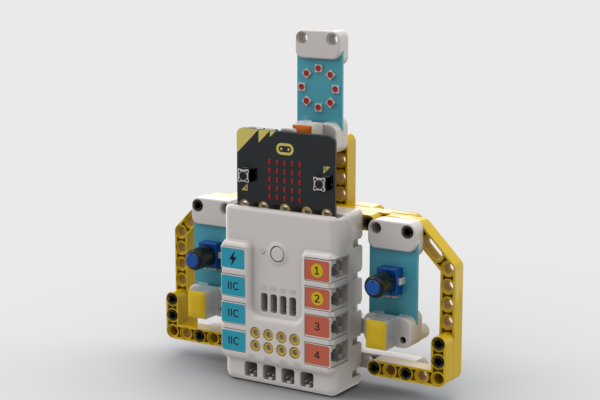
Finished Picture:
Connection Diagram
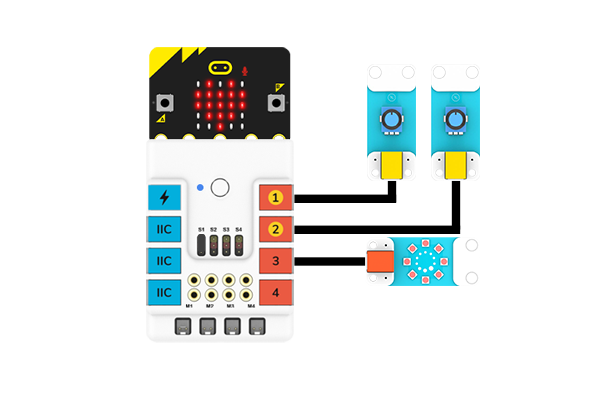
Remote control handle reference
Connect two Potentiometers to J1 and J2 port, and the Rainbowto J3 port on Nezha Breakout Board.
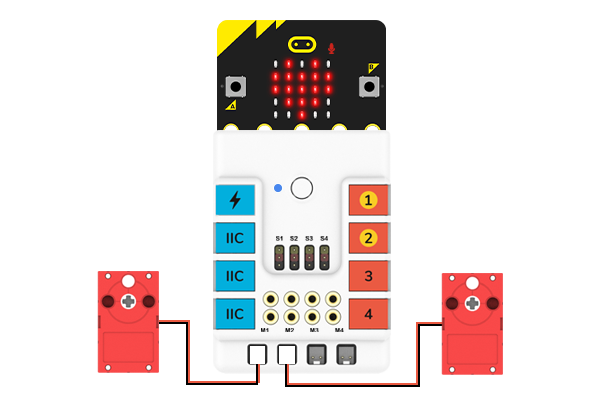
Remote control car reference
Connect two Potentiometers to M1 port and M2 port on Nezha Breakout Board .
MakeCode Programming
Step1
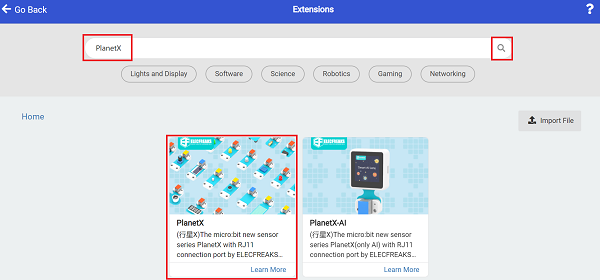
Click "extensions" in the MakeCode drawer.

For programming the potentiometer and the rainbow,we need to add an extension library. Search with "PlanetX" in the dialog box to download this library.
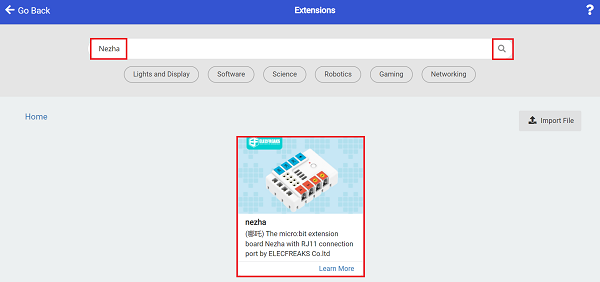
For programming the Nezha expansion board, we need to add an expansion library. Search with "Nezha" in the dialog box to download it.
Notice: If you met a tip indicating that some codebases would be deleted due to incompatibility, you may continue as the tips say or create a new project in the menu.
Step 2
*Remote control cart program
Write the program as the picture suggests
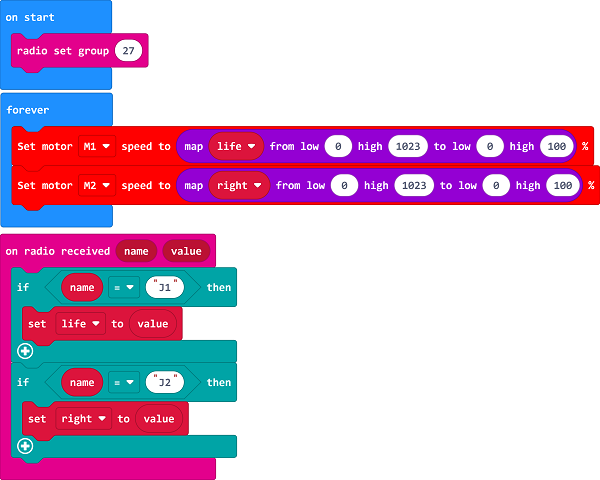
Reference
Link: https://makecode.microbit.org/_4E0ayHcEHXgL
You may also download it directly:
Remote control handle program
Write the program as the picture suggests
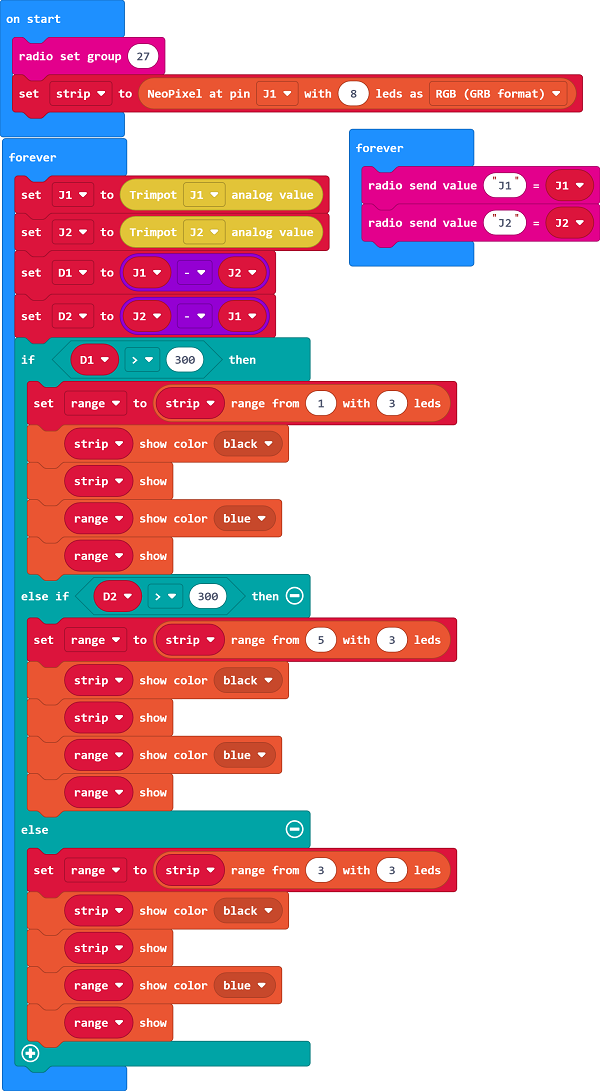
Reference
link: https://makecode.microbit.org/_CRzJ1dE356Rx
You may also download it directly:
Result
The two potentiometers can respectively remote control the left and right wheels of the cart, through the rainbow light ring on the handle shows the speed difference between the two wheels of the cart, when the speed of the right wheel of the cart is higher, the left side of the rainbow light ring on the handle lights up, then the cart turns left; when the speed of the left wheel of the cart is higher, the right side of the rainbow light ring on the handle lights up, then the cart turns right; when the speed of the wheels on both sides of the cart does not differ much, the three lights in the middle of the rainbow ring light up, and then the car moves forward.