PlanetX Smart Brick Motor (EF05071)
Introduction
PlanetX Smart Brick Motor combines high-precision servo and high-efficiency motor features to create an unprecedented all-around drive core. It has ultra-high control accuracy, instantaneous response speed and powerful torque, and built-in intelligent protection systems, including temperature monitoring, blocking detection and voltage stabilization protection, to ensure a safe and stable operating environment, injecting surging power for your creative projects.
Translated with DeepL.com (free version)

Product Features
- Two-in-one design: integrates the functions of servo and motor to realize multi-function drive.
- High-precision control: Using coded motors, it is able to accurately control and feedback the current angle.
- Powerful torque: Provides enough power for various application scenarios that require larger torque.
- Intelligent Protection System: Built-in temperature monitoring, blocking detection and voltage stabilization protection ensure safe and stable operation of the equipment.
- Durable wire: Adopts RJ11 wire, which is designed to be durability-proof, not easy to break, and replaceable.
- Good compatibility: Fully compatible with building block structural components, easy to combine with other building block components.
- Stable Installation: Full pin hole design makes the structure installation more solid.
- Color recognition: Supports color recognition system, effectively reducing the difficulty for beginners to get started.
These features make PlanetX Smart Brick Motor up to a versatile, high-precision, safe and reliable drive core, ideal for a variety of creative projects and robotics.
Translated with DeepL.com (free version)
Introduction to the main modules

Technical specifications
| project | parameter |
|---|---|
| Product Name | PlanetX Smart Brick Motor |
| SKU | EF05071 |
| Operating Voltage | 5.0~9.0V |
| No-load Speed | 125 rpm |
| StallTorque | ≥29 Ncm |
| Accuracy | ≤3° |
| Operating Travel Angle | 360° * N |
| Connector Interface | RJ11 |
| Building Block Interface | support |
| Speed Reading | support |
| Angle Reading | support |
| Protection Mechanisms | Temperature protection, blocking protection, voltage protection |
| Color Recognition System | support |
| Weight | 31g |
Quick Start
Open https://makecode.microbit.org/
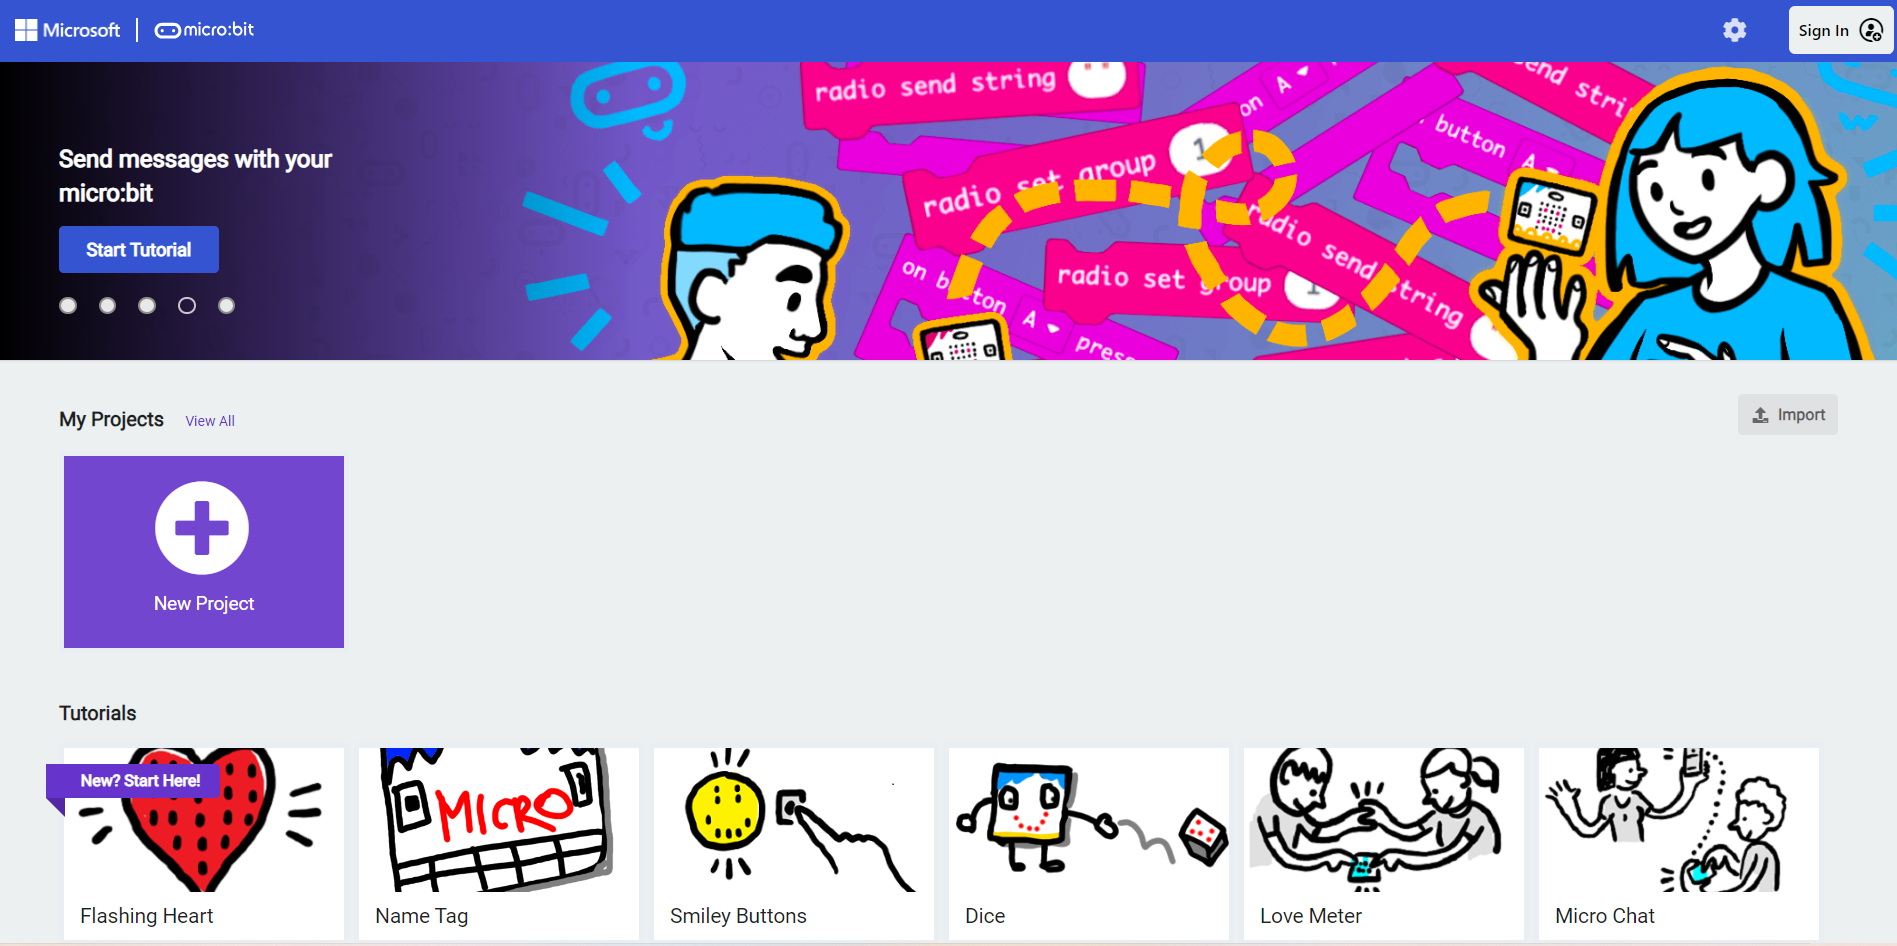
New Project
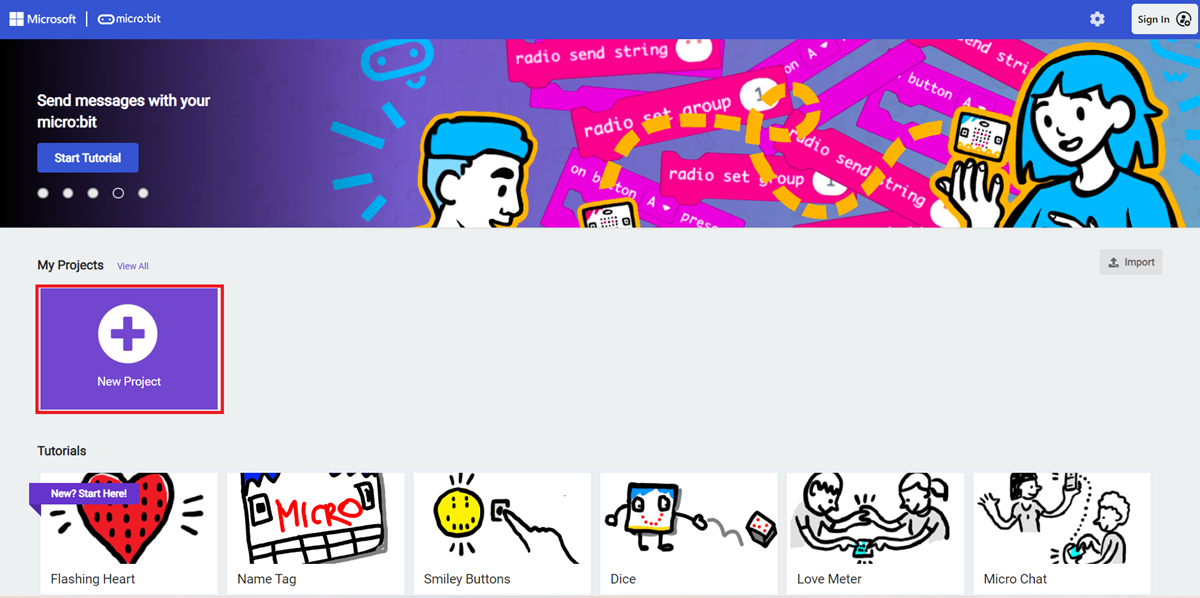
Enter a project name and click Create.
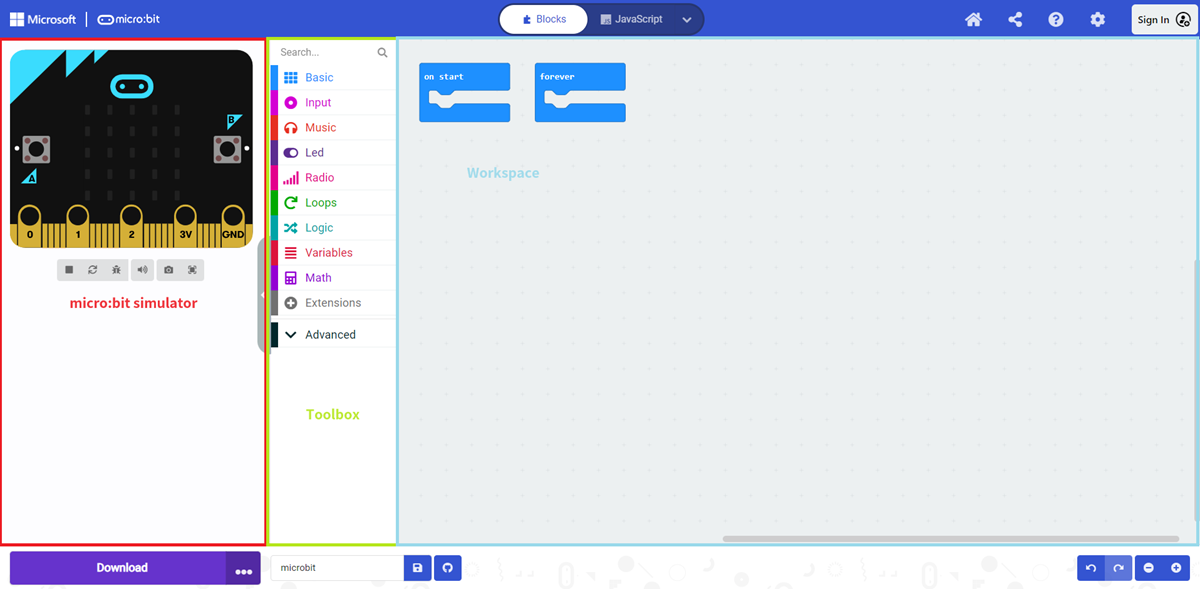
After entering the editor interface we can see Micro:bit Simulator,Toolbox,Workspace。
Add Proprietary Extension Libraries
In order to program Nezha Pro, we need to add an extension library. Find “Extensions” in the code drawer and click on it.。

A dialog box will pop up, search for “nezha2” and click on download the code base.

Note: If you get a prompt that some codebase will be removed for incompatibility reasons, you can either follow the prompt and continue, or create a new project inside the project menu bar
Introduction to Software Building Blocks
| Building Block | Founction | Parameter |
|---|---|---|
 | Sets the motor of the corresponding interface to rotate in the specified direction. | Parameter 1: Drop-down options Options: M1, M2, M3, M4 Parameter 2: Drop-down options Options: Clockwise, Counterclockwise Parameter 3: Integer Parameter 4: Drop-down options Options: Degrees, Circles, Seconds |
 | Sets the motor of the corresponding interface to rotate the specified angle in the specified direction. | Parameter 1: Drop-down options Options: M1, M2, M3, M4 Parameter 2: Drop-down options Options: Clockwise, Counterclockwise Parameter 3: Integer |
 | Set the motor of the corresponding interface to rotate in the specified direction | Parameter 1: Drop-down options Options: M1, M2, M3, M4 Parameter 2: Drop-down options Options: Clockwise, Counterclockwise |
 | Setting the motor of the corresponding interface to stop runningParameter 1: Drop-down options Options: M1, M2, M3, M4 | |
 | Set the motor of the corresponding interface to run at the specified speed | Parameter 1: Drop-down options Options: M1, M2, M3, M4 Parameter 2: Integer Value range: -100~100 |
 | With this block you can get the current angle value of the motor | |
 | The current speed of the motor can be obtained from this block | |
 | Set the motor of the corresponding interface to rotate to zero position | |
 | Set the connection interface between the left and right wheel motors of the car | Parameter 1: Drop-down options Options: M1, M2, M3, M4 Parameter 2: Drop-down options Options: M1, M2, M3, M4 |
 | Setting the speed of the cart | Parameter 1: Value Value range: -100~100 |
 | Setting the trolley to stop running | Parameter 1: Value Value range: -100~100 Parameter 2: Value Value range: -100~100 |
 | Setting the car to go forward or backward | Parameter 1: Drop-down options Options: forward, backward |
 | Setting the speed of the left and right wheels of the cart | Parameter 1: Value Value range: -100~100 Parameter 2: Value Value range: -100~100 |
 | Get the current firmware version number |
Hardware Connection
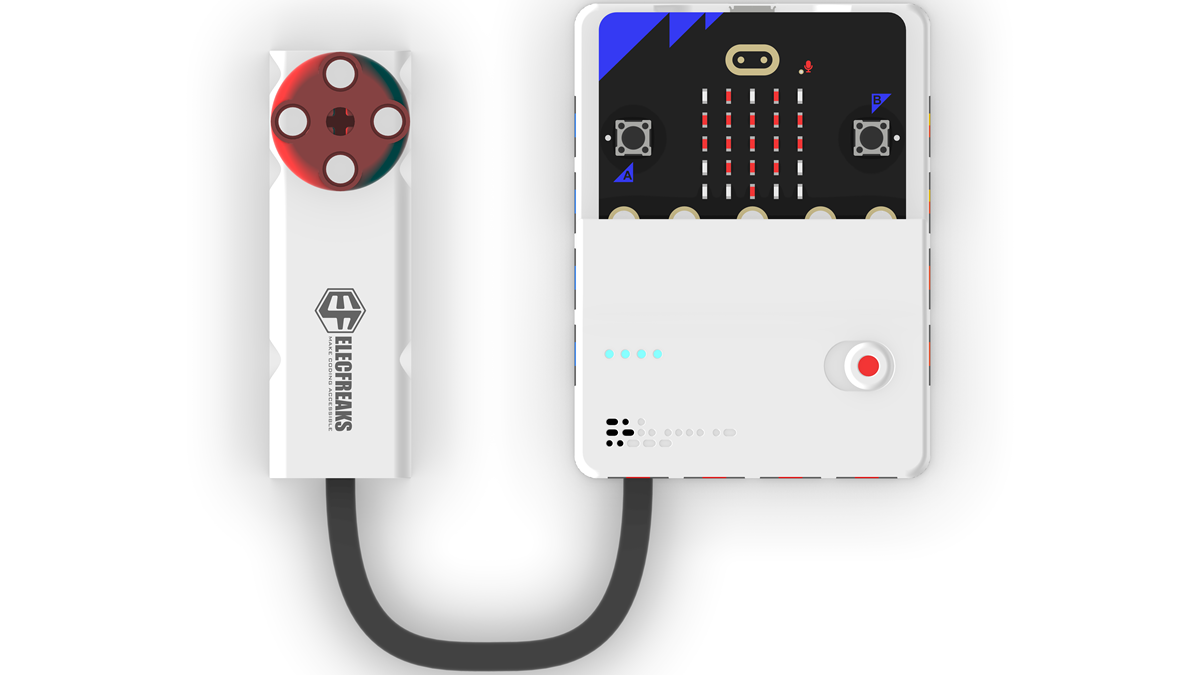
Connect the PlanetX Smart Brick Motor to the motor M1 port of the Nezha Breakout Board Pro as shown in the picture.
Program example
Take the current position as the zero point and run 180 degrees clockwise

Reference Program
Please refer to the program link: https://makecode.microbit.org/_E6vawDM7yX87
You can also download the program directly from the following website, and start running the program after downloading.
### How to download the program to micro:bit?Use a USB cable to connect PC and micro:bit V2.
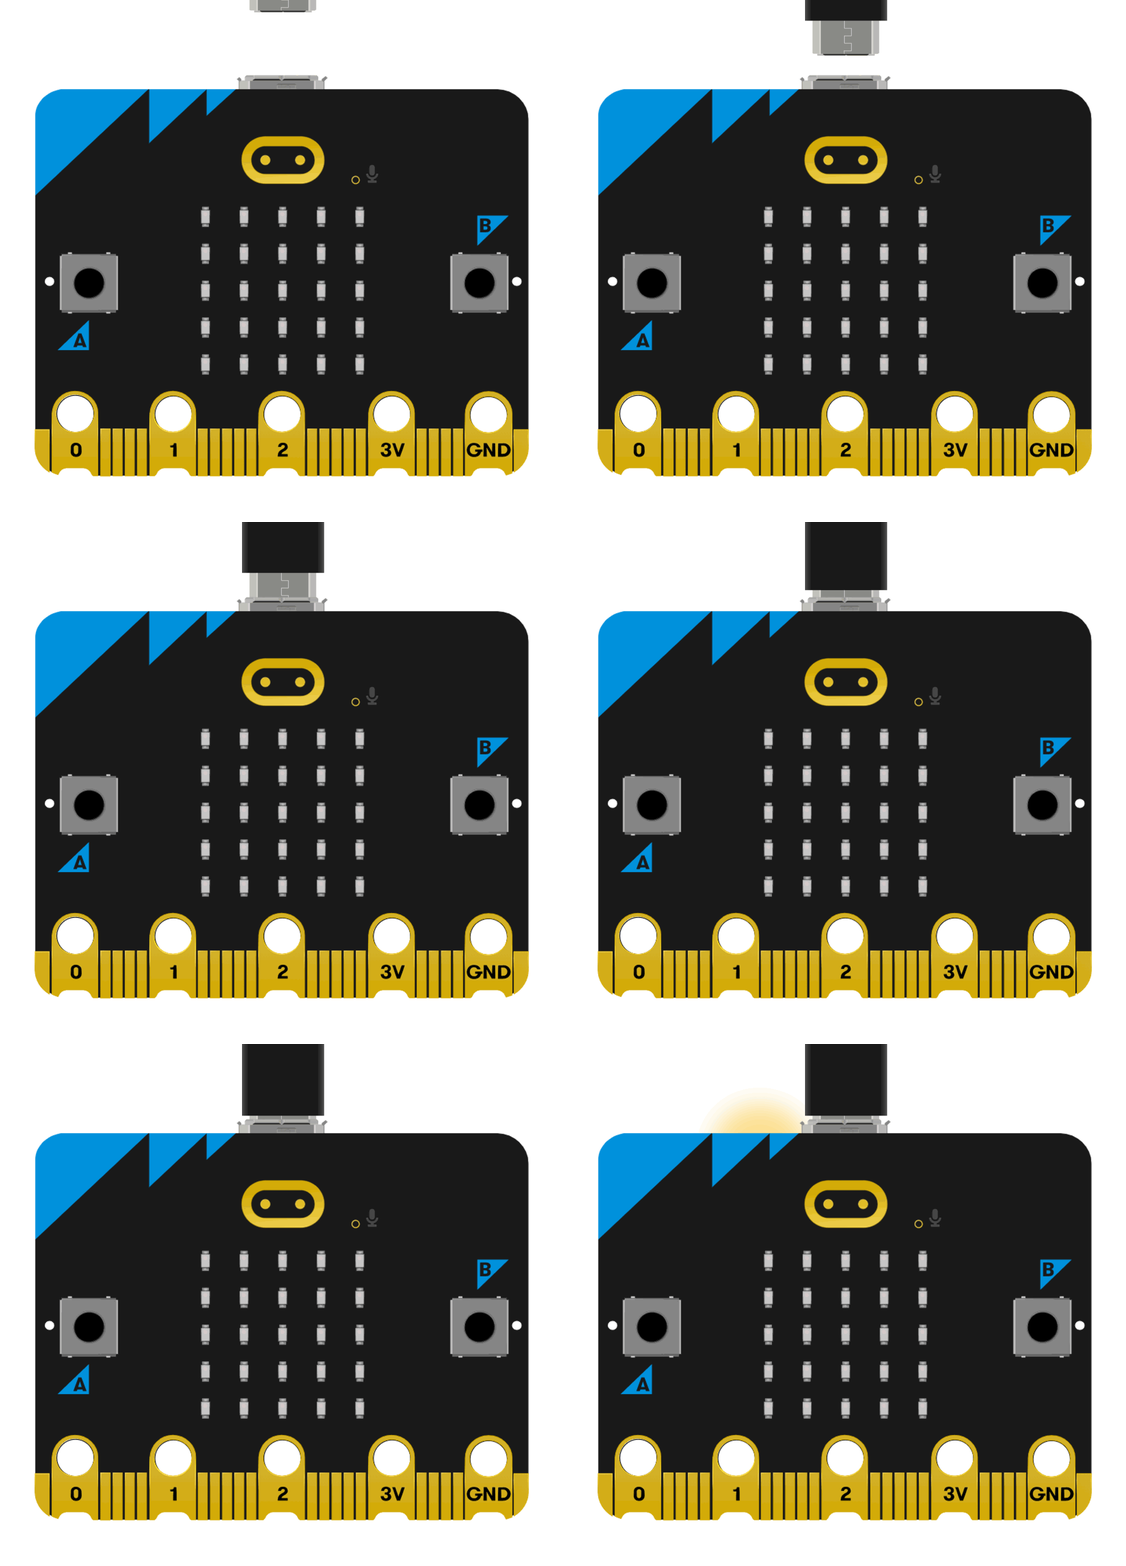
After the connection is successful, a drive letter named MICROBIT will be recognized on the computer.

Click the  in the lower left corner and select
 Connect Device.
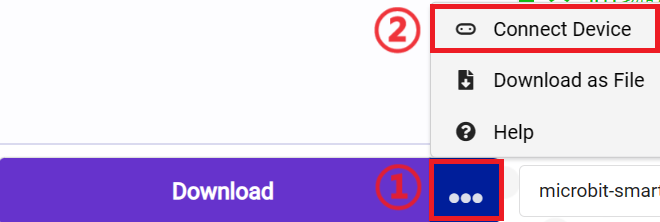
Click 。
。
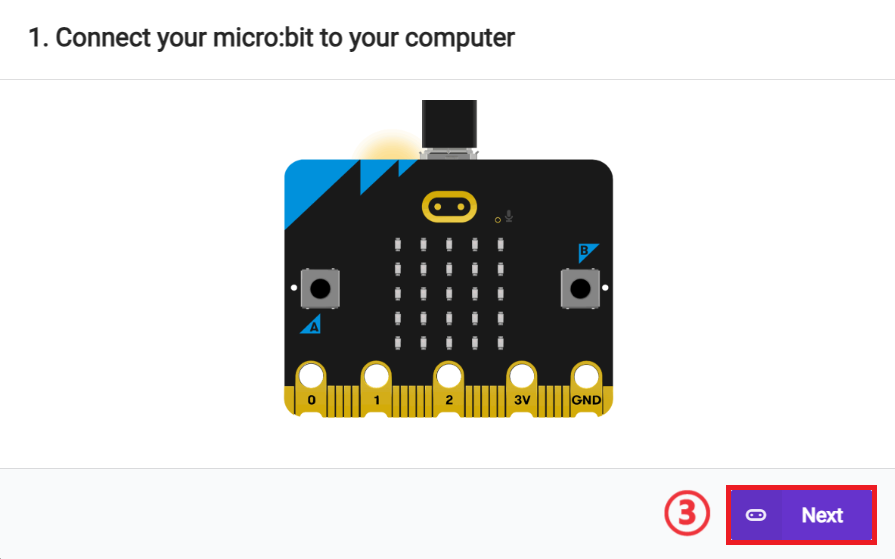
Click
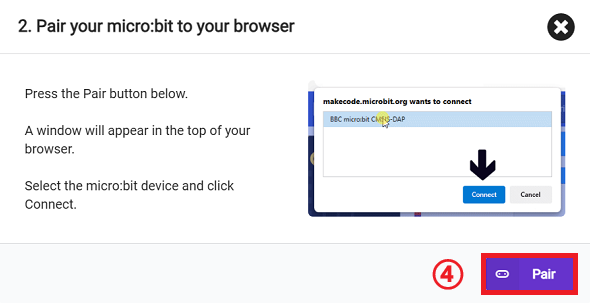
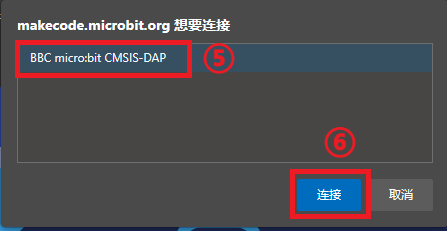
In the pop-up window, select BBC micro:bit CMSIS-DAP, and then select Connect. At this point, our micro:bit has been successfully connected.
Click Download.

Result
When button A is pressed, the motor connected to port A rotates 180° clockwise.
The servo rotates to the preset zero position and runs 180 degrees clockwise

Reference Program
Please refer to the program link: https://makecode.microbit.org/_1w9VLsEE8fdi
You can also download the program directly from the following website, and start running the program after downloading.
#### ResultWhen button A is pressed, the motor connected to port A automatically rotates to the preset zero position. When button B is pressed, the motor connected to port A rotates 180° clockwise.
Set the motor rotation speed and control the motor to start or stop

Reference Program
Please refer to the program link: https://makecode.microbit.org/_fdiPdcJ71f4X
You can also download the program directly from the following webpage, and start running the program after downloading.
#### ResultSet the motor speed and start or stop the motor using the A and B buttons.
Read the rotation angle

Reference Program
Please refer to the program link: https://makecode.microbit.org/_Axw3drgX6Y3V
You can also download the program directly from the following website, and start running the program after downloading.
#### ResultAfter turning on the power, press the A key to control the motor to rotate for 3 seconds, and then display the current angle value.
Read the rotation speed (turns/second)

Reference Program
Please refer to the program link: https://makecode.microbit.org/_01x60dRX9Ros
You can also download the program directly from the following webpage, and start running the program after downloading.
#### ResultAfter turning on the power, the motor starts to rotate, and the LED matrix of micro:bit displays the current speed (rotation/second).
Read the firmware version number

Reference Program
Please refer to the program link: https://makecode.microbit.org/_V0tJ15dkhLVq
You can also download the program directly from the following webpage, and start running the program after downloading.
#### ResultAfter turning on the power, the LED matrix of micro:bit displays the current firmware version number.