Case 12: AI Activity Timer
Introduction
By collecting data on walking, jumping, and stationary movements, and conducting model training, create a motion timer based on the trained model.
Purpose of the Case
- Learn the basic operations of Create AI projects.
- Master the process and method of Create AI data sample collection.
Required Materials
| Item | Image | Quantity |
|---|---|---|
| Smart Coding Kit |  | 1 |
| micro:bit | .png) | 1 |
| USB Cable |  | 1 |
| Personal Computer |  | 1 |
User Tutorial
Step 1: Learning Related Knowledge
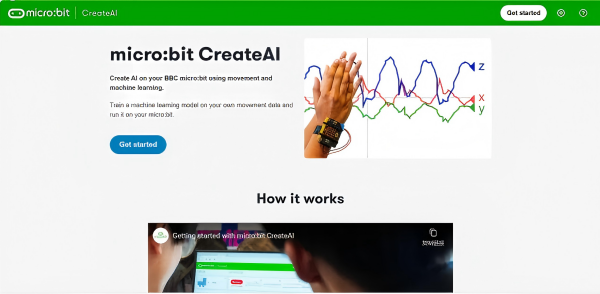
- Use the Chrome or Edge web browser to visit https://createai.microbit.org/ as shown in the figure below.
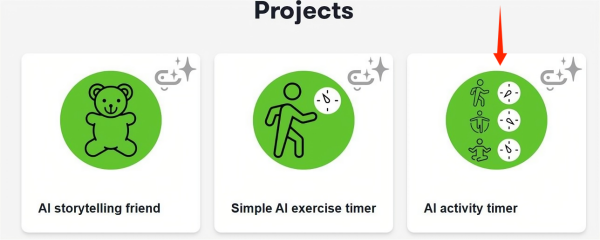
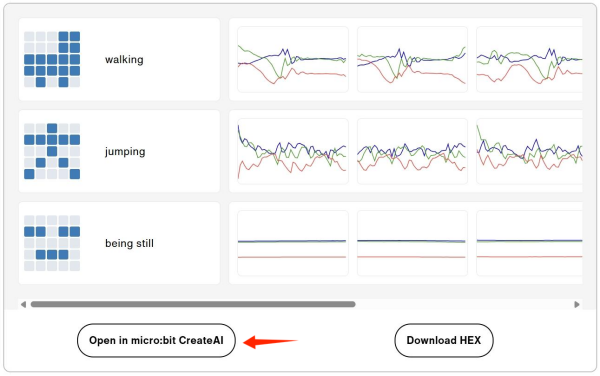
- Browse and read the relevant information, locate "Projects" and click the "AI activity timer" project.
- Browse and read the relevant knowledge points, then locate the "Collect data samples" directory and click "Open in micro:bit CreateAI".
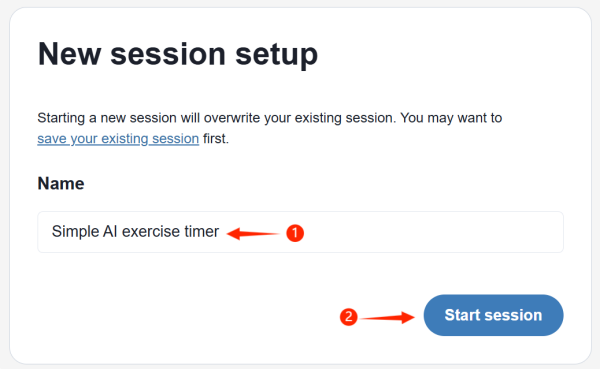
Step 2: Create a New Project
- Create a new project, name it, and click "Start Project".
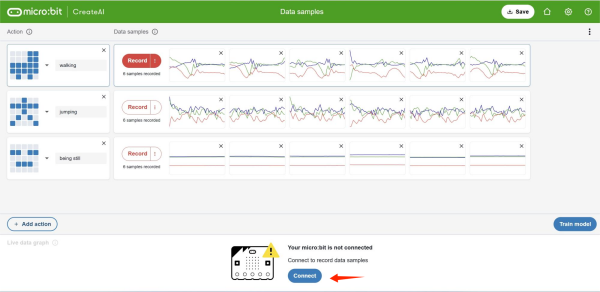
- On the data sample page, find "connect" and click it.
Step 3: Connect the micro:bit Board
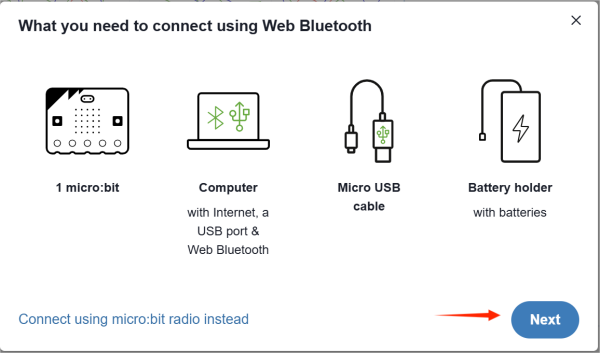
- Please ensure that all necessary materials and equipment are ready, then click "Next".
(If your personal computer has Bluetooth connectivity, only one micro:bit board is needed. If your personal computer does not support Bluetooth connection, click "Use micro:bit Wireless Connection" and follow the tutorial to complete the connection.)
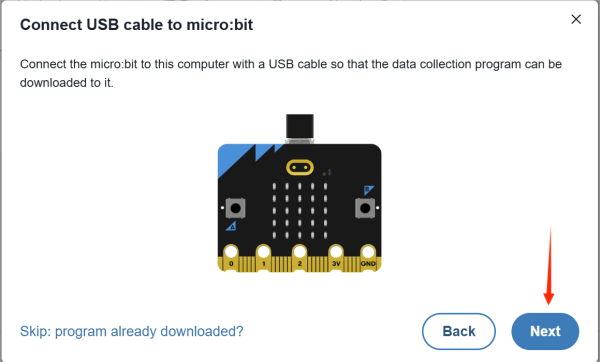
- Please connect your micro:bit board to the computer using a data cable, then click "Next" and follow the tutorial to complete the program download.
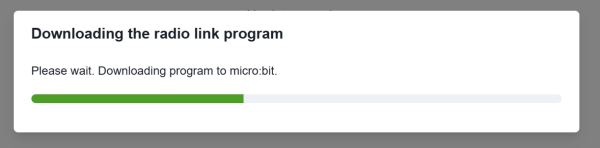
- Wait for the program to be downloaded and installed on the micro:bit board.
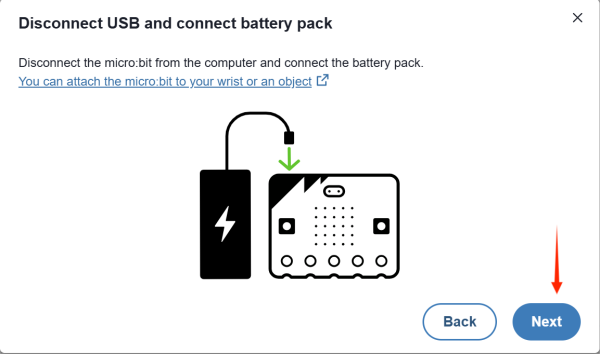
- Please disconnect the USB cable and turn on the power of the Watch Kit Pro, then click "Next".
- Click "Next" and follow the tutorial to complete the Bluetooth connection authentication process.
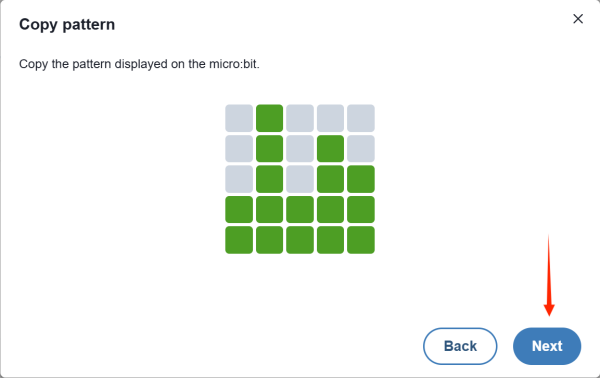
- Select "micro:bit Board" and click "Pair", wait until the connection is successful.
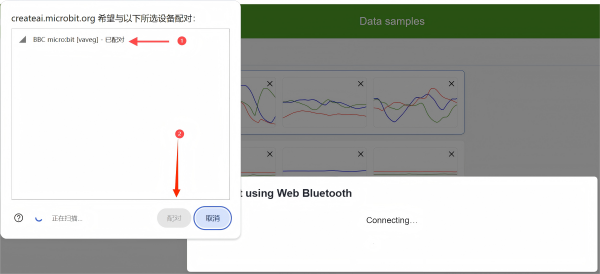
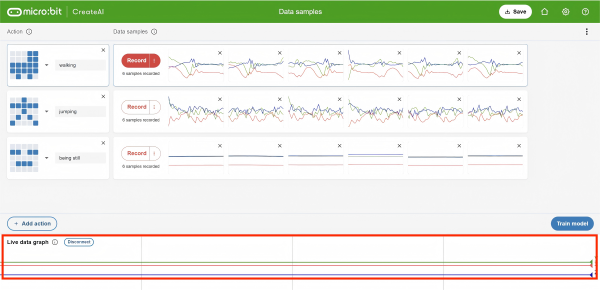
- If the connection is successful, the "X", "Y", "Z" lines in the "Real-time Data Area" will change accordingly as you shake the watch.
Step 4: Train Model and Data Model Recognition Calibration
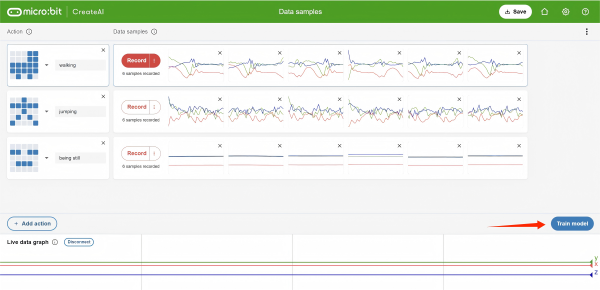
- Click "Train Model"
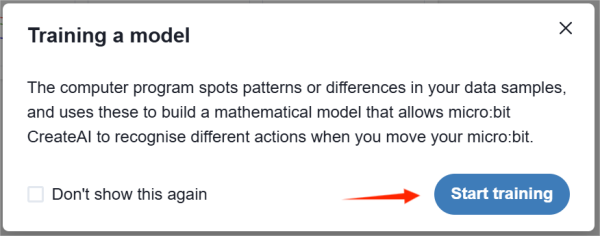
- Click "Start Training" and wait for the data model deployment to complete.

- Click "Next" and follow the tutorial to complete the guidance.
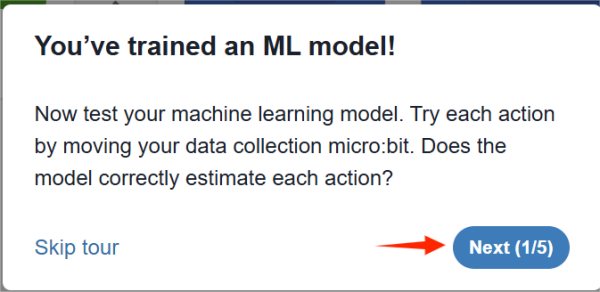
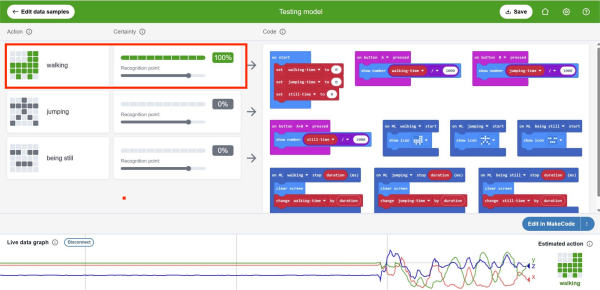
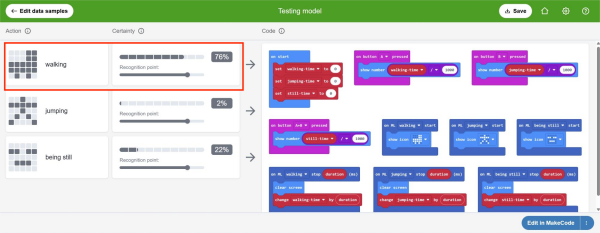
- Please wear the watch kit on the inside of your right ankle, making sure that button "B" is on top. You can now perform actions such as walking, jumping, and standing still to check if the recognition rate of the corresponding data model exceeds 80% to complete the task. If an action fails to meet this standard, we can re-collect data samples of that action and train the data model until the recognition rate exceeds 80%.
Step 5: Data Collection and Model Training
- Here, we take the walking action as a case for data collection. Note: When collecting data samples, be sure to ensure that the watch is worn correctly.
If you are walking and the data model recognition rate is less than 80%, return to the "Edit Data Samples" interface and re-collect walking data samples.
- Select the walking data sample and click "X" to delete the data sample.

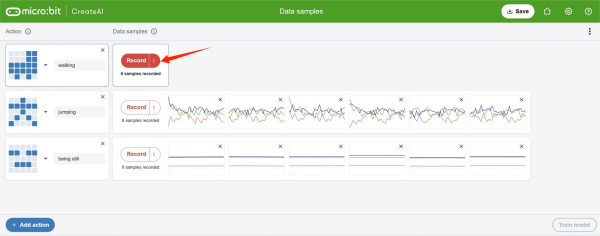
3.Click the "Record" button to start data collection. When the screen shows a 3, 2, 1 countdown and enters the data collection phase, you only need to walk normally. Repeat this step the corresponding number of times according to the number of samples to be collected.
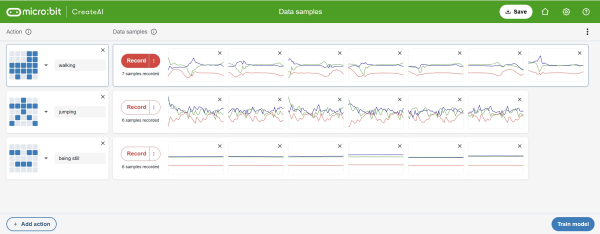
Note: The number of collected data samples should not be less than 3. Generally speaking, the more data samples there are, the higher the accuracy of the recognition data model.
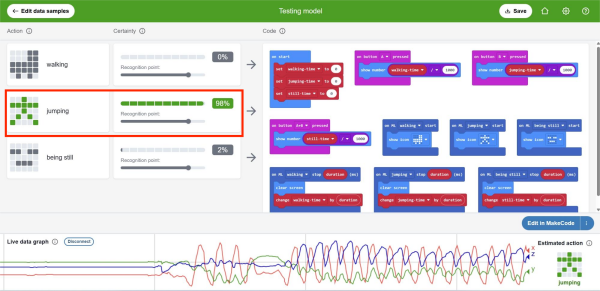
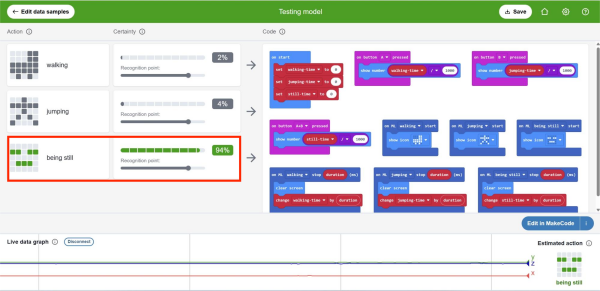
- Click "Start Training" and check whether the recognition rate of each data model reaches or exceeds 80%. If it is found that the recognition rate of a certain data model does not meet the standard, re-collect the corresponding data samples of that project and train the data samples.
Step 6: Program Writing and Download
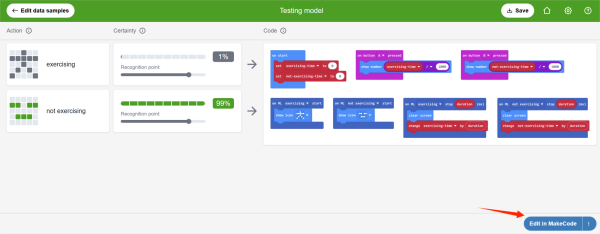
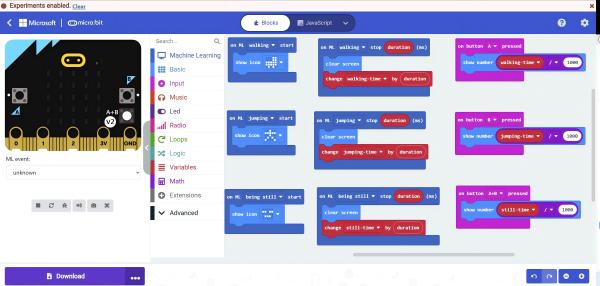
- Click "Edit in MakeCode".
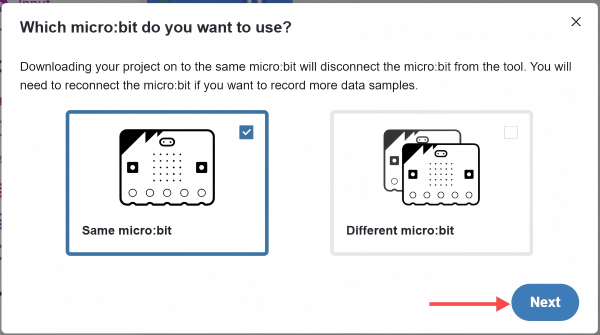
- Connect the micro:bit board with a data cable and click "Download".
- 点击“下一步” 若您下载的目标是用于数据采集的micro:bit主板,请选择“相同的micro:bit”。若您下载的目标是另一块不同的micro:bit主板,请选择“不同的micro:bit”。
- After completing the download according to the tutorial steps, when you are in a moving state, the micro:bit in the watch will display the "roller skate" icon. When you are stationary, the micro:bit in the watch will display the "asleep" icon. When doing jumping exercises, the micro:bit in the watch will display the "stick figure" icon.
Result
When you are walking, the micro:bit in the watch will display the "roller skate" icon. When you are stationary, the micro:bit in the watch will display the "asleep" icon. When you are jumping, the micro:bit in the watch will display the "stick figure" icon. Press button "A" on the micro:bit board to view the walking time, press button "B" to view the jumping time, and press both A and B at the same time to view the stationary time.