Case 11: Simple AI Exercise Timer
Introduction
By comparing the trained data model and downloading it to the micro:bit board, pressing button "A" on the micro:bit board allows you to check how many seconds you have been exercising; pressing button "B" allows you to check the time you have been stationary.
Purpose of the Case
Learn the basic operations of Create AI projects.
Required Materials
| Item | Image | Quantity |
|---|---|---|
| Smart Coding Kit |  | 1 |
| micro:bit | .png) | 1 |
| USB Cable |  | 1 |
| Personal Computer |  | 1 |
User Tutorial
Step 1: Learning Related Knowledge
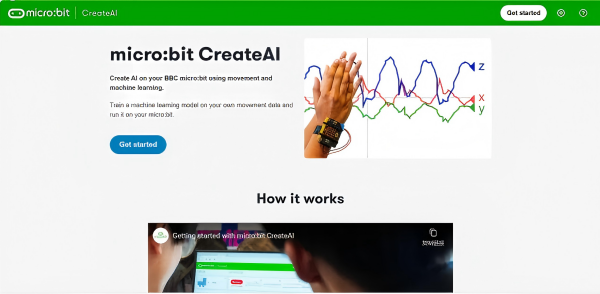
- Use the Chrome or Edge web browser to visit https://createai.microbit.org/ as shown in the figure below.
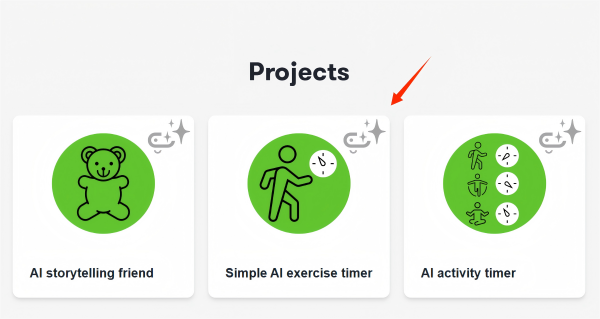
- Browse and read the relevant knowledge points, locate "Projects" and click the "Simple AI exercise timer" project.
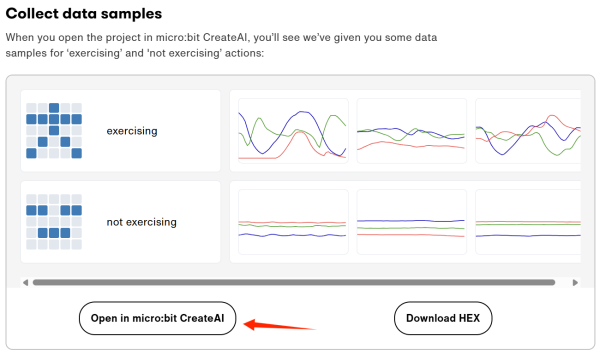
- Browse and read the relevant knowledge points, then locate the "Collect data samples" directory and click "Open in micro:bit CreateAI".
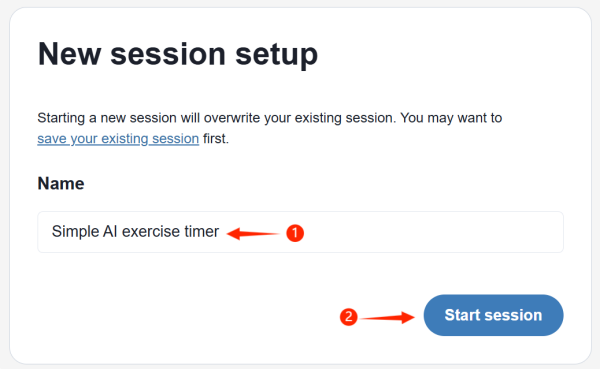
Step 2: Create a New Project
- Create a new project, name it, and click "Start Project".
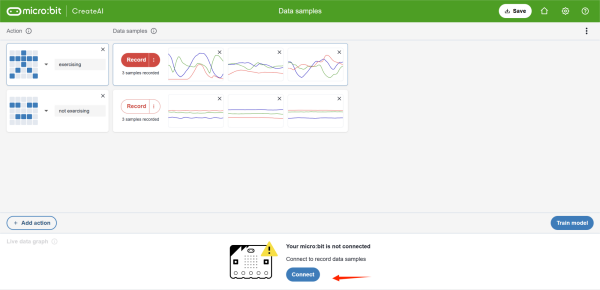
- On the data sample page, find "connect" and click it.
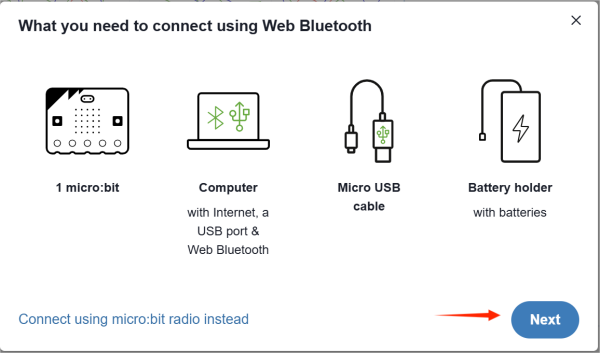
Step 3: Connect the micro:bit Board
- Please ensure that all necessary materials and equipment are ready, then click "Next".
(If your personal computer has Bluetooth connectivity, only one micro:bit board is needed. If your personal computer does not support Bluetooth connection, click "Use micro:bit Wireless Connection" and follow the tutorial to complete the connection.)
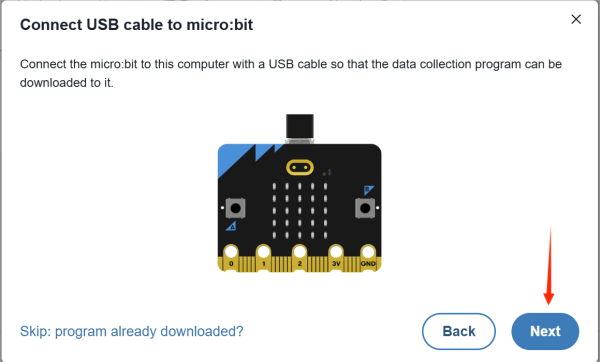
- Please connect your micro:bit board to the computer using a data cable, then click "Next" and follow the tutorial to complete the program download.
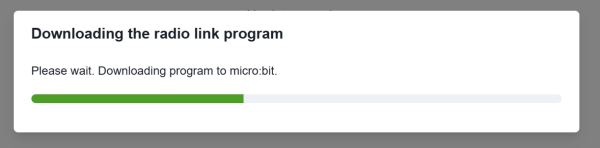
- Wait for the program to be downloaded and installed on the micro:bit board.
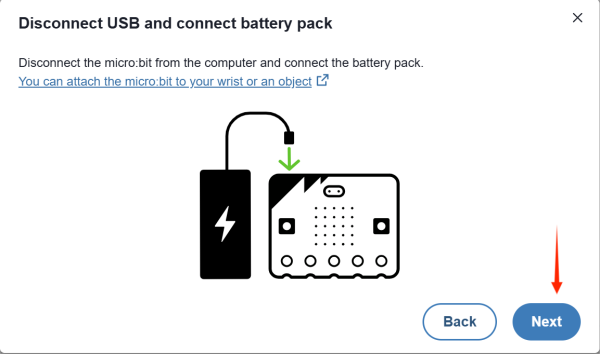
- Please disconnect the USB cable and turn on the power of the Watch Kit Pro, then click "Next".
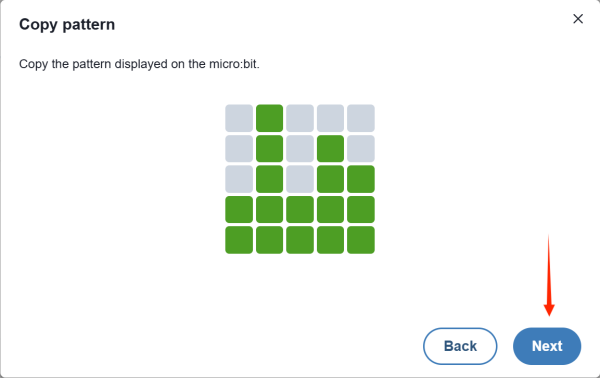
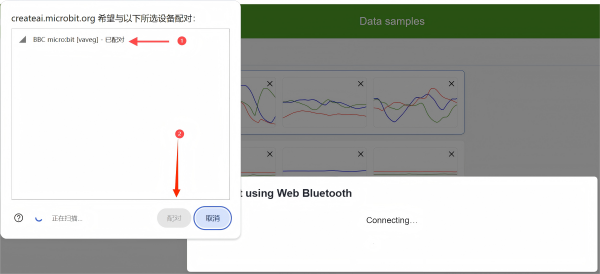
- Click "Next" and follow the tutorial to complete the Bluetooth connection authentication process.
- Select "micro:bit Board" and click "Pair", wait until the connection is successful.
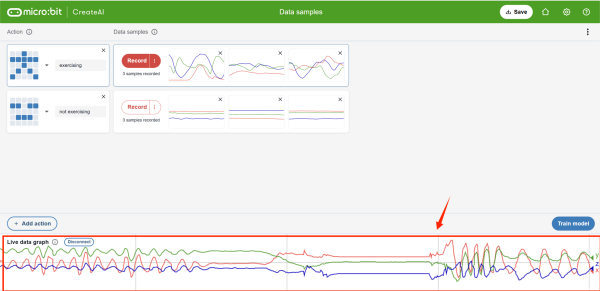
- If the connection is successful, the "X", "Y", "Z" lines in the "Real-time Data Area" will change accordingly as you shake the watch.
Step 4: Train Model and Data Model Recognition Calibration
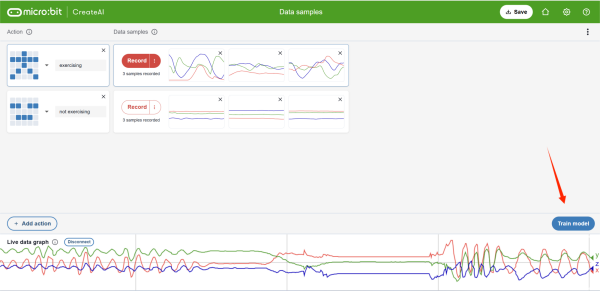
- Click "Train Model"
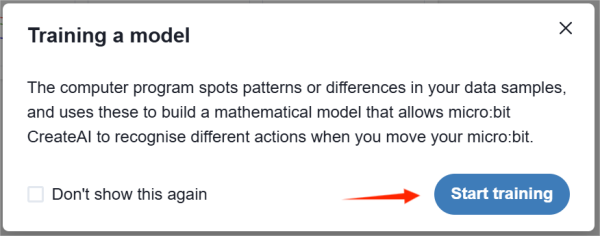
- Click "Start Training" and wait for the data model deployment to complete.

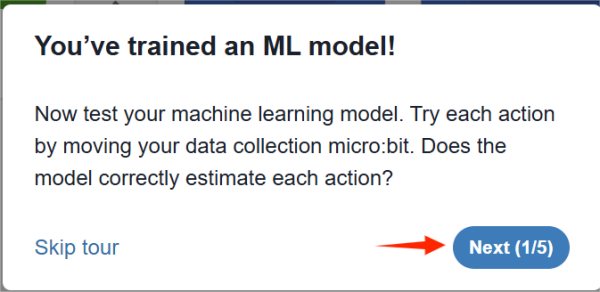
- Click "Next" and follow the tutorial to complete the guidance.
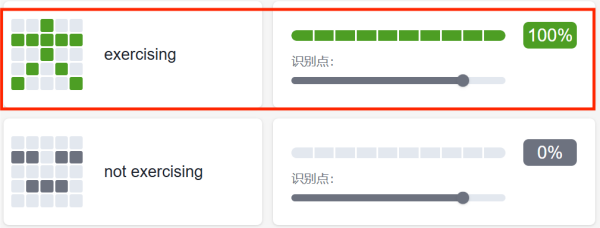
- Please wear the watch kit on your right wrist, making sure that the side with the logo is facing outward. When you perform large-scale activities, you can observe that the recognition rate of the "Exercise" data model exceeds 80%.
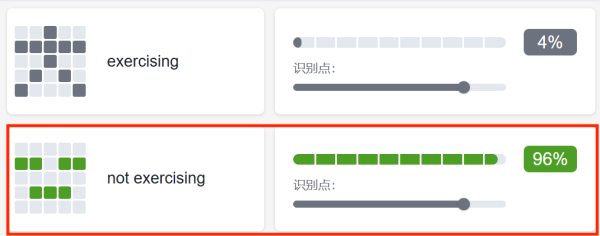
- When you are in a stationary state, you can observe that the recognition accuracy of the "Static" data model exceeds 80%.
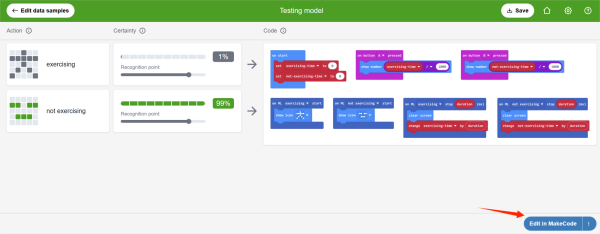
Step 5: Program Writing and Download
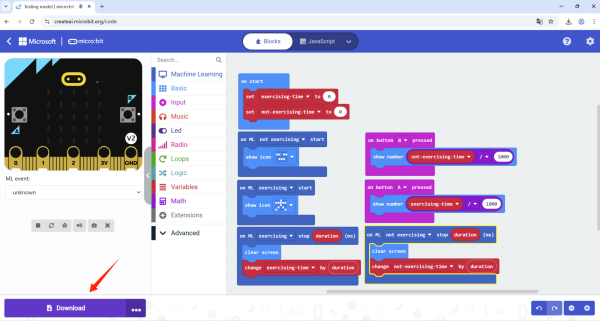
- Click "Edit in MakeCode".
- Connect the micro:bit board with a data cable and click "Download".
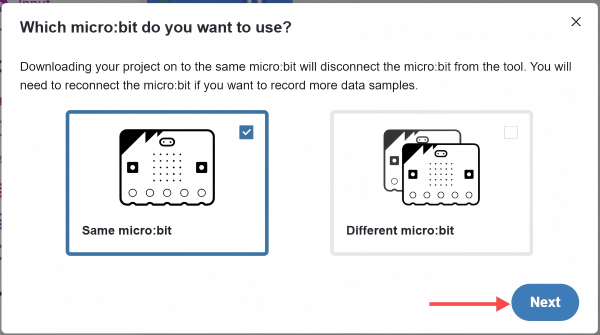
- Click "Next"
The target of your download is the micro:bit board used for data collection, please select "Same micro:bit". If the target of your download is another different micro:bit board, select "Different micro:bit".
- After completing the download according to the tutorial instructions, when you are in a moving state, the LED matrix screen of the micro:bit board in the watch will display the "stick figure" icon. When you are stationary, the LED matrix screen of the micro:bit board in the watch will display the "asleep" icon.
Result
When you are in a moving state, the LED matrix screen of the micro:bit board in the watch will display the "stick figure" icon. When you are stationary, the LED matrix screen of the micro:bit board in the watch will display the "asleep" icon. Press button "A" on the micro:bit board to check how many seconds you have been exercising; press button "B" to check the time you have been stationary.