Getting to know micro:bit
Course Description
In this lesson, we will take a brief look at what a micro:bit is, what it does, and learn how to program a micro:bit through a simple case study.
Class Preparation
| Picture | Name | Number | Notes |
|---|---|---|---|
 | USB Cable | 1 | |
 | micro:bit | 1 | Prepare Yourself |
 | PC | 1 | Prepare Yourself |
What is micro:bit?
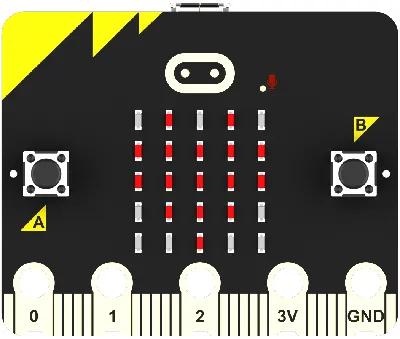
The micro:bit is a miniature computer designed for educational programming purposes for young people. It measures only 4cm x 5cm, but it has a range of sensors and LEDs that can be used to control and monitor the physical world.
The micro:bit can be connected to a computer via a USB cable or Bluetooth and programmed using programming software. It supports a variety of programming languages, including Microsoft MakeCode, Python, and JavaScript. Students can use these programming languages to write code to control the sensors and LEDs on the micro:bit to create a variety of fun projects.
The micro:bit is designed to be easy to use and suitable for beginners. It can be used for a variety of educational activities such as programming courses, science experiments, and maker activities. By using the micro:bit, students can develop creativity, problem-solving skills and teamwork.
For more information about micro:bit, please visit: micro:bit official website.
What are the features on micro:bit?
There are two versions of micro:bit in terms of functionality.
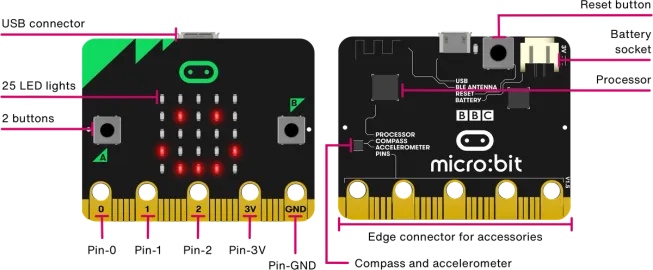
Functionality of the older version of micro:bit
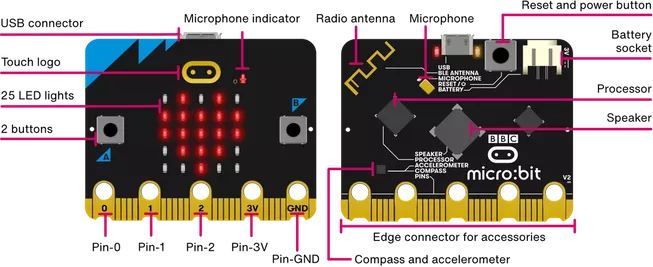
New version of micro:bit
New buzzer, touchable logo, microphone compared to the old version of micro:bit.
For detailed information, please check the official micro:bit website: https://microbit.org/get-started/features/overview/
Quick Start
Programming platform
We usually use graphical programming platform makecode to program micro:bit.
Programming platform entry: https://makecode.microbit.org/
The beating heart
Let's make a quick example of how to program a micro:bit with makecode.
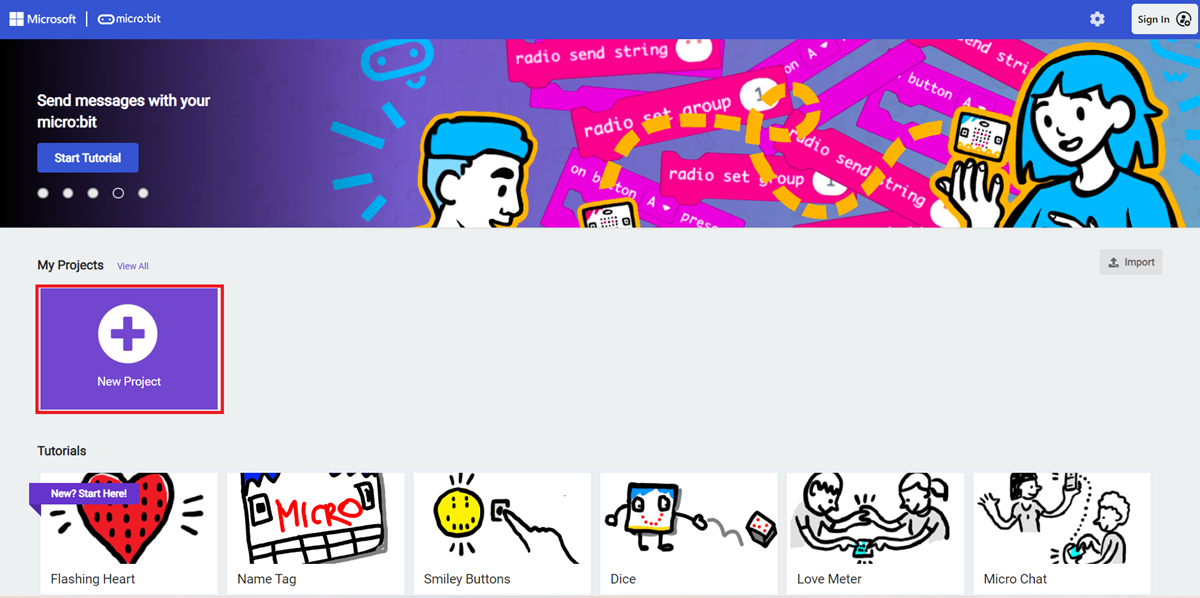
Open https://makecode.microbit.org/
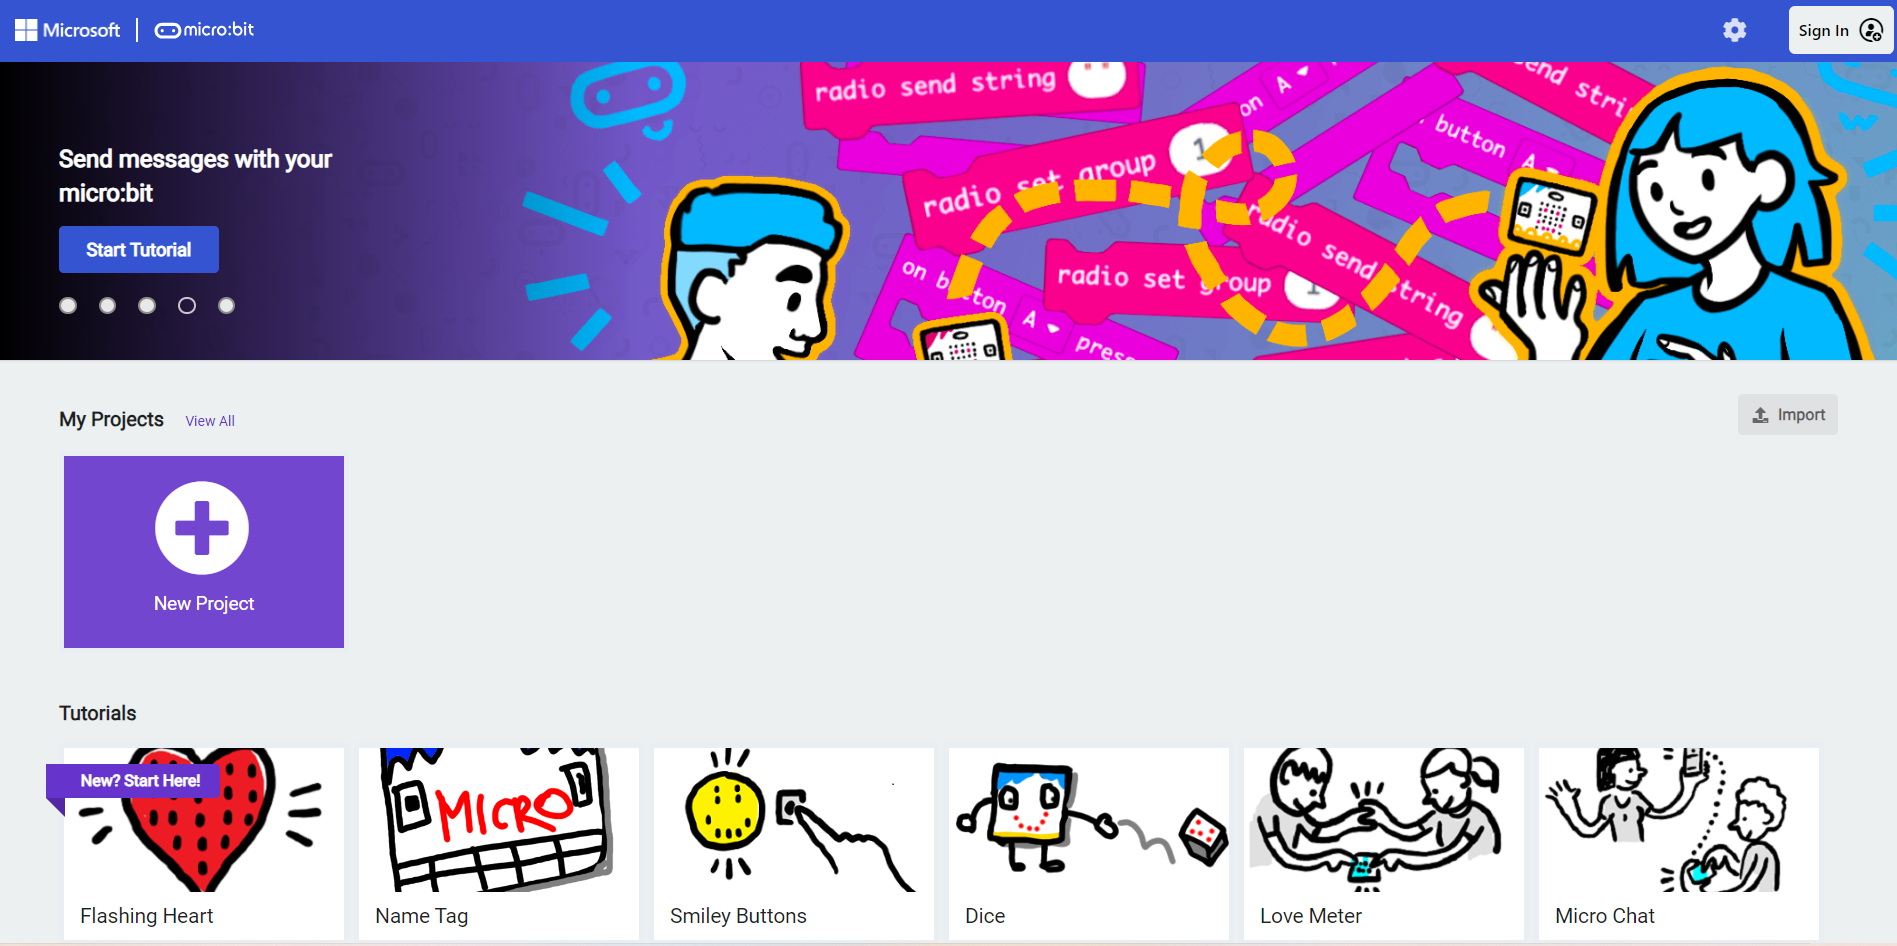
New Project
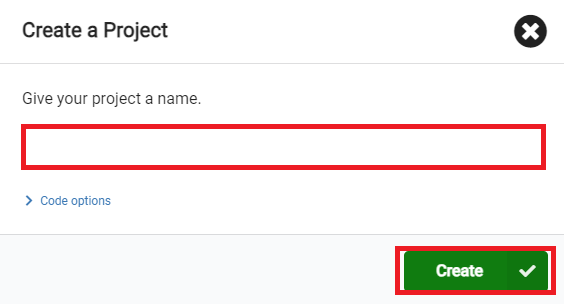
Enter a project name and click Create.
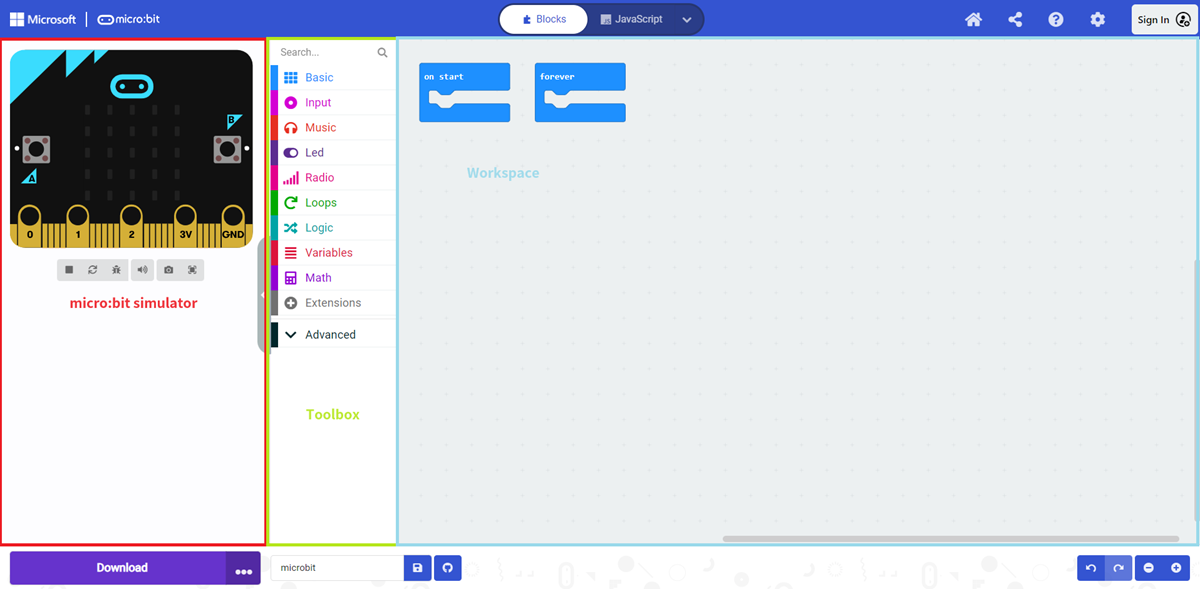
After entering the editor interface, we can see Micro:bit Simulator, Toolbox, and Workspace.
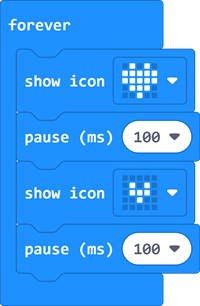
Find the forever block from Basic and drag it to the Workspace.
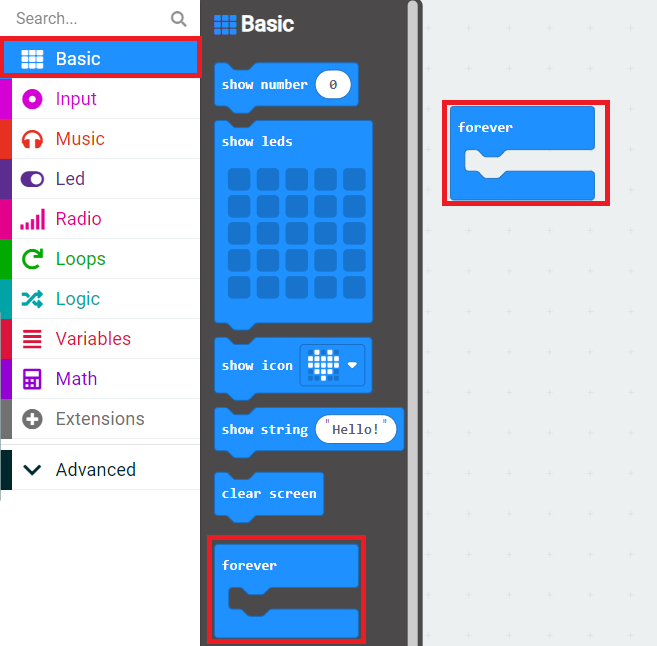
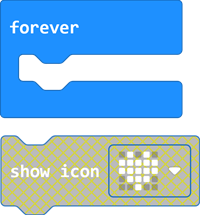
Find the show icon block from Basic and put it into the forever block.
The show icon block that is not put into the forever block is gray. At this time, we can see from the Micro:bit Simulator area that this block is not executed.
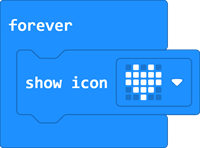
The show icon block placed in the forever block is blue. At this time, we can see that this block is executed in the Micro:bit Simulator area.
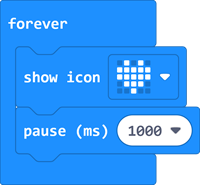
Find the pause (ms) block in Basic and put it inside the forever block.
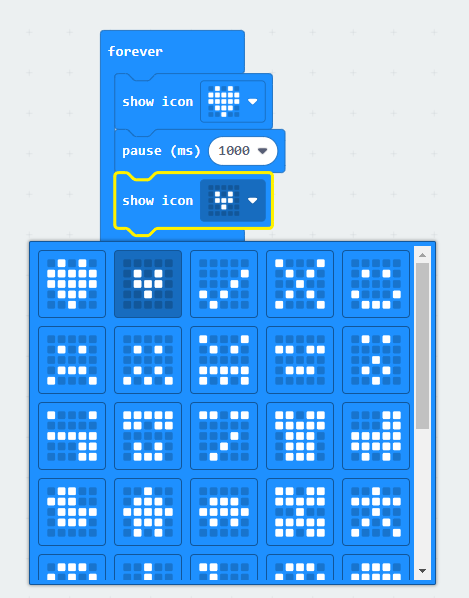
Inside the forever block, add a show icon block and select the small heart icon.
Final completion of the program:https://makecode.microbit.org/_bk5A9eTmrE1c
You can also download the program directly from the following web page.
From the Micro:bit Simulator area we can see the simulation effect of the program.
How to download the program to micro:bit?
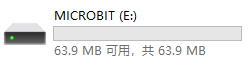
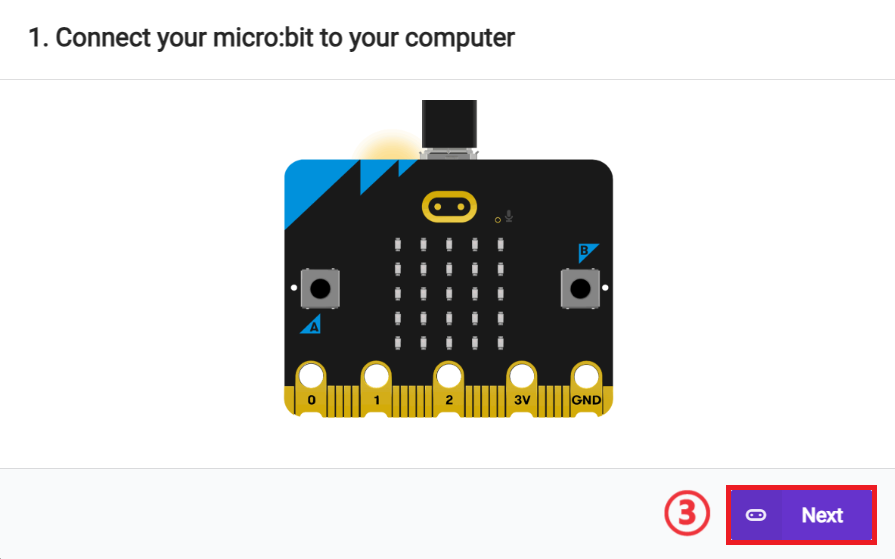
Use a USB cable to connect PC and micro:bit V2.
After the connection is successful, a drive letter named MICROBIT will be recognized on the computer.
Click the  in the lower left corner and select
 Connect Device.
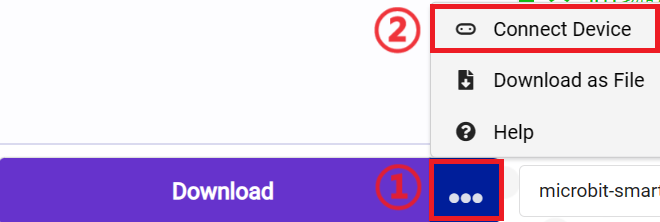
Click 。
。
Click 。
。
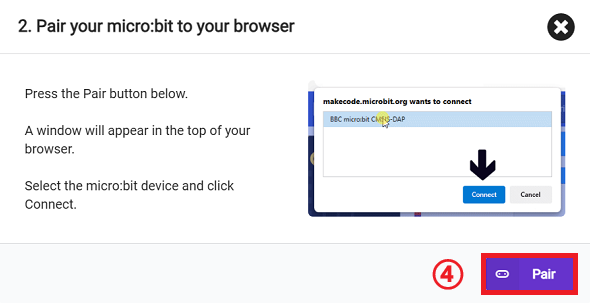
In the pop-up window, select BBC micro:bit CMSIS-DAP, and then select Connect. At this point, our micro:bit has been successfully connected.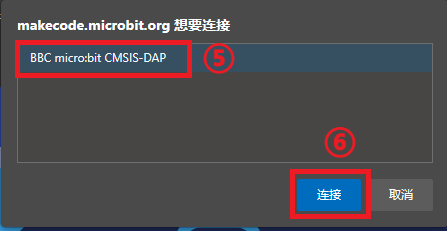
Click Download.

Results
The effect of displaying a beating heart on a micro:bit LED matrix.