Learn about Joysticks:bit V2
Course Description
In this lesson we will take a brief look at the features and use of Joysticks:bit V2.
Lesson Preparation
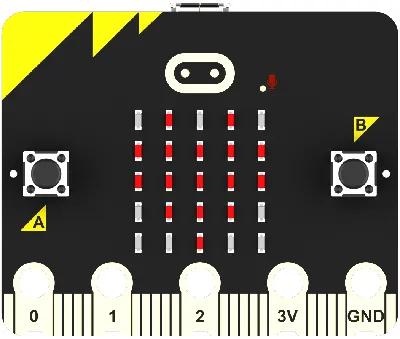
micro:bit
Joysticks:bit V2
2 x #7 batteries
Computer
USB cable
| Picture | Name | Number | Notes |
|---|---|---|---|
 | joysticks:bit V2 | 1 | |
 | AAA battery | 2 | Prepare Yourself |
 | USB Cable | 1 | |
 | micro:bit | 1 | Prepare Yourself |
 | PC | 1 | Prepare Yourself |
Introduction to Joysticks:bit V2
Joystick:bit V2 is a micro:bit based gamepad. It includes a 4-direction joystick and 4 undefined buttons. It is also paired with a buzzer and vibration motor to enhance the gaming experience. It is compact in appearance, comfortable in hand and can be remotely controlled.
Introduction to Functional Modules
Handles
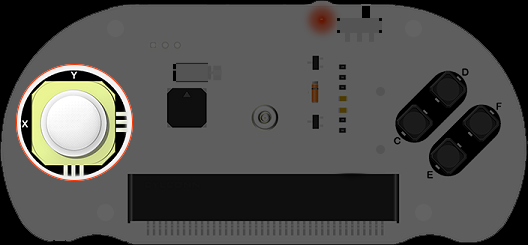
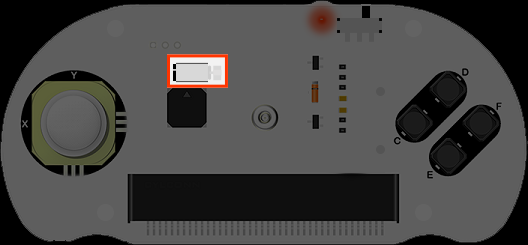
X&Y are respectively connected to the P1 and P2 interfaces of the micro: bit.
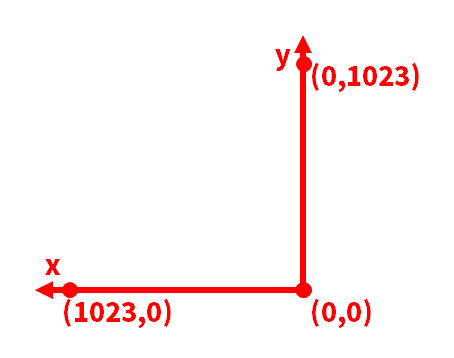
Coordinate information of X&Y.
Buzzer
The passive buzzer is connected to the P0 interface of the micro: bit.
Vibration motor
The vibration motor is connected to the P16 interface.
Buttom
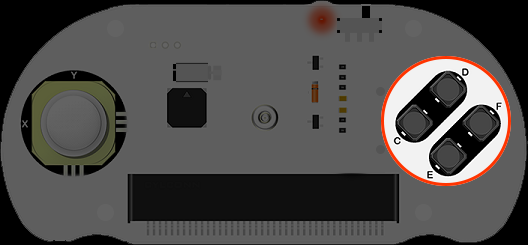
The C, D, E, and F buttons connect to the micro:bit's P12, P13, P14, and P15 ports accordingly.
Quick Start
Preparation
The joystick:bit will be assembled.
Programming platforms
We usually use graphical programming platform makecode to program the micro:bit.
Programming platform entry: https://makecode.microbit.org/
Create a new project
Open [https://makecode.microbit.org/
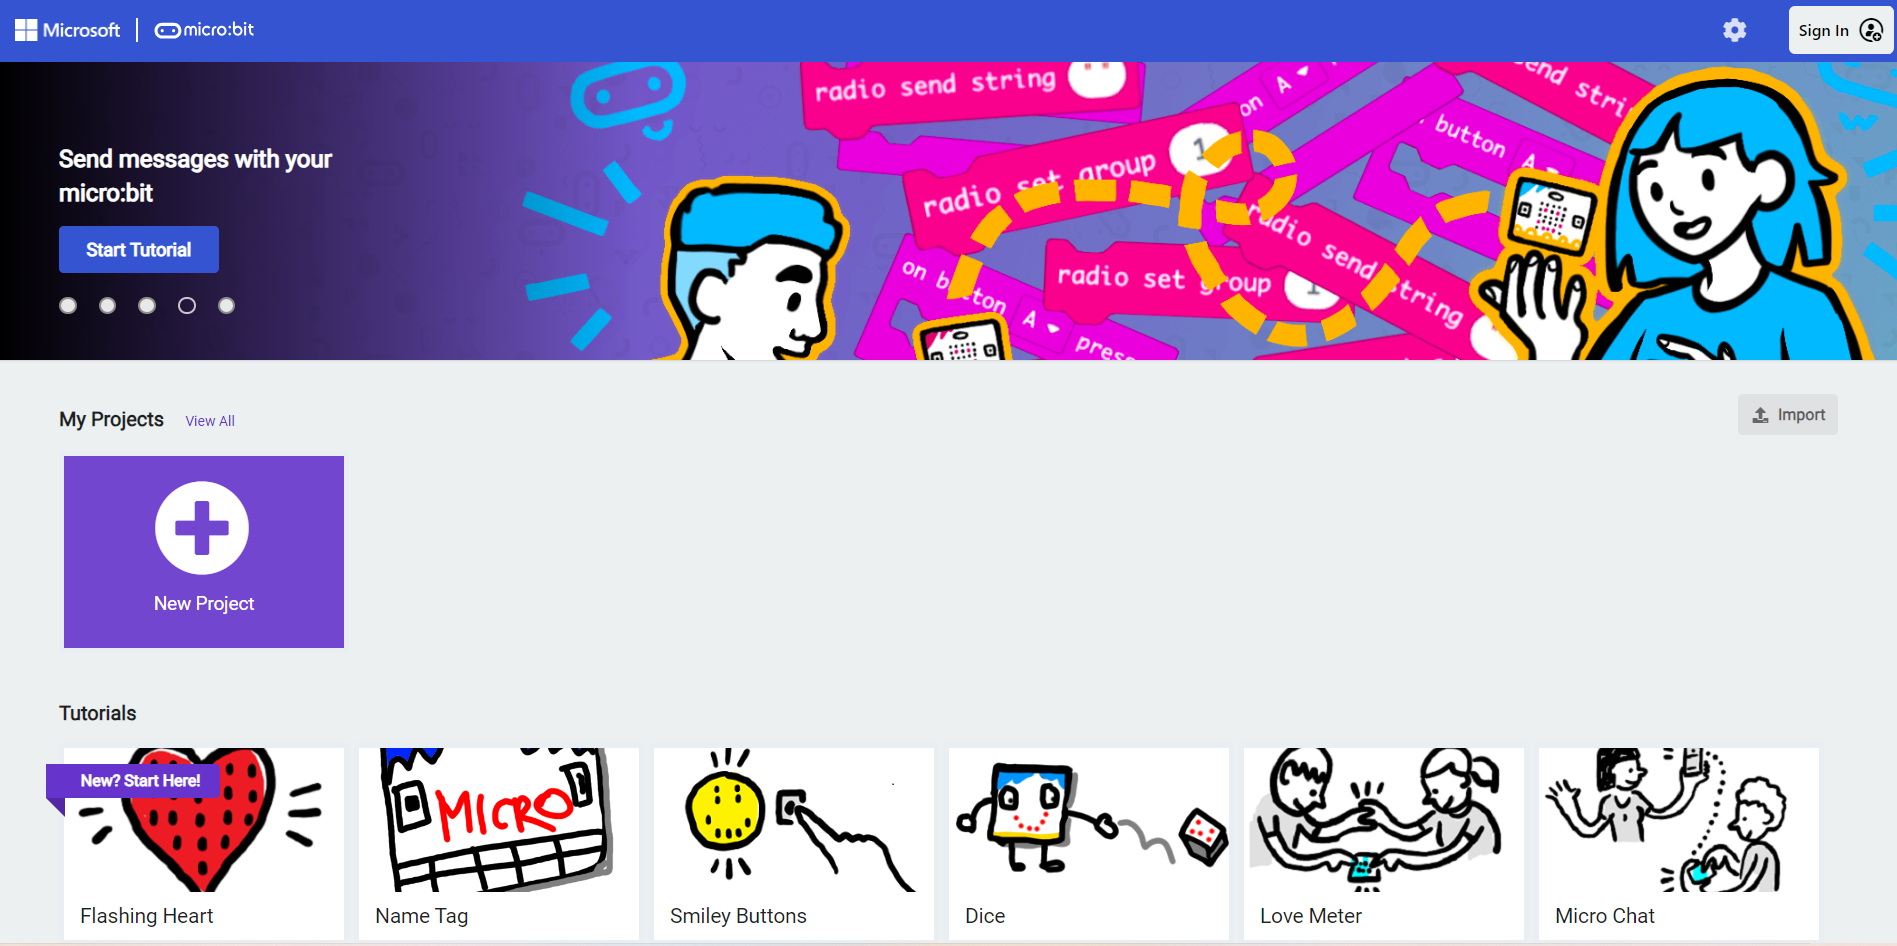
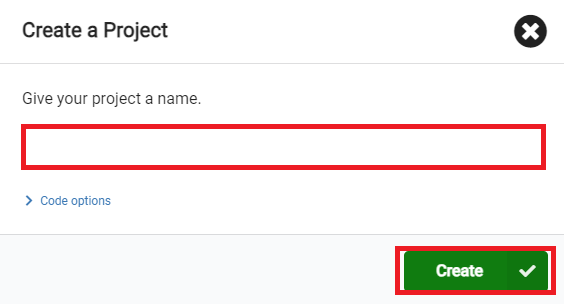
Create a new project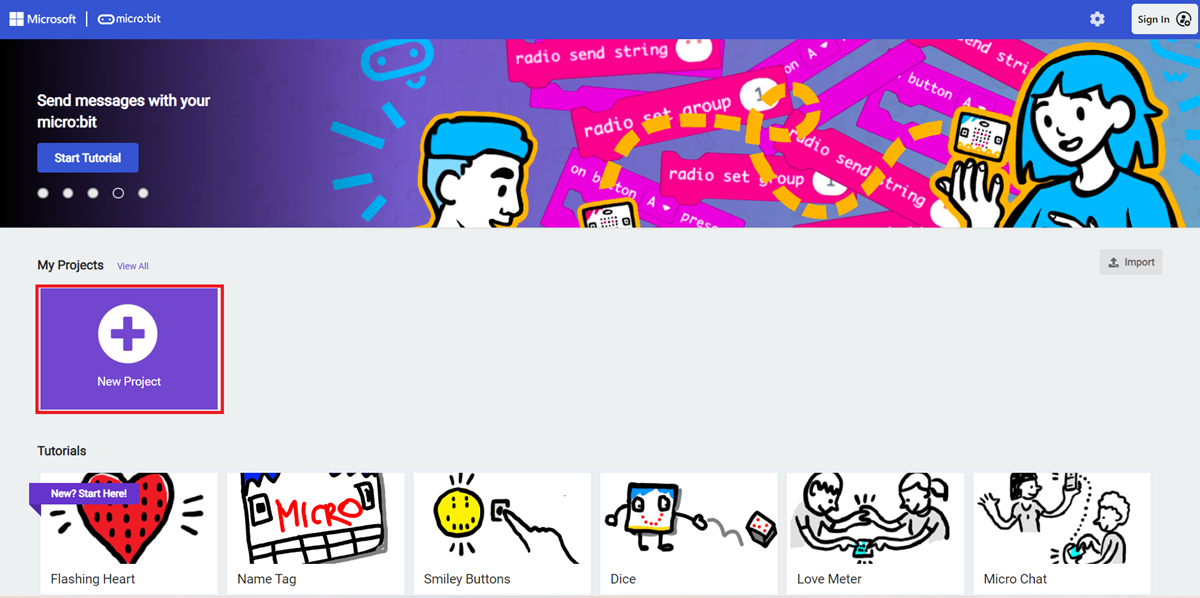
Enter the project name and click Create.
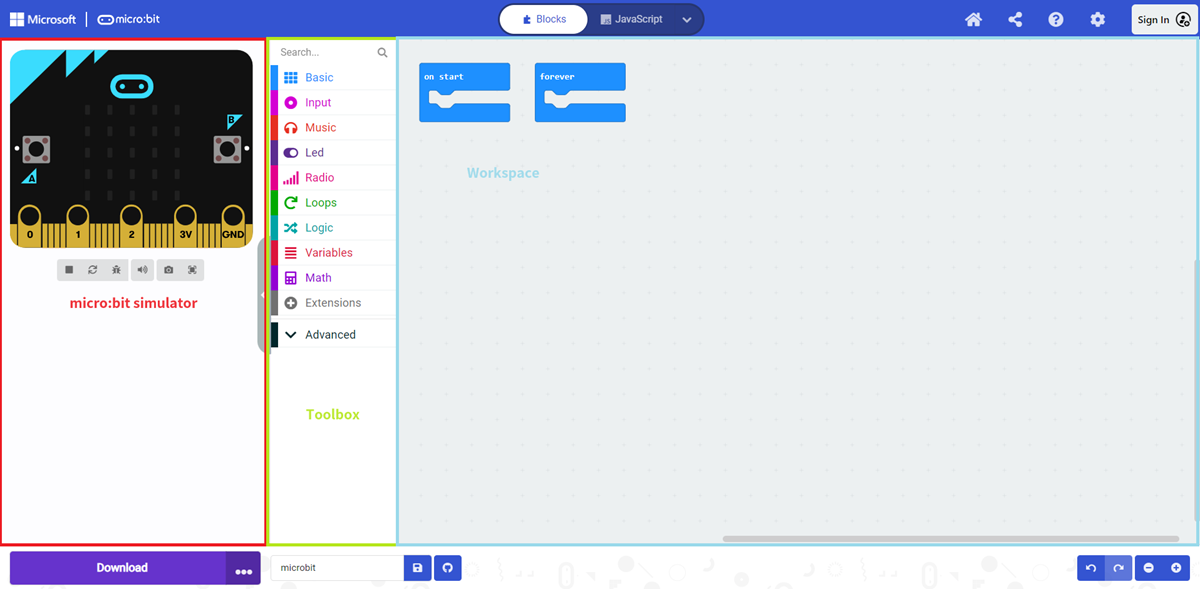
 After entering the editor interface, we can see Micro: bit Simulator, Toolbox,Workspace.
Add software library
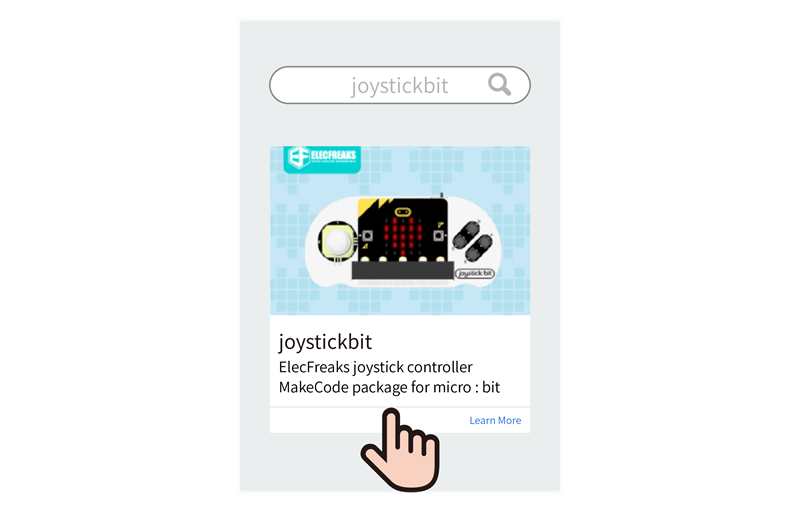
Click on "Extensions" in the Toolbox of the makecode programming interface.

To program joysticks: bit, we need to add a software library for joysticks: bit. Please enter 'joypicksbit' in the search bar, press enter, and select the software library to add joypicks: bit.
Software Blocks Explanation
| Block | Function | Parameter |
|---|---|---|
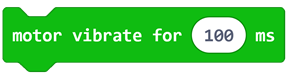 | Set controller vibration | Parameter 1: natural number |
 | Get the return value of the joystick X-axis or Y-axis | Parameter 1: drop-down options Options: X-axis, Y-axis |
 | When the specified button is in the set state, run the internal program | Parameter 1: Drop-down options Options: C, D, E, F Parameter 2: Drop-down options Options: Press, Release |
 | Determine the button status | Parameter 1: Drop-down options Options: C, D, E, F |
 | Initialize the handle |
Sample program
Sample Program:https://makecode.microbit.org/_FgL6MY6L7YVq

You can also download the program directly from the following page.
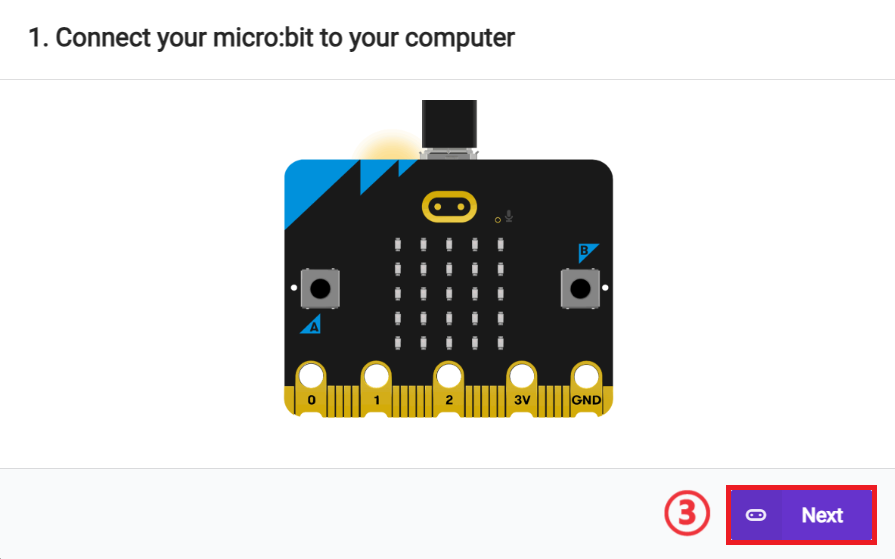
### How do I download a program to the micro:bit?Use a USB cable to connect your PC to the micro:bit V2.
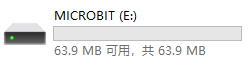
After a successful connection, a disk drive named MICROBIT is recognized on the computer.
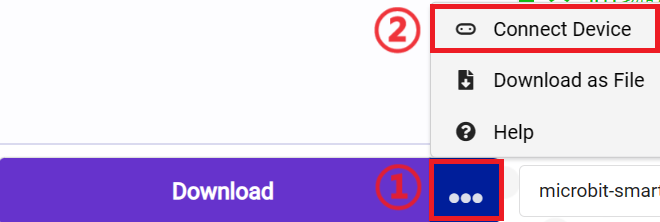
Click on the bottom left corner of the ,Select
 Connect Device.
Click 。
。
Click
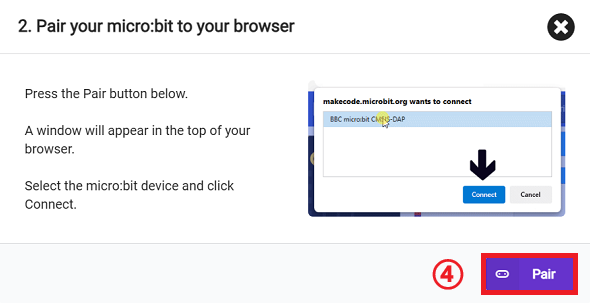
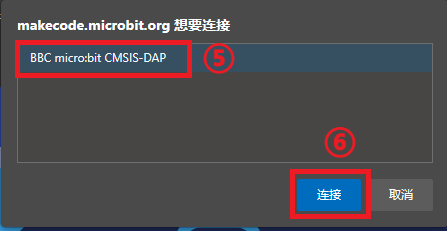
Select BBC micro:bit CMSIS-DAP in the pop-up window and then select Connect, and at this point, our micro:bit has connected successfully.
Click to download the program.

Result
Press the C button of the joystick, the micro:bit LED matrix displays the return value of the X-axis of the current joystick and the joystick vibrates for 500ms, press the E button of the joystick, the micro:bit LED matrix displays the return value of the Y-axis of the current joystick and the joystick vibrates for 500ms.