microbit-retro-arcade-se-quick-start
Preparation Steps
Installing the Battery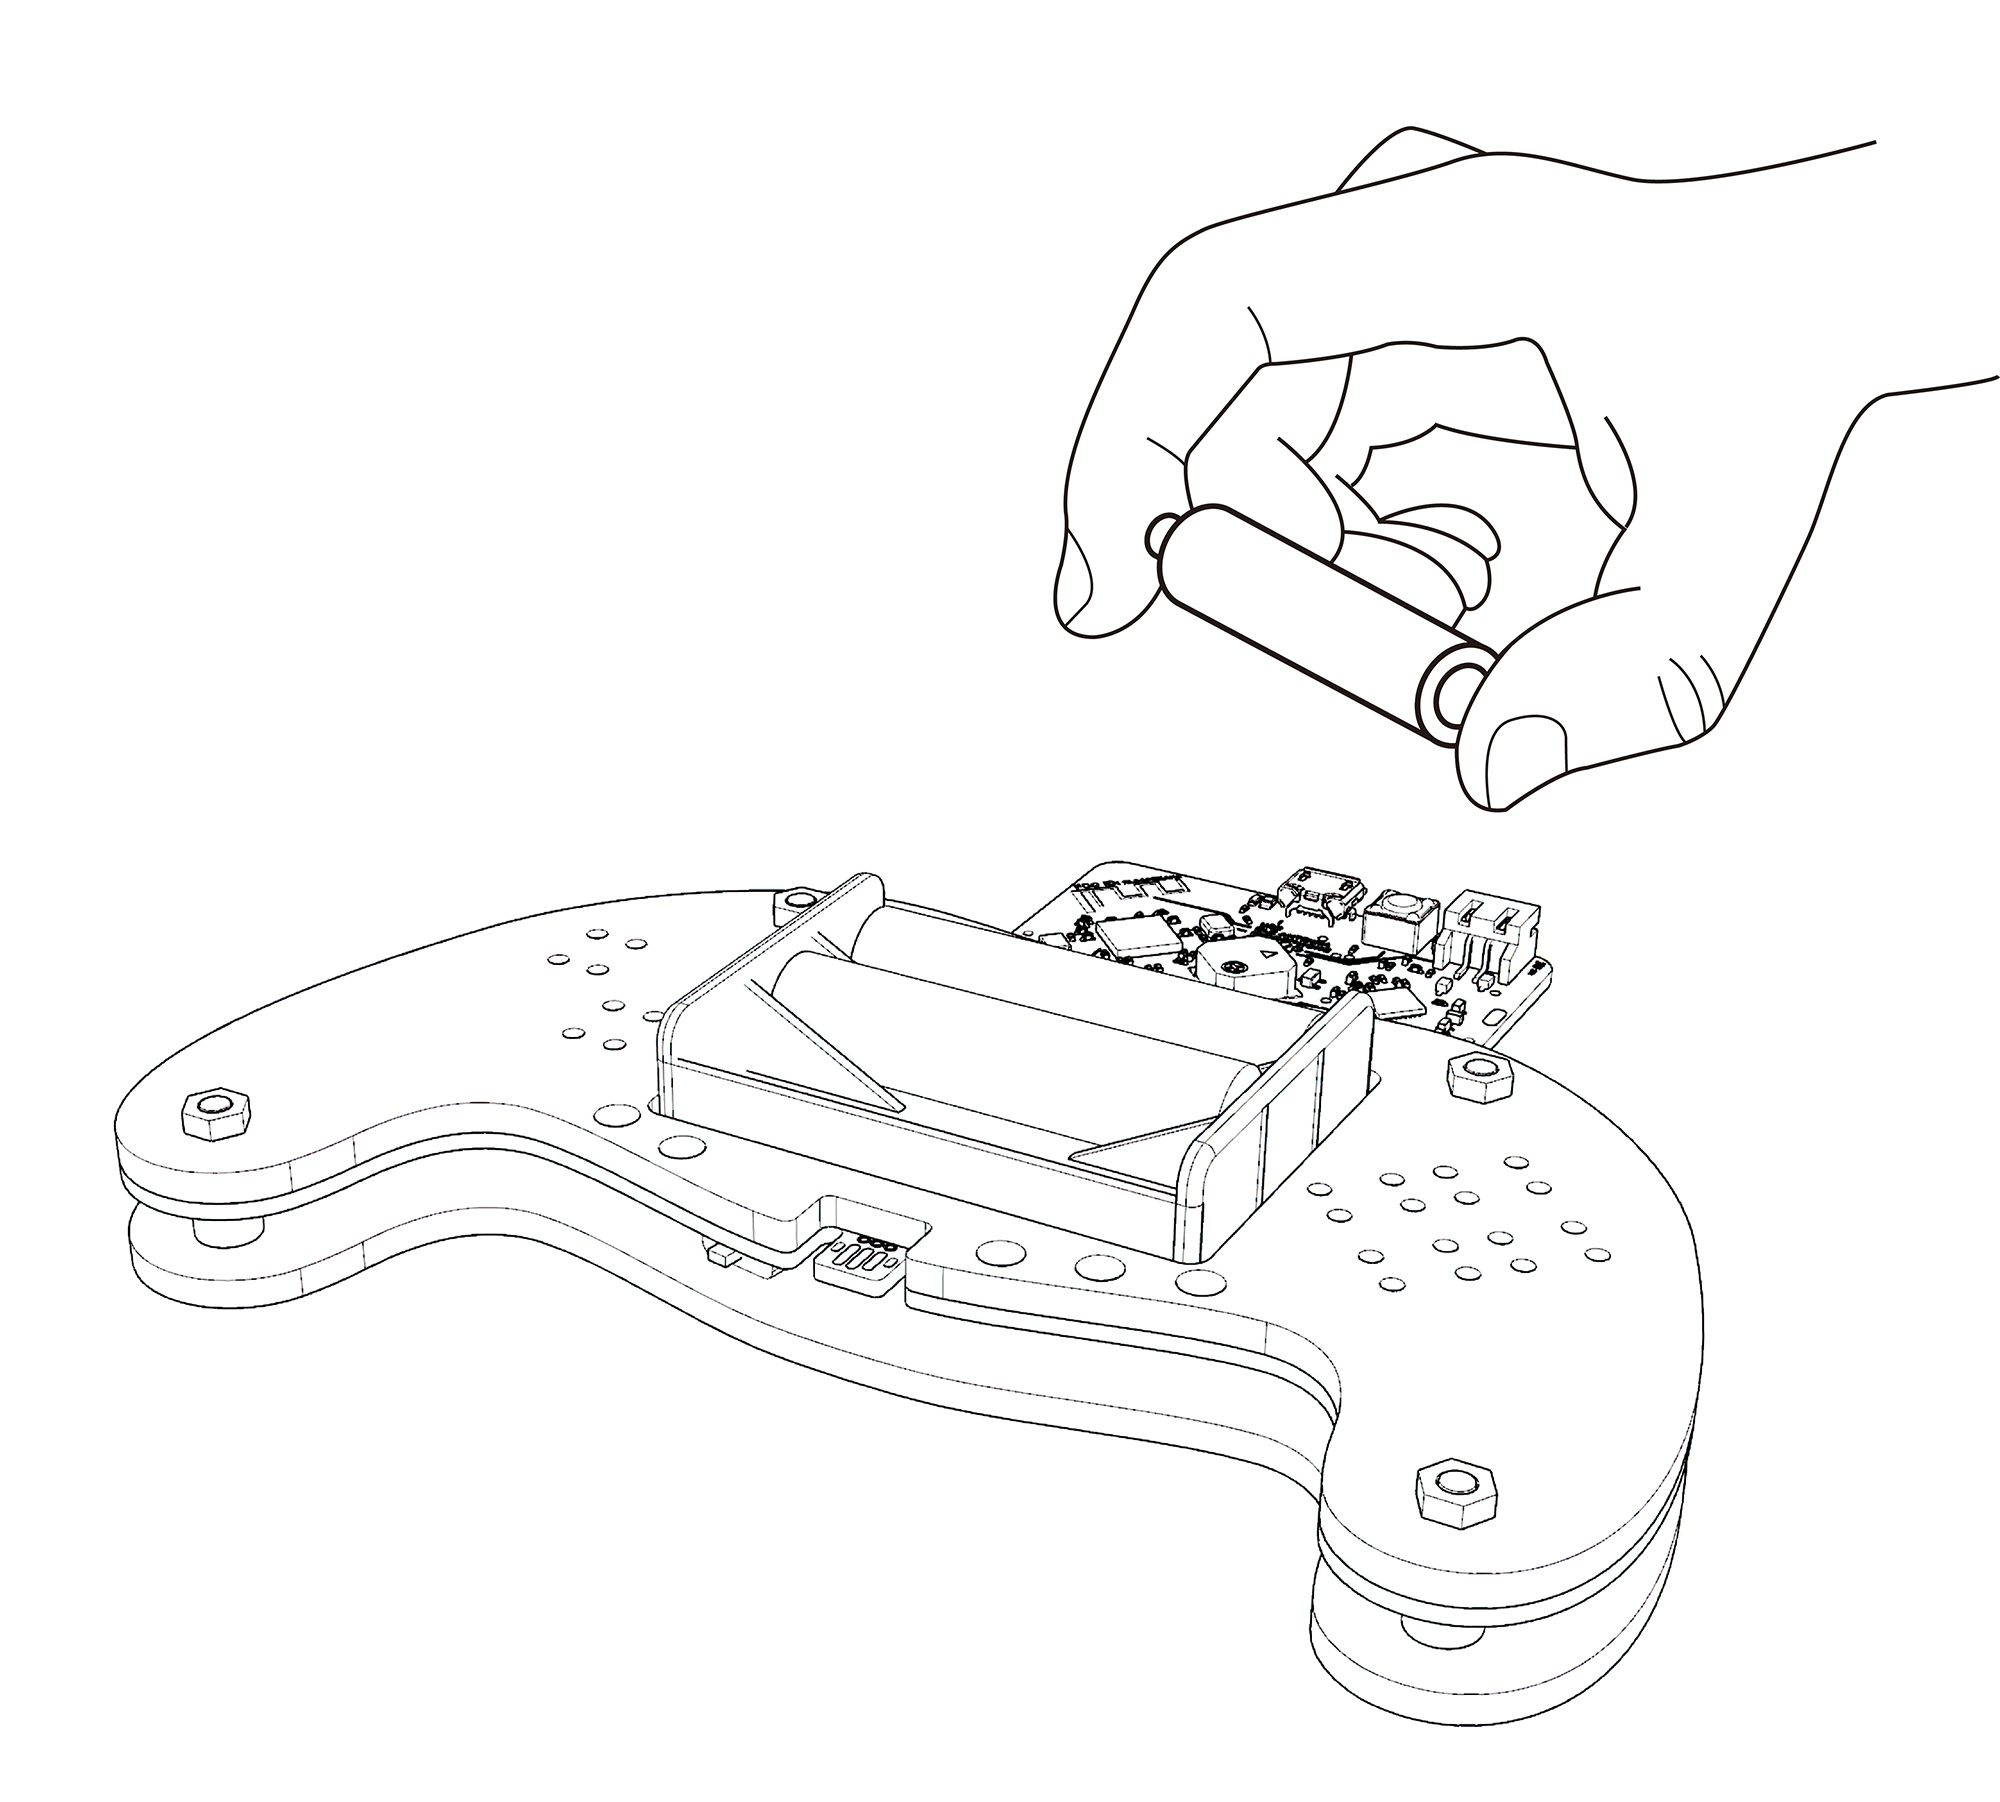
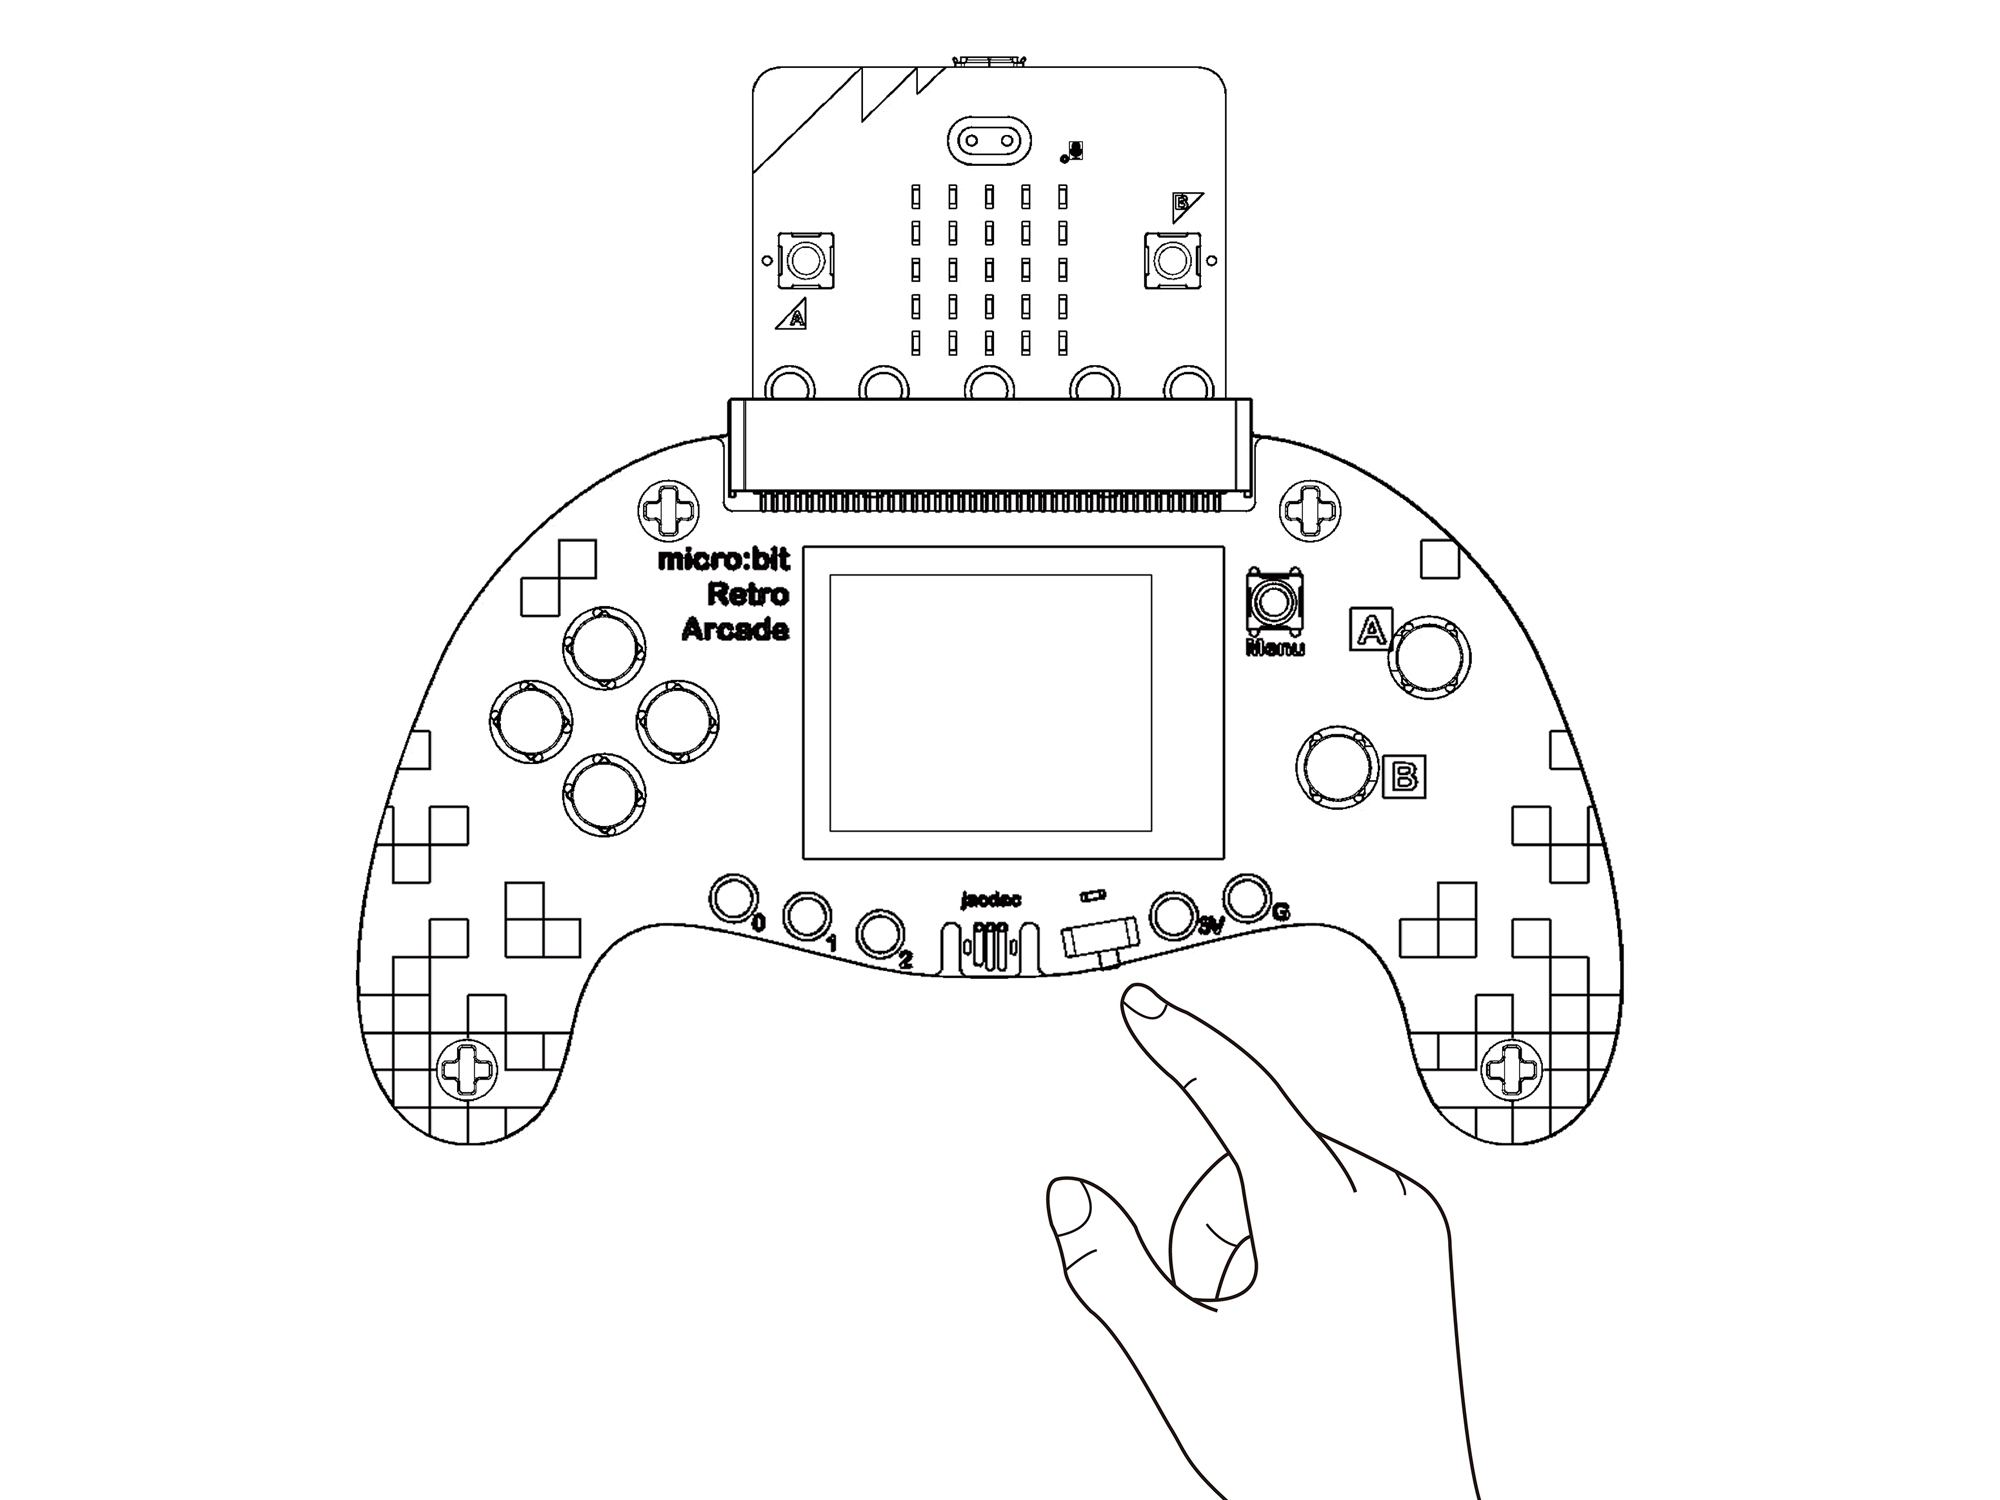
Open the switch.
Game Programming Guide
Welcome to learn micro:bit Retro Arcade!
For more knowledge, please refer to: https://arcade.makecode.com/
Click on the corresponding project to go to the project tutorial and learn the knowledge through the process of writing a game.

The micro:bit V2 is combined with the expansion board and the microUSB is connected to the micro:bit V2. In this case, if power is supplied from the micro:bit V2 side, the expansion board's power switch will conduct regardless of the switch. The expansion board power switch will control if power is supplied from the expansion board side.
Programming Platform
Arcade game programming platform address: https://arcade.makecode.com
Programming Page Introduction
- Click on number 1 to create a project and start programming. 2.
- The section below number 2 contains some simple tutorials provided by the platform and game creations shared by the community.
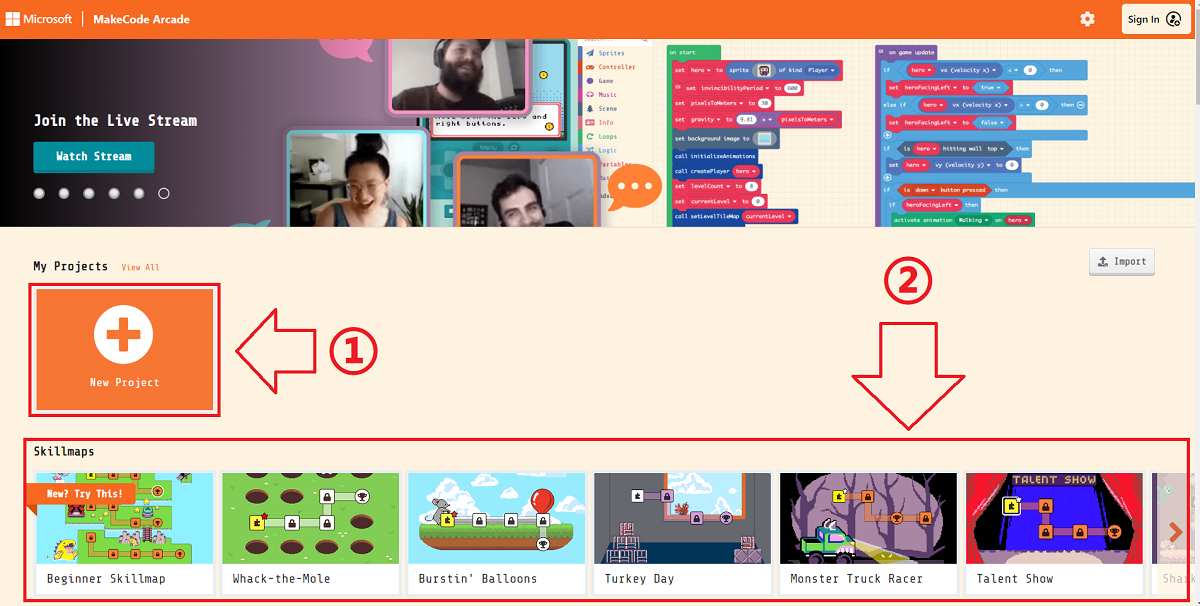
The programming interface introduction, for basic beginners is roughly divided into three parts needs to understand
- online simulator: follow the logic of the code to simulate the effect of real-time operation
- Programming Block Bar: We drag in the programming code from here to the program.
- code editing area: we drag the code out of the block bar and put it together here to complete the image, interface, and logic of the game.

Quick Creation
Click on New Project.
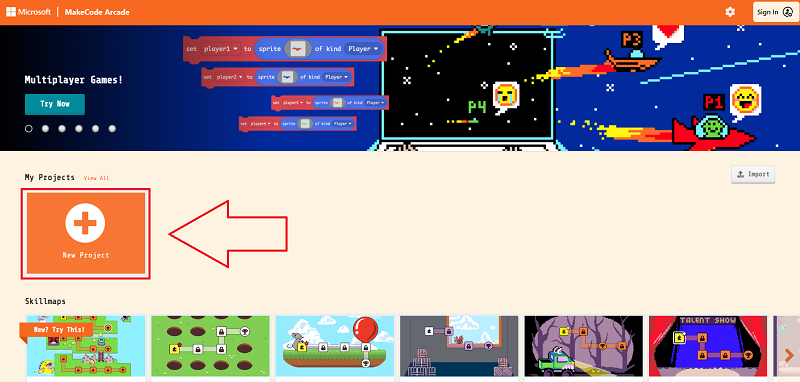
Enter the project name to create a new project.

Create the sprite and click on the gray rectangle in the block to open the image editor.

Customize the sprite image or just select a preset sprite from the gallery. Control the movement of the sprite by moving the sprite blocks with the buttons.

Set the screen background color.
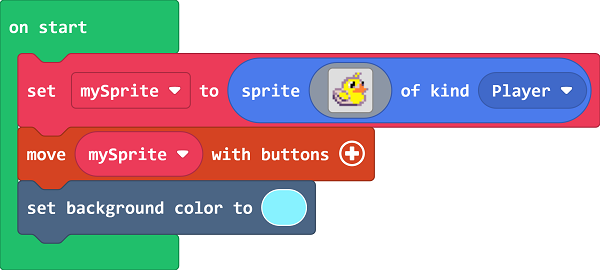
To prevent the sprite from moving out of the screen frame, set the sprite to be within screen range.
