Quick Start
Power supply method
Note: The Arduino 3 in 1 breakout board requires a battery pack and cable.
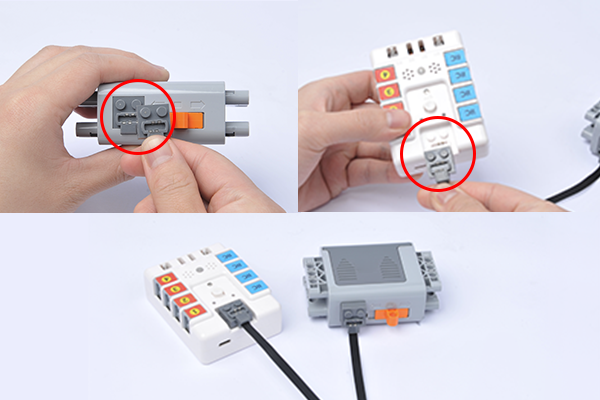
Switching method
After connecting the power supply, push the switch to ON to turn on the power.
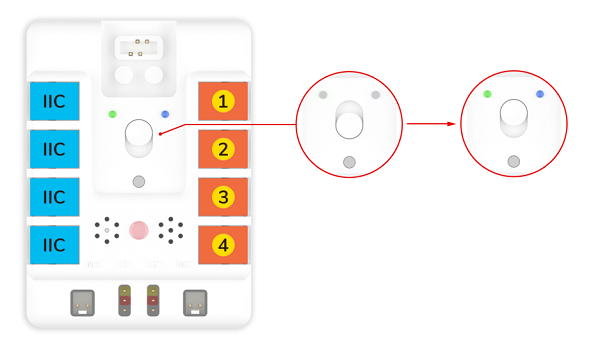
Power indicator status
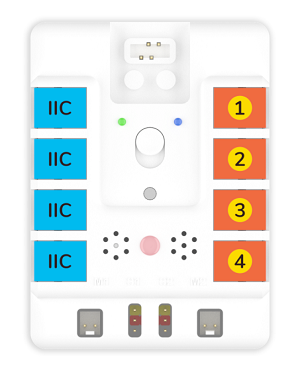
The power indicator lights green when there is sufficient power.
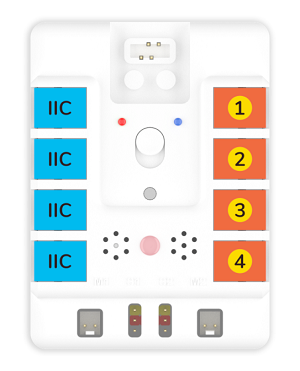
When the power is low, the power indicator lights up red.
Hardware connection method
All sensor connections are RJ11 type with error-proof and plug-proof design, simplifying hardware connections and making classroom teaching easier.
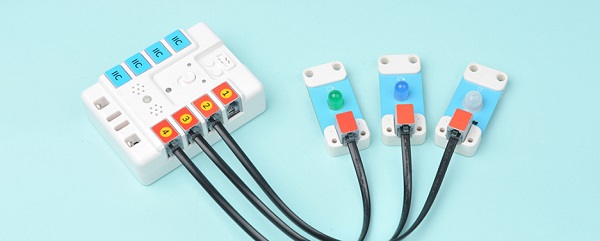
Preparation for Programming and Sample Projects
Download and Install Arduino IDE
The latest version of Arduino IDE is released from the official website: https://www.arduino.cc/en/Main/Software, download by the system of your computer.
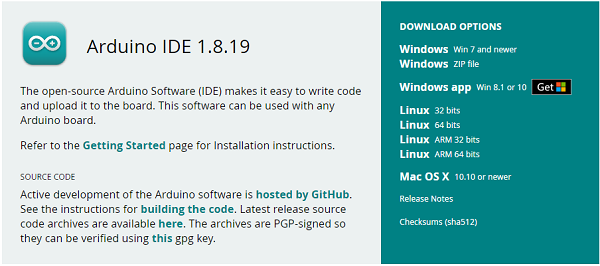
Software Programming
Download the libraries for Nezha-A master board NezhaA-main.zip
Download the subsidiary libraries for Nezha-A master board Adafruit_NeoPixel-master.zip
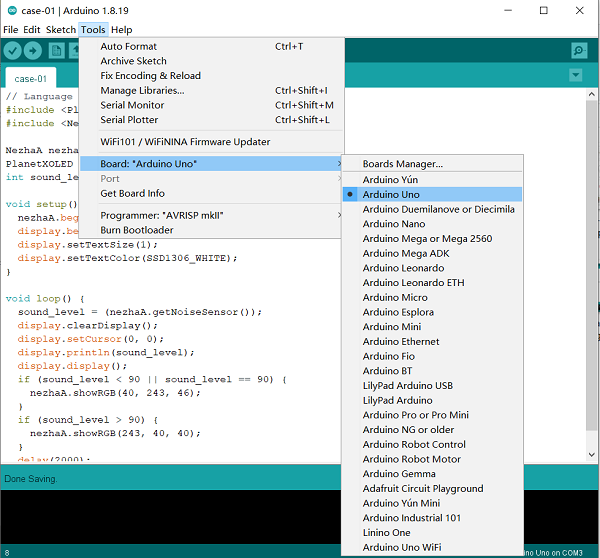
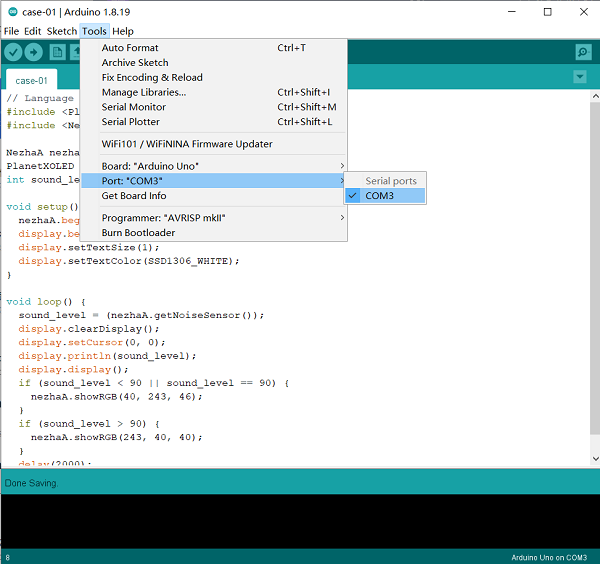
Open Arduino IDE, and choose tools- Board-Arduino Uno.
Connect Nezha-A master board with the computer via the type-c cable.
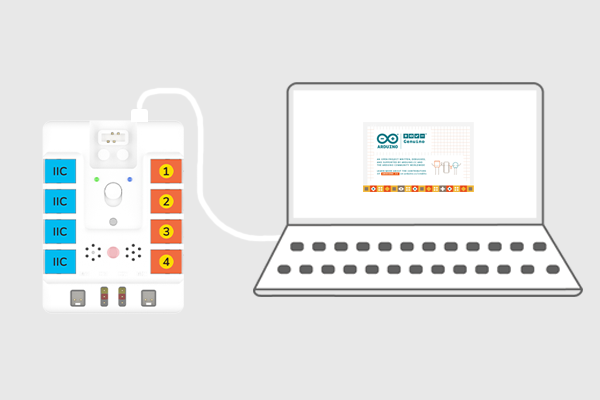
Click tools- port, and set the connections.
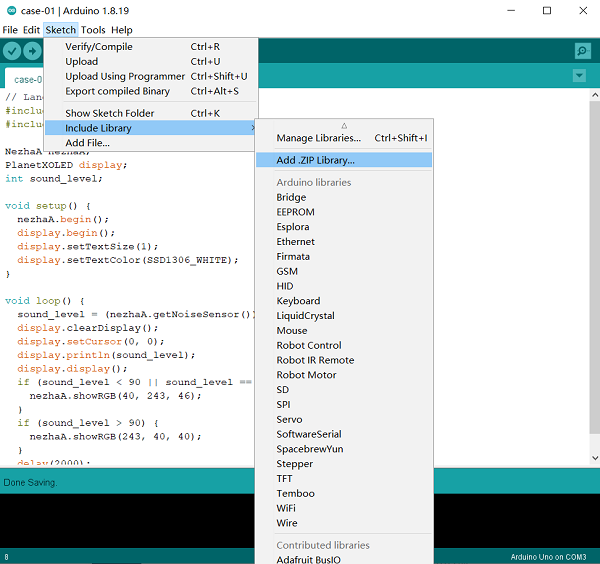
Click on Project - Load Library - Add .Click.
Select NezhaA-main.zip and add the libraries.
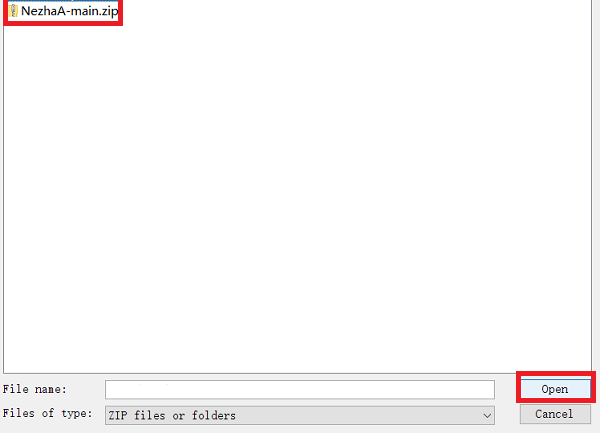
In the same way, import the subsidiary libraries of Adafruit_NeoPixel-master.zip.
Hardware Connections
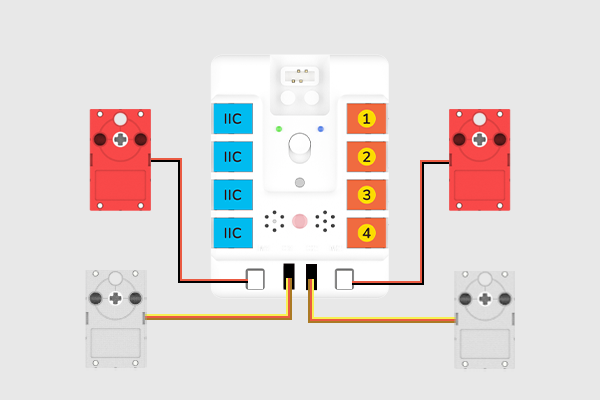
Connect the motors and servos to M1, M2, S1, and S2 accordingly.
Programming
Sample 1: Control the servos and motors
#include <NezhaA.h>

NezhaA nezhaA;    //Create an instance of the NezhaA class

void setup() {
  nezhaA.begin();    //Initiliaze the buzzer, motor and light
}

void loop() {
  nezhaA.setMotorSpeed(M1, 60);    //Set the speed of the motors as percentage in the scope of -100~+100
  nezhaA.setMotorSpeed(M2, 60);
  nezhaA.setServoAngle(S1, 180);    //Set the angles of the servo
  delay((2) * 1000);
  nezhaA.setServoAngle(S2, 180);
  delay((2) * 1000);
  nezhaA.setServoAngle(S1, 0);
  delay((2) * 1000);
  nezhaA.setServoAngle(S2, 0);
  delay((2) * 1000);
}
Click file-save to save the file.
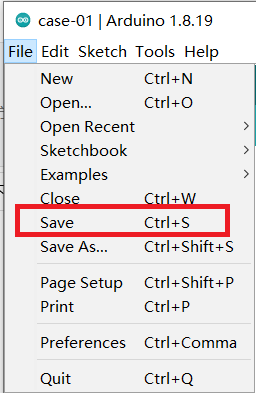
Set the save routine, give it a name and click save.
Click the upload button to upload the program to the Nezha-A master box.
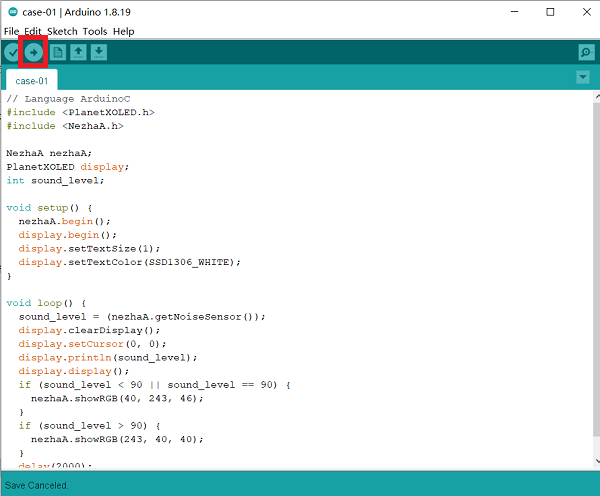
Result
After powering on, the two motors start driving and the servos drive to the angle as we set in turn.
Sample 2: Play melody
#include <NezhaA.h>

NezhaA nezhaA;    //Create an instance of the NezhaA class

void setup() {
  nezhaA.begin();    //Initiliaze the buzzer, motor, servo and light
  nezhaA.setTempo(60);    //Set the speed of playing melody via buzzer
  nezhaA.tone(262, nezhaA.beatsToMS(0.25));    //Set notes and beats of melody
  nezhaA.tone(0, nezhaA.beatsToMS(0.25));    //Set to stop the buzzer
  nezhaA.tone(294, nezhaA.beatsToMS(0.25));
  nezhaA.tone(0, nezhaA.beatsToMS(0.25));
  nezhaA.tone(330, nezhaA.beatsToMS(0.25));
  nezhaA.tone(0, nezhaA.beatsToMS(0.25));
  nezhaA.tone(349, nezhaA.beatsToMS(0.25));
  nezhaA.tone(0, nezhaA.beatsToMS(0.25));
  nezhaA.tone(392, nezhaA.beatsToMS(0.25));
  nezhaA.tone(0, nezhaA.beatsToMS(0.25));
  nezhaA.tone(440, nezhaA.beatsToMS(0.25));
  nezhaA.tone(0, nezhaA.beatsToMS(0.25));
  nezhaA.tone(494, nezhaA.beatsToMS(0.25));
  nezhaA.tone(0, nezhaA.beatsToMS(0.25));
  nezhaA.tone(523, nezhaA.beatsToMS(0.25));
  nezhaA.tone(0, nezhaA.beatsToMS(0.25));
  nezhaA.tone(400, 2000);    //Set the frequency and time for playing buzzer
}

void loop() {
}
Result
When the power is turned on, the buzzer plays a note.
Sample 3: Light-controlled lamps
#include <NezhaA.h>

NezhaA nezhaA;    //Create an instance of the NezhaA class

void setup() {
  nezhaA.begin();    //Initialize buzzer, motor, servo, light
}

void loop() {
  if ((nezhaA.getLightSensor()) < 50) {    //Determine if the return value of the photosensitive sensor is less than 50
    nezhaA.showRGB(108, 30, 187);    //Set the values of R, G and B of the LED
  } else {
    nezhaA.clearRGB();    //Clear lighting effects
  }
}
Result
Automatically turns the lights on or off according to the ambient light intensity.
Sample 4: Voice-controlled lamps
#include <NezhaA.h>

NezhaA nezhaA;    //Create an instance of the NezhaA class

void setup() {
  nezhaA.begin();    //Initialize buzzer, motor, servo, light
}

void loop() {
  if ((nezhaA.getNoiseSensor()) > 100) {    //Determine if the return value of the noise sensor is over 100
    nezhaA.showRGB(108, 30, 187);    //Set the values of R, G and B of the LED
    delay((2) * 1000);    //Delay time 1000ms
  } else {
    nezhaA.clearRGB();    //Clear lighting effects
  }
}
Result
Automatically turn on or off the lights according to the noise level of the surrounding environment.