Quick Start
Welcome to the Space Science Kit Quick Start Guide! Let's embark on an exciting journey of exploring the world of space science and technology together in a hands-on way!
This Quick Start Guide will provide you with a concise guide to using the Space Science Kit. Whether you have programming or block building experience or not, this guide will help you get up to speed quickly with the basics. In simple steps, you'll build a real-world example to experience. Let's get started on this exciting space adventure together!

Preparation
Materials Requested
 | micro:bit V2 |
|---|---|
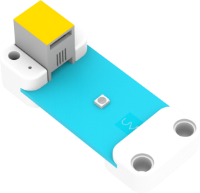
 | Nezha Breakout Board V2 |
 | PlanetX Smart Motor |
 | PlanetX Sonar:bit |
 | PlanetX Line Following Sensor |
 | PlanetX UV Sensor |
 | PlanetX Soil Moisture Sensor |
 | PlanetX WIFI Module |
 | PlanetX OLED Display |
 | PlanetX Temperature and Humidity Sensor |
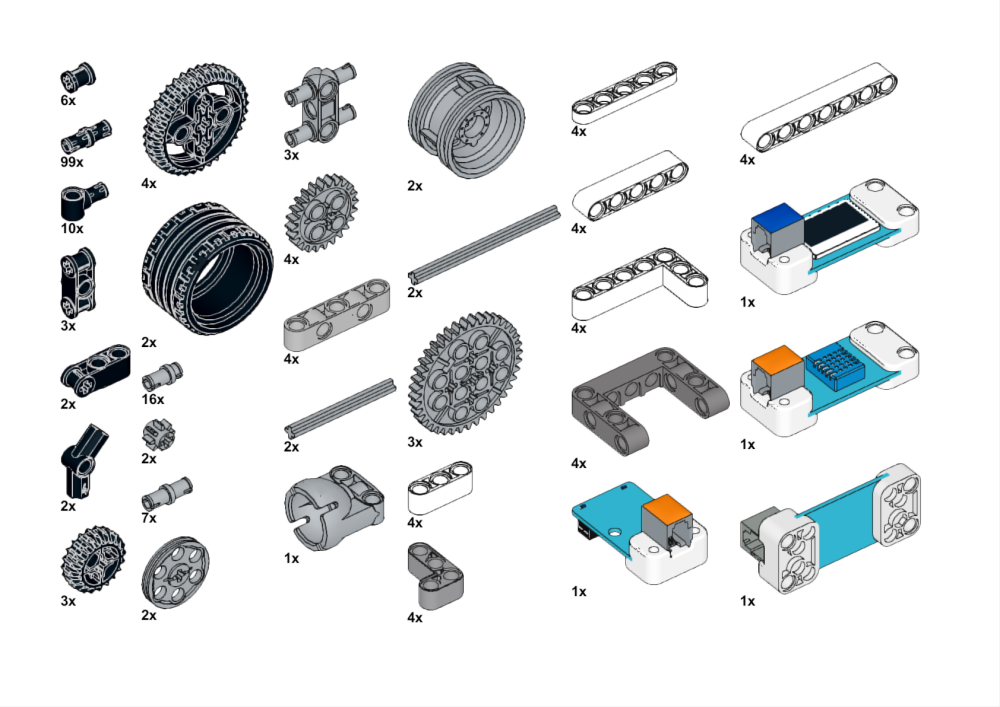
 | Bricks Pack |
 | USB cable |
 | Computer |
Quick Start
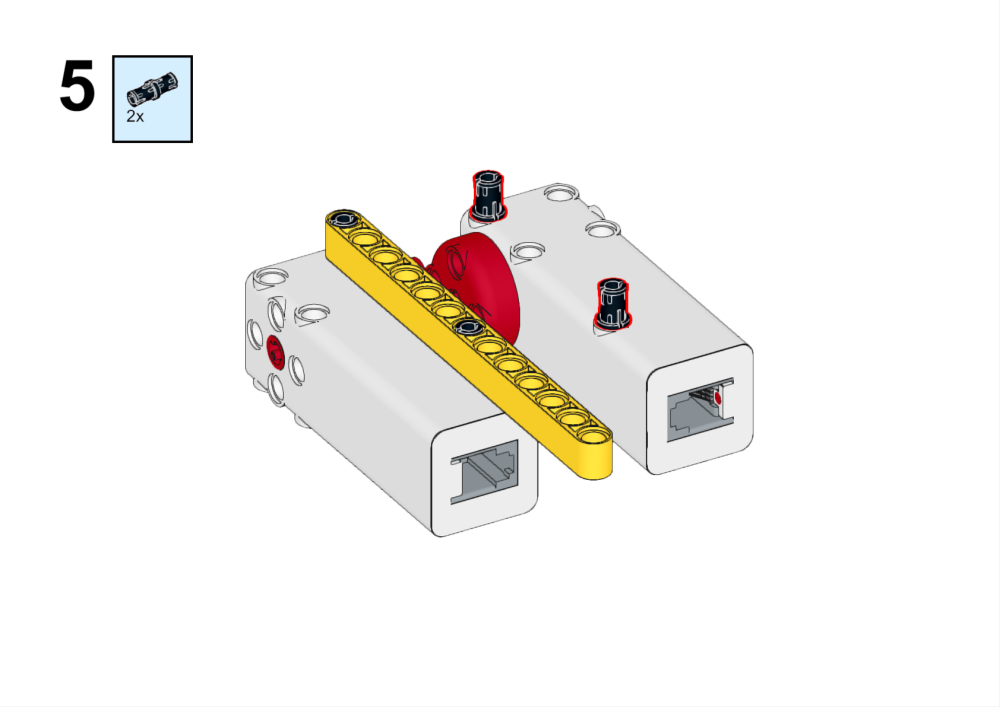
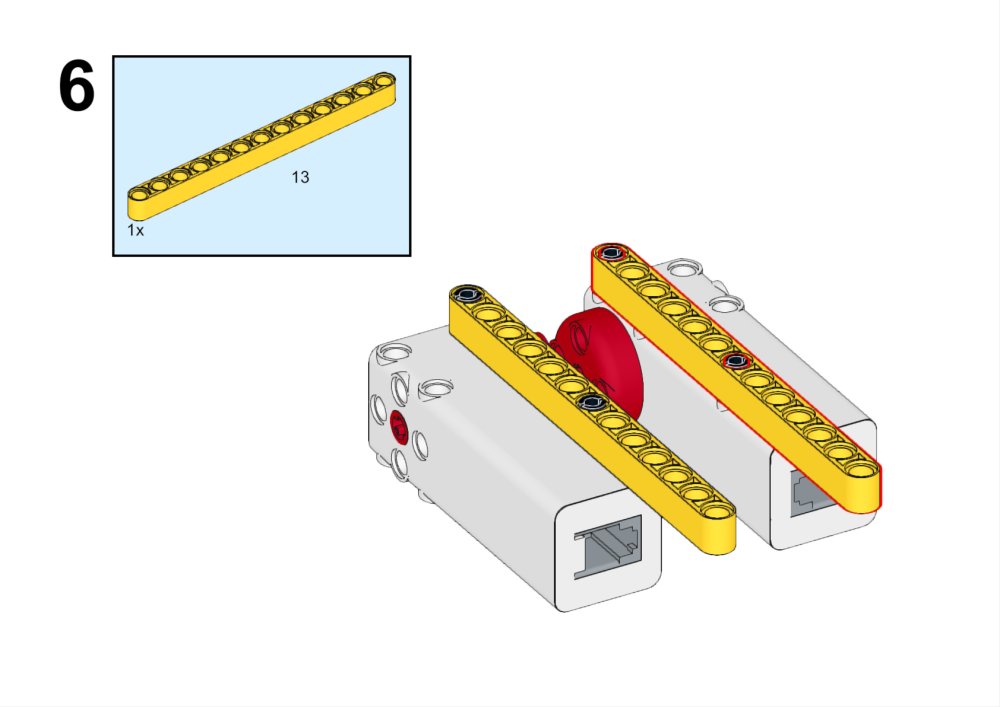
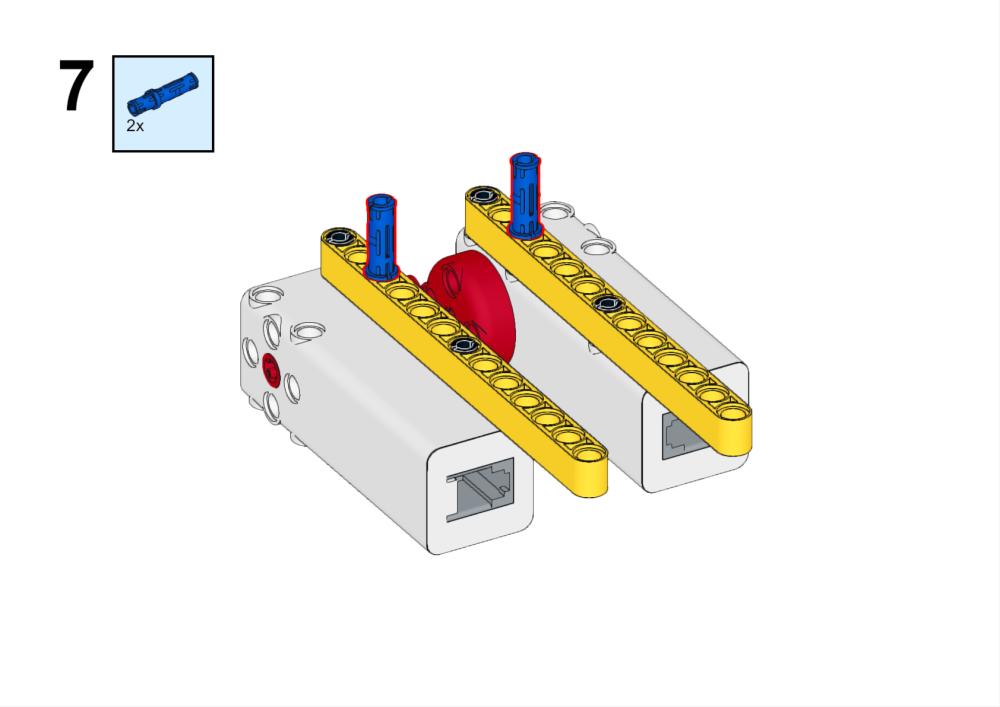
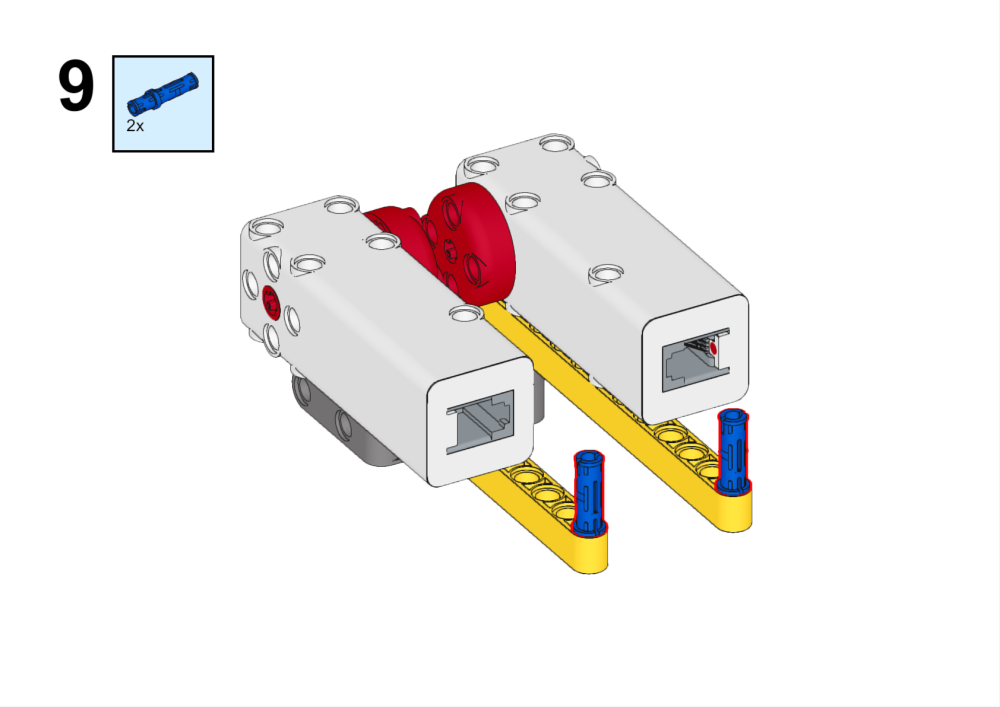
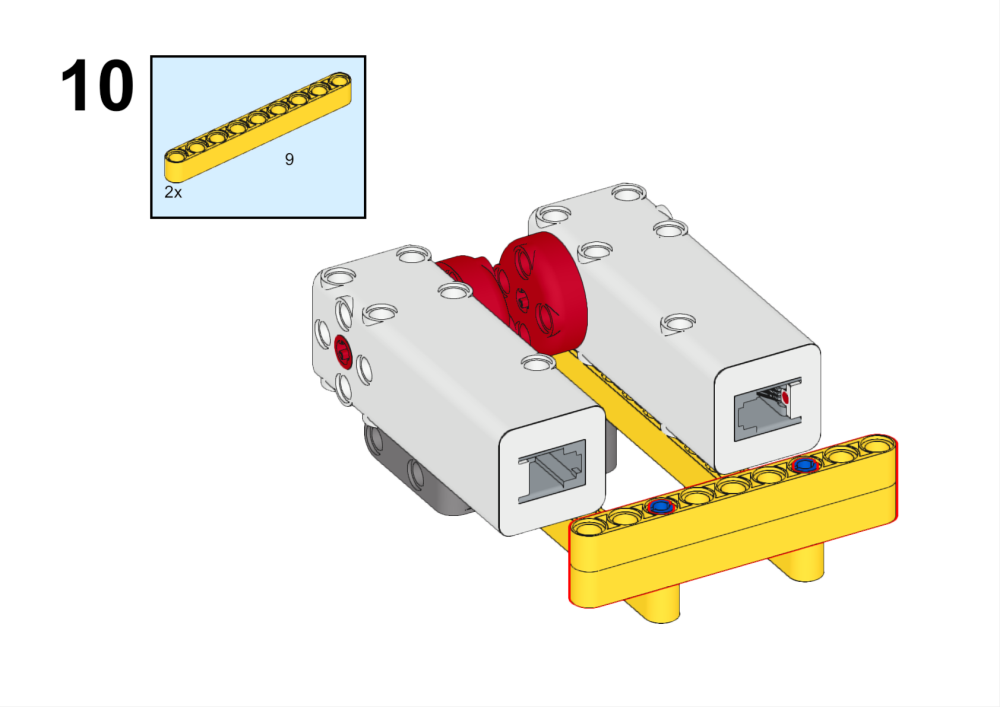
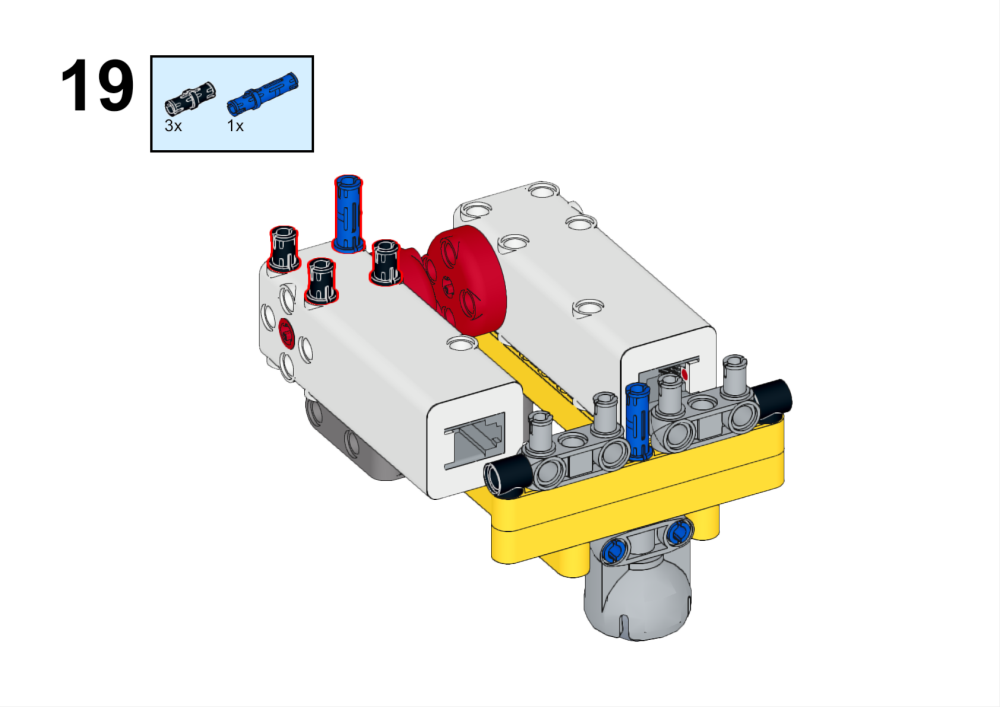
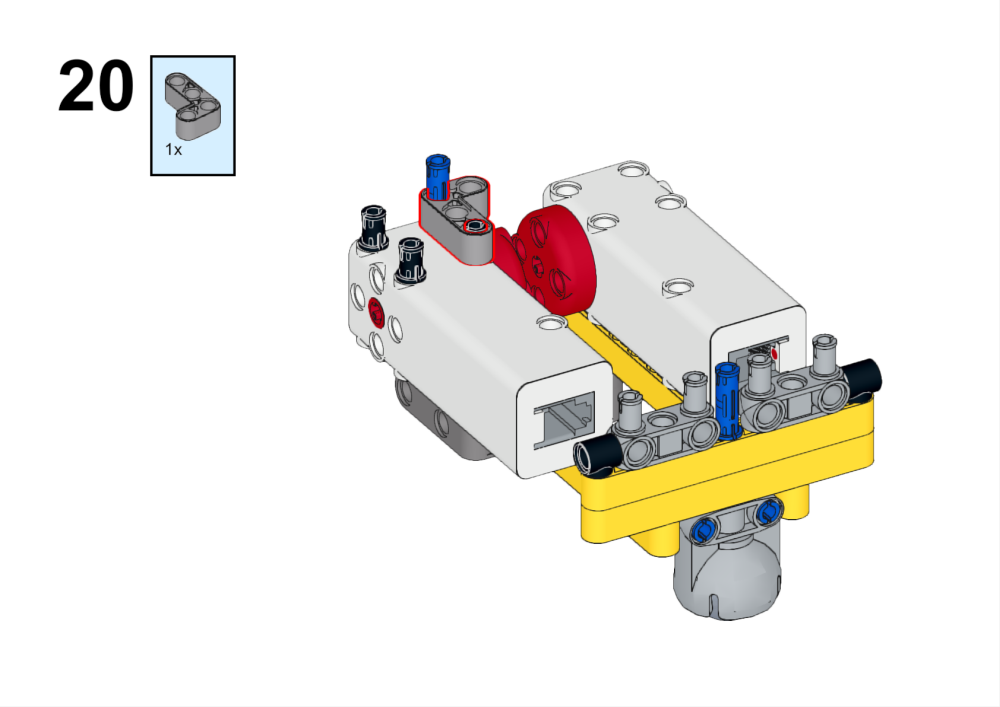
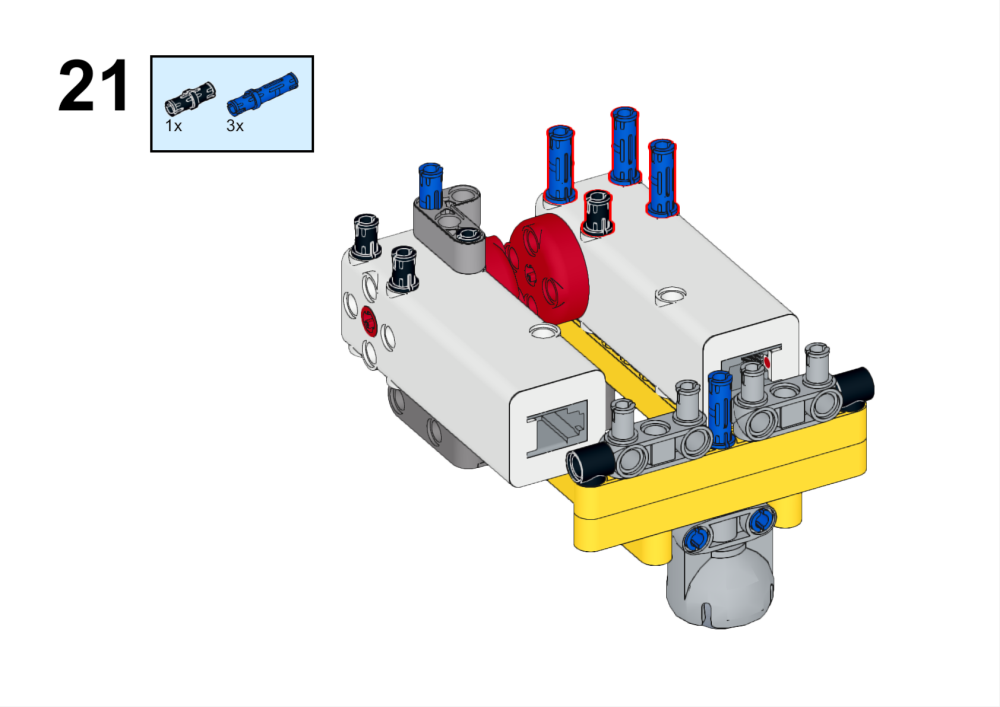
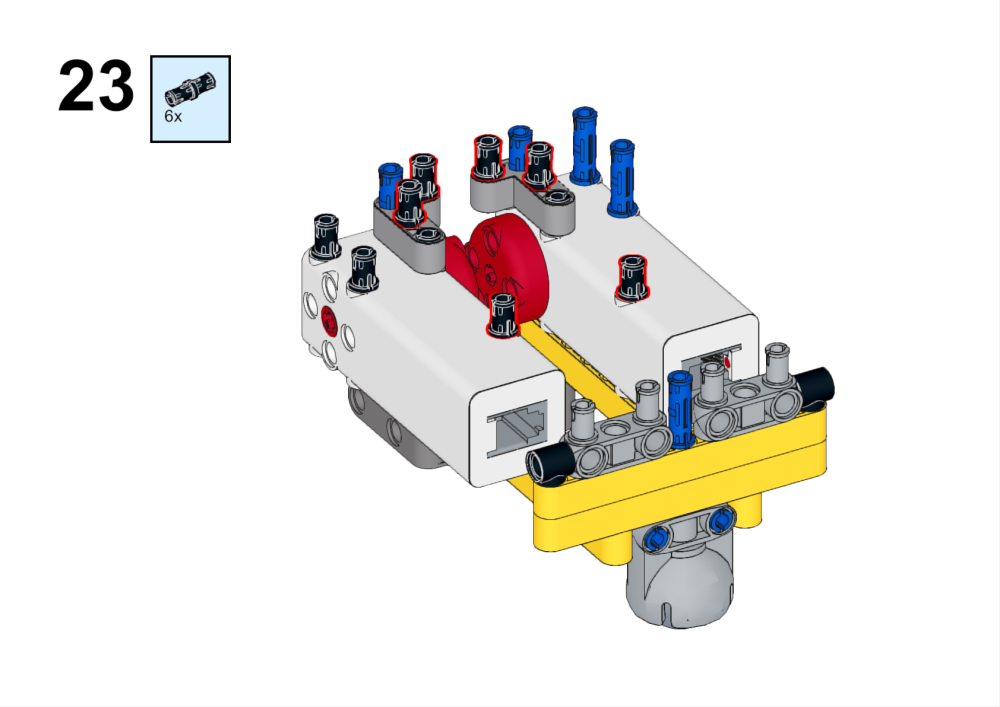
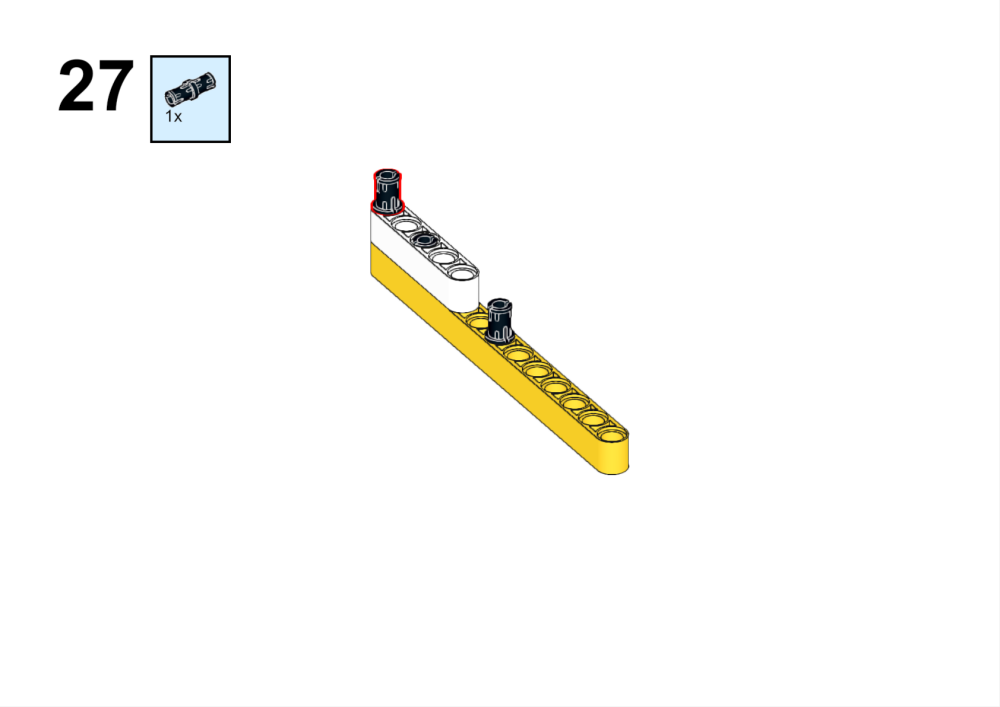
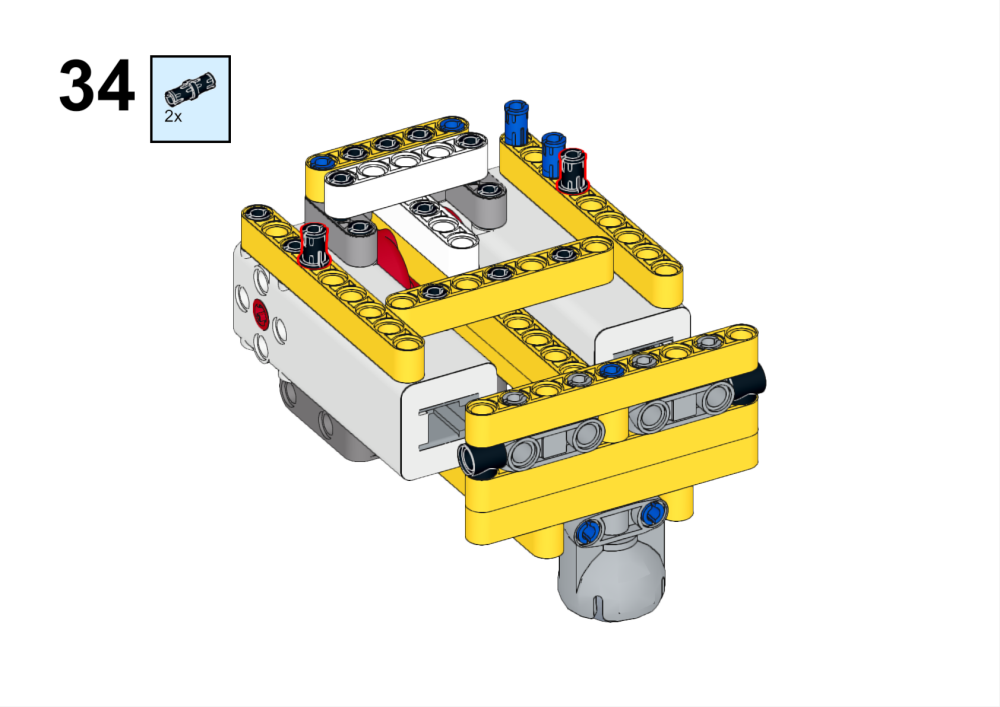
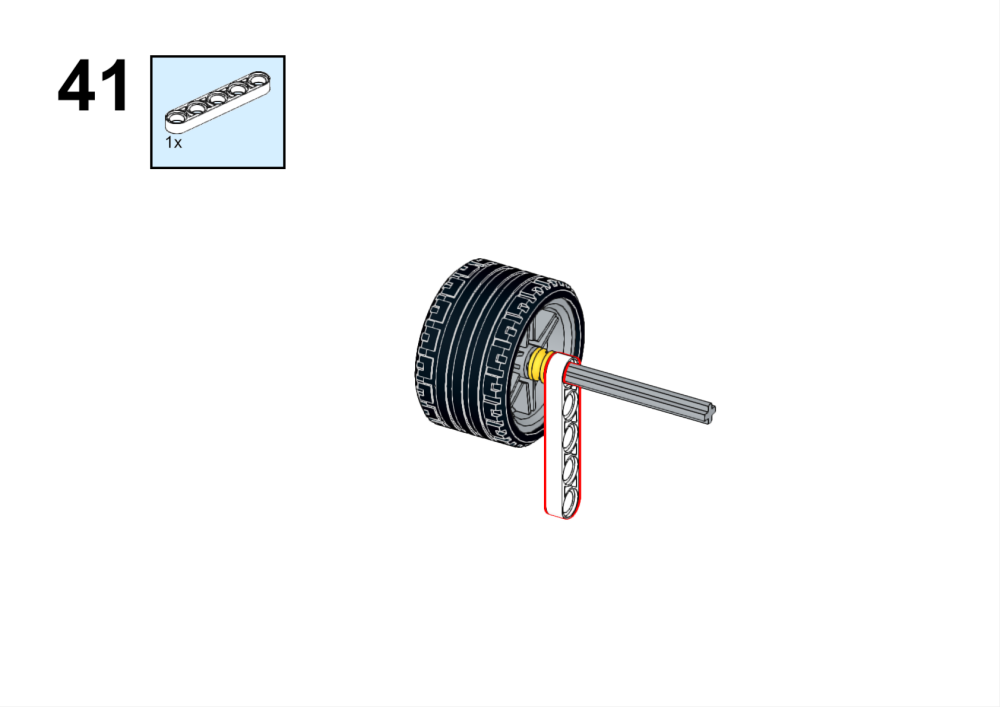
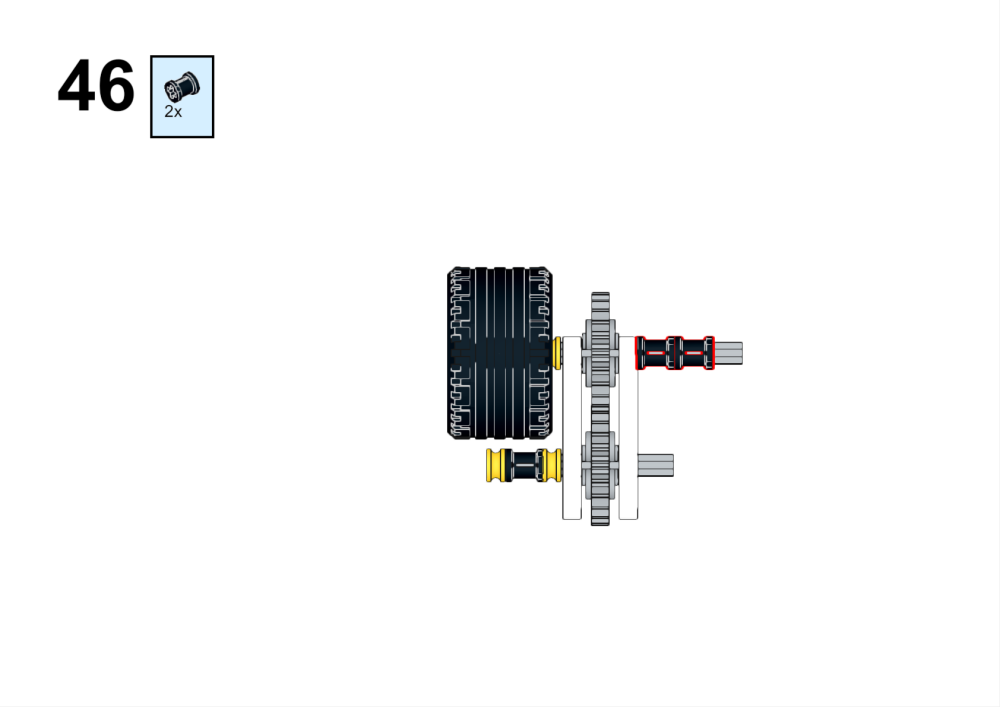
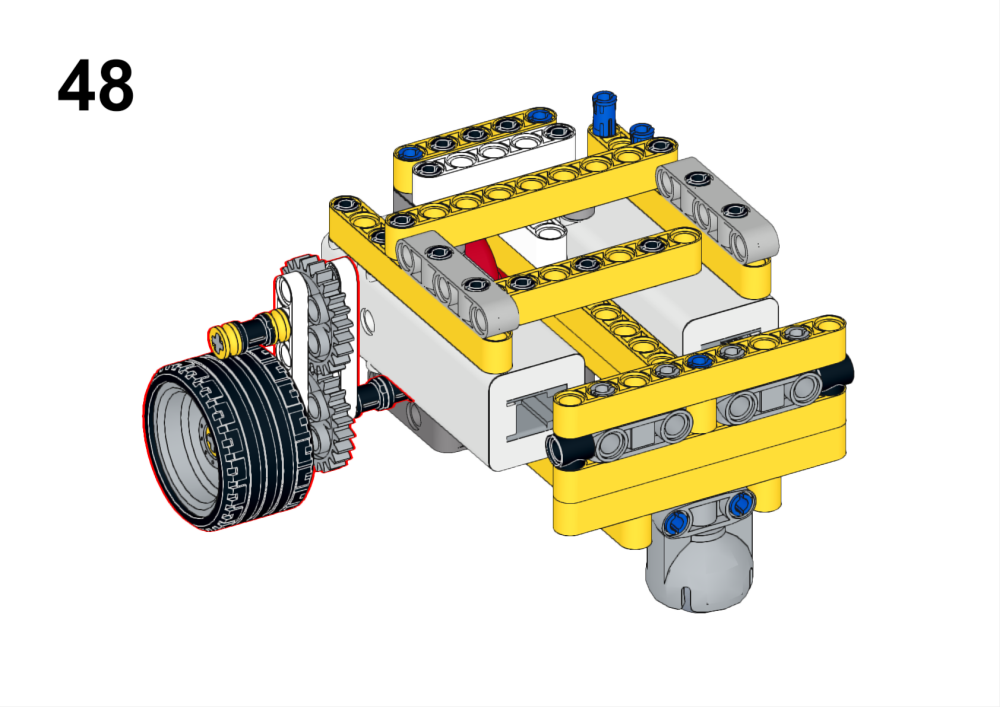
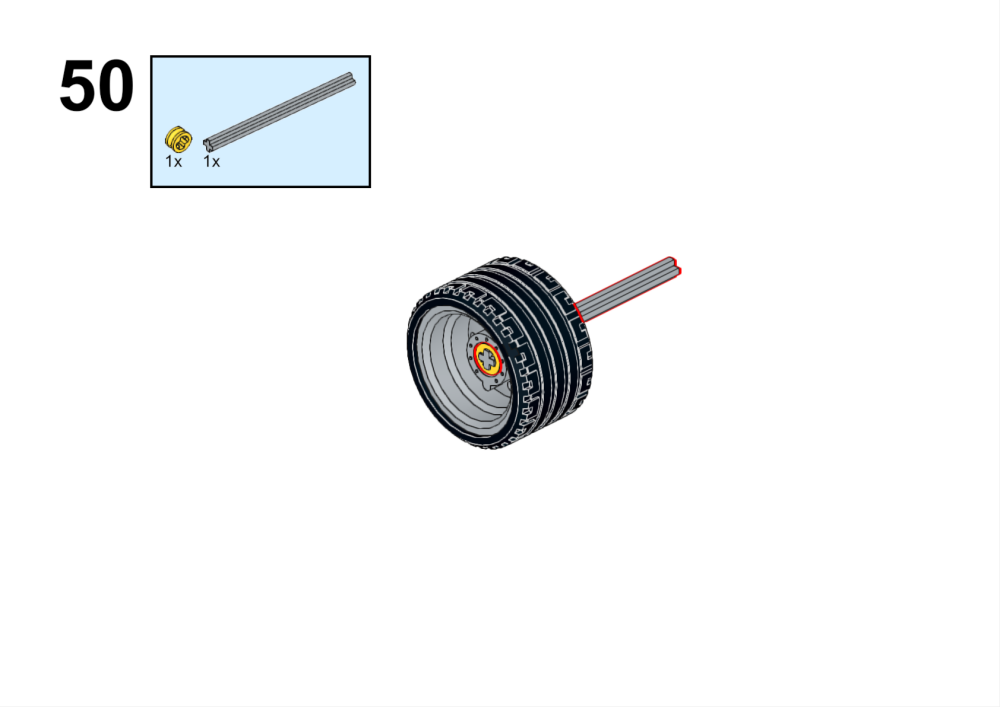
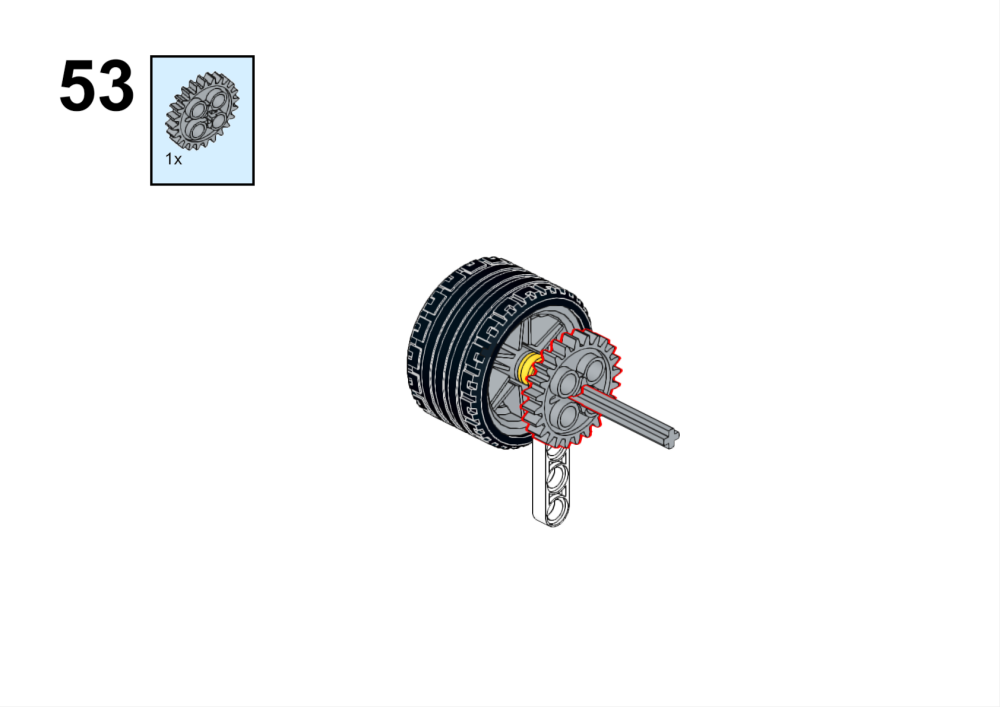
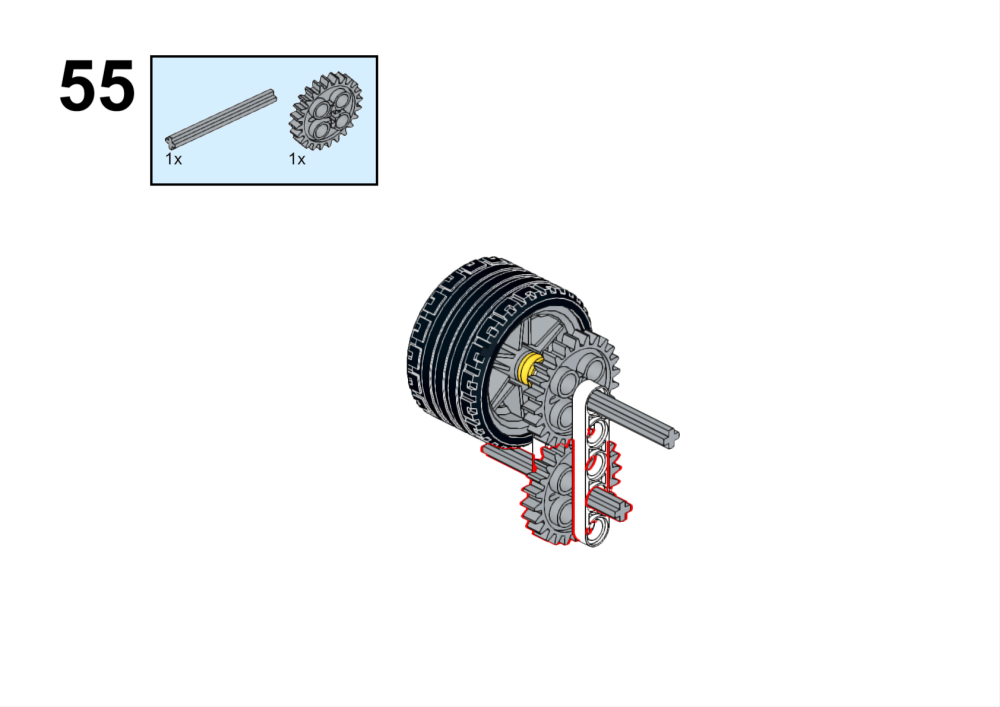
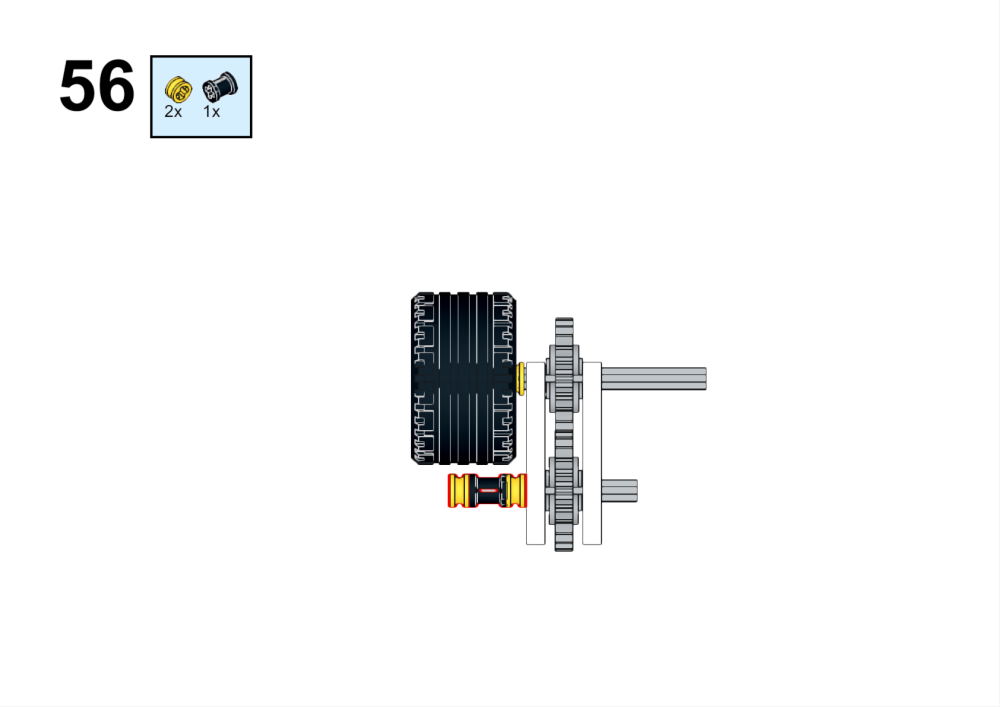
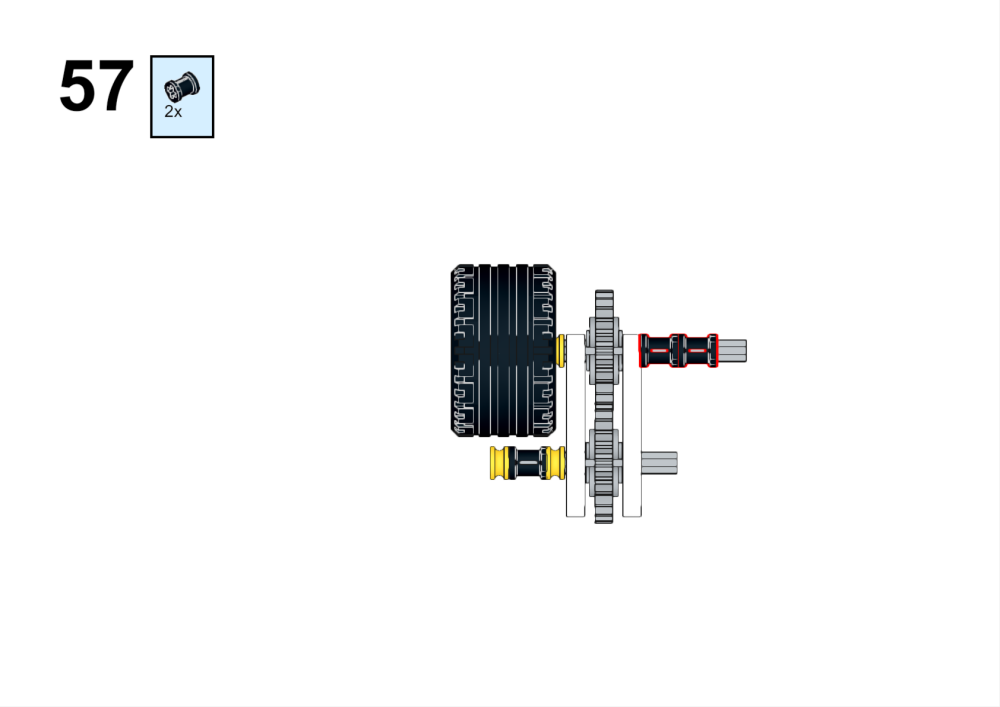
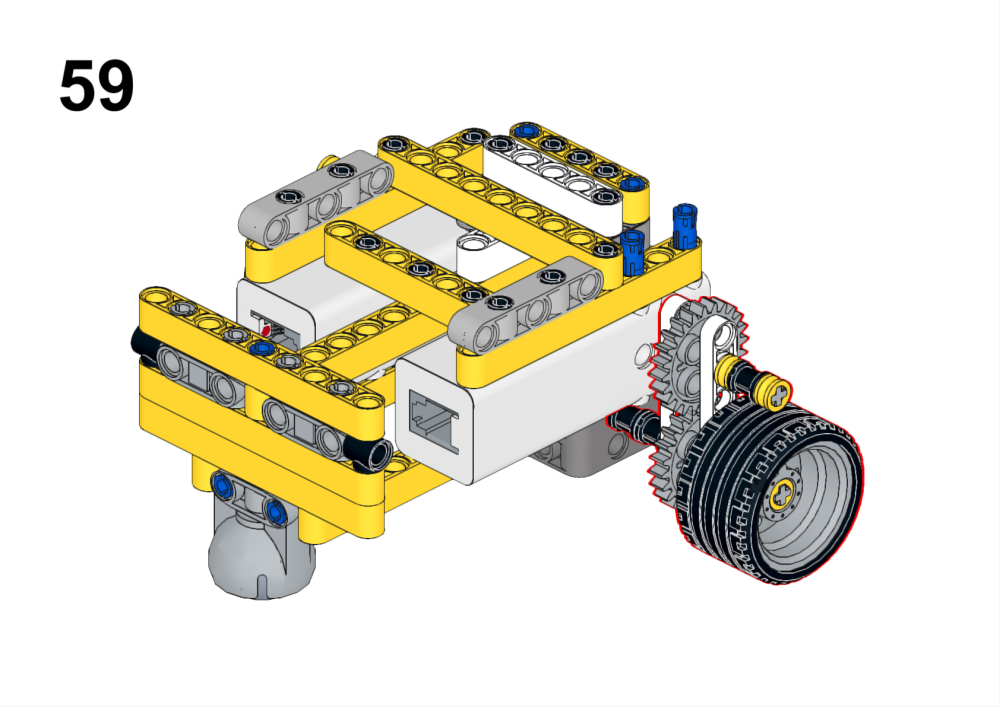
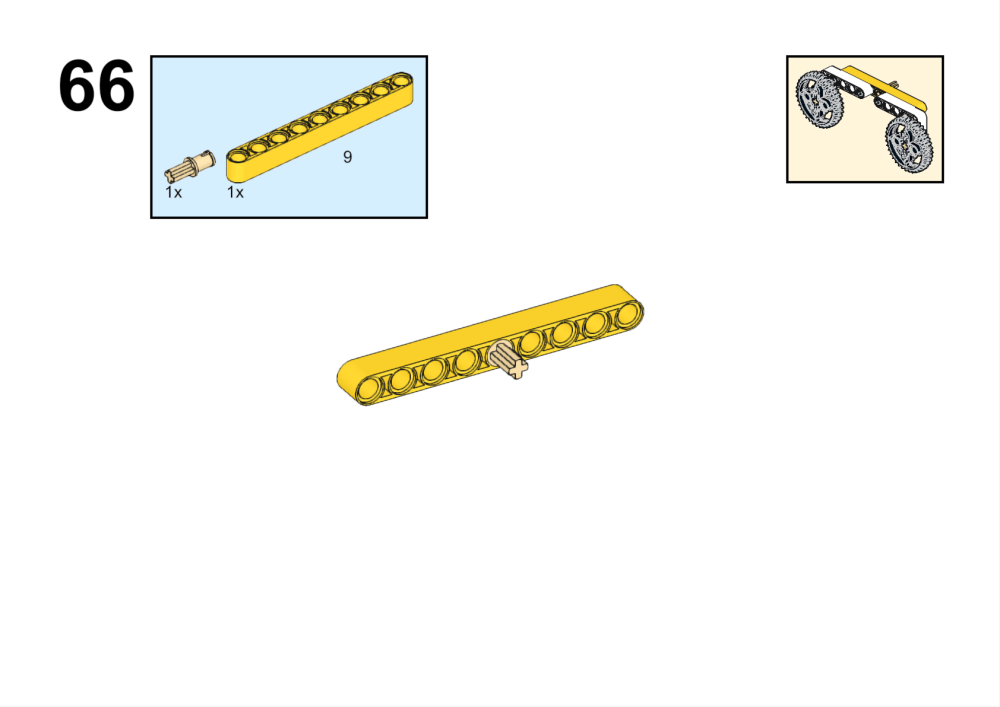
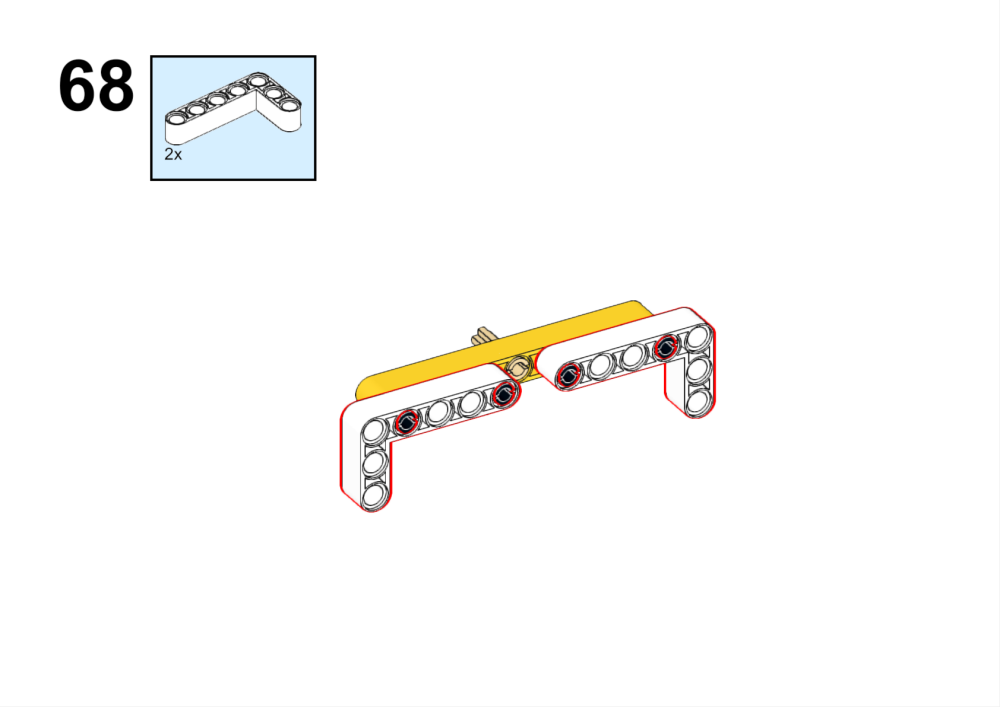
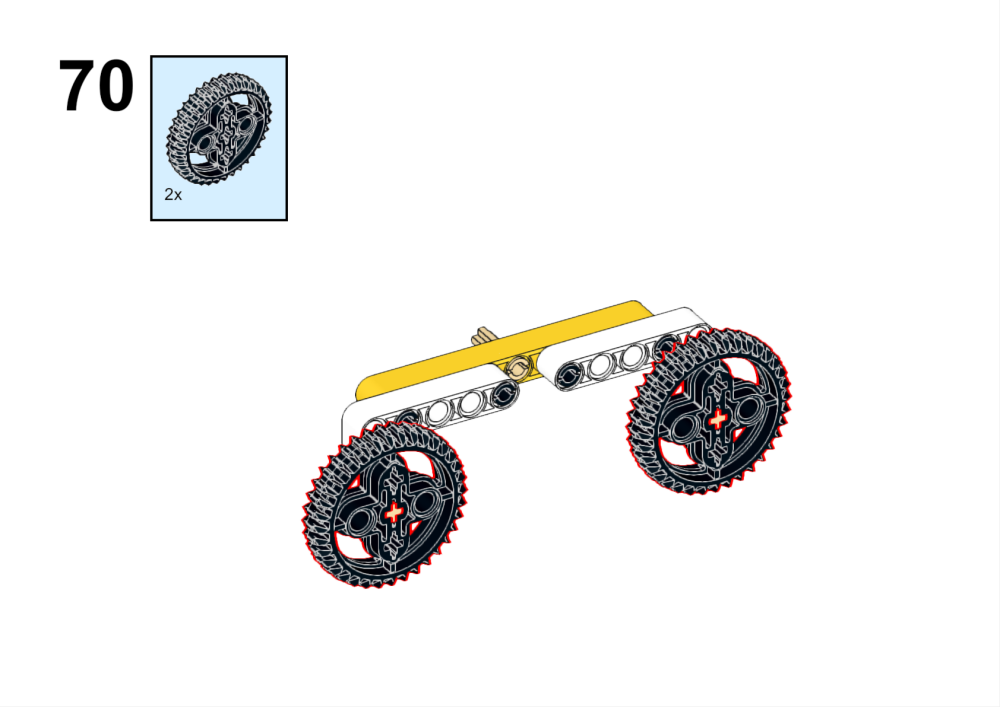
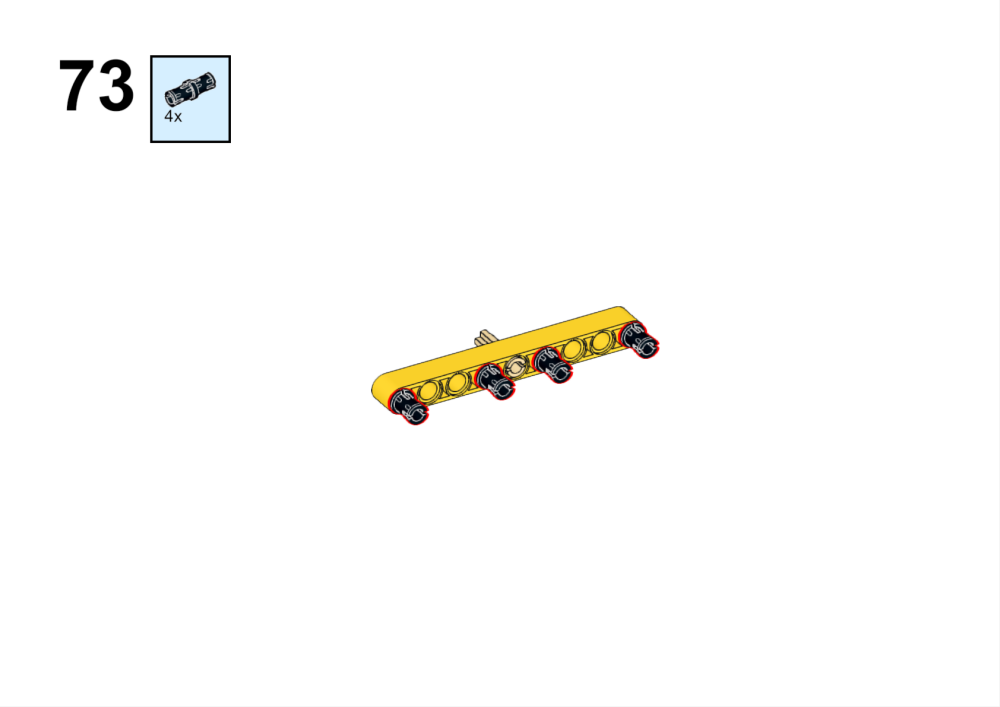
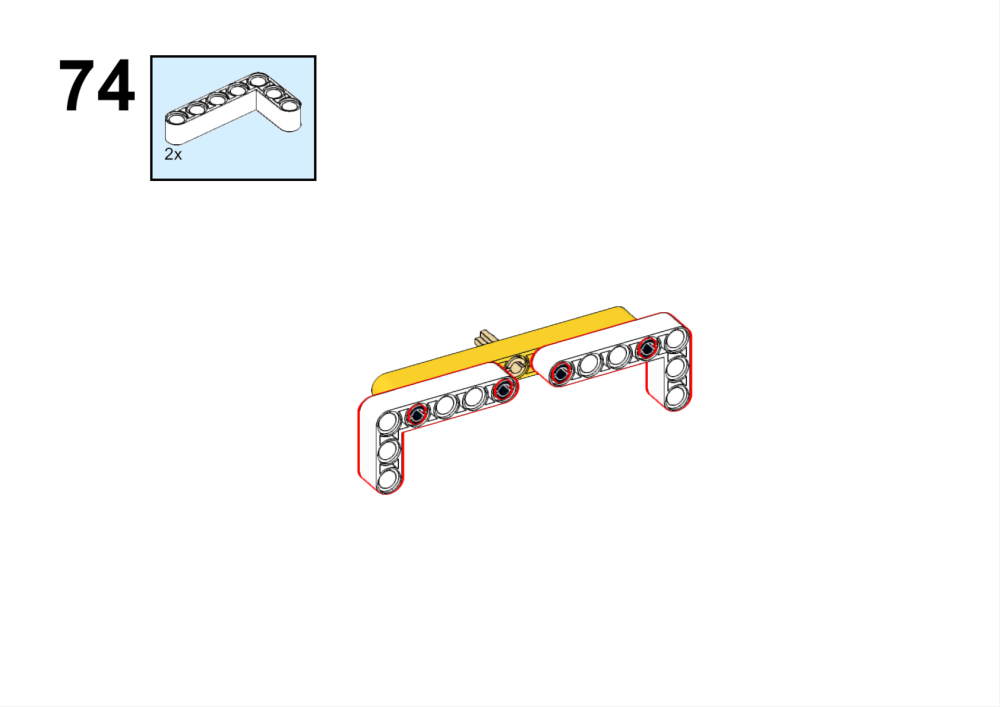
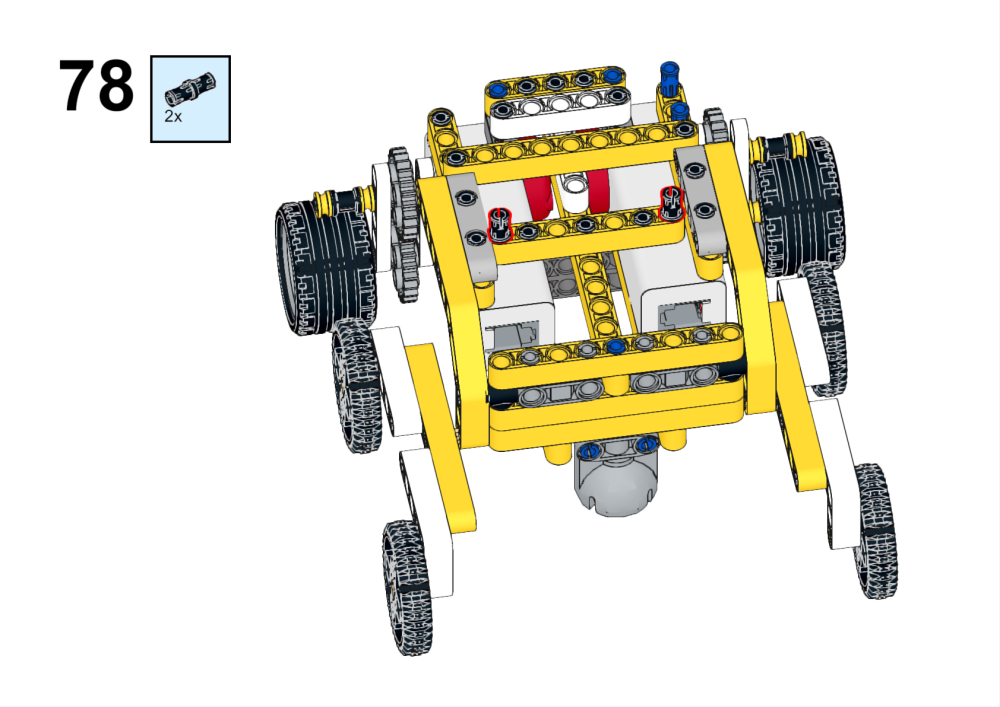
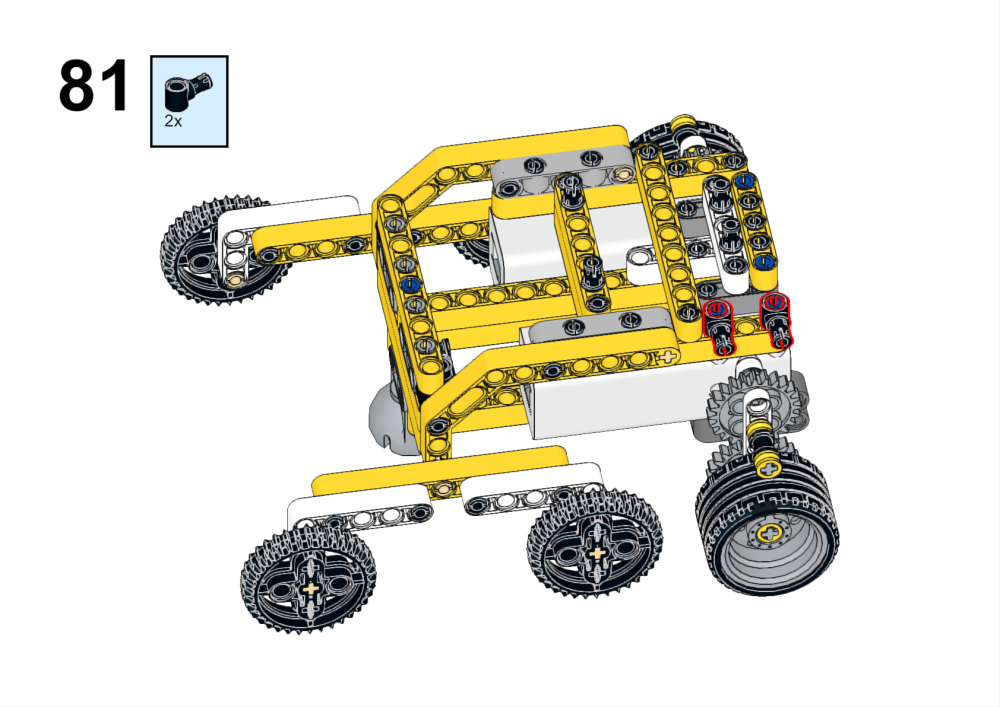
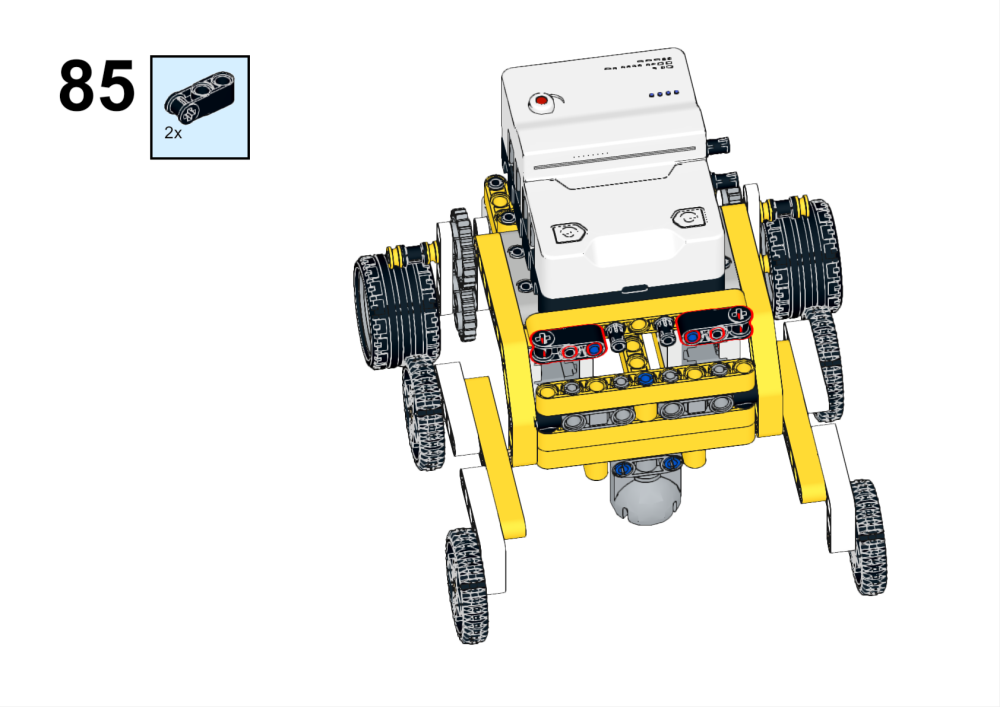
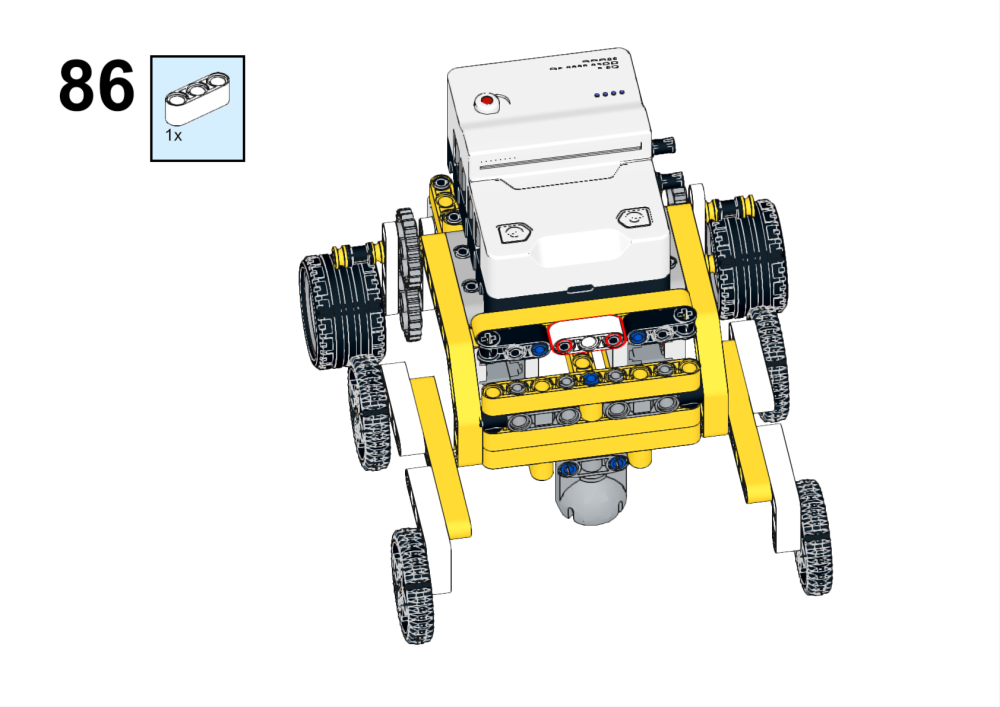
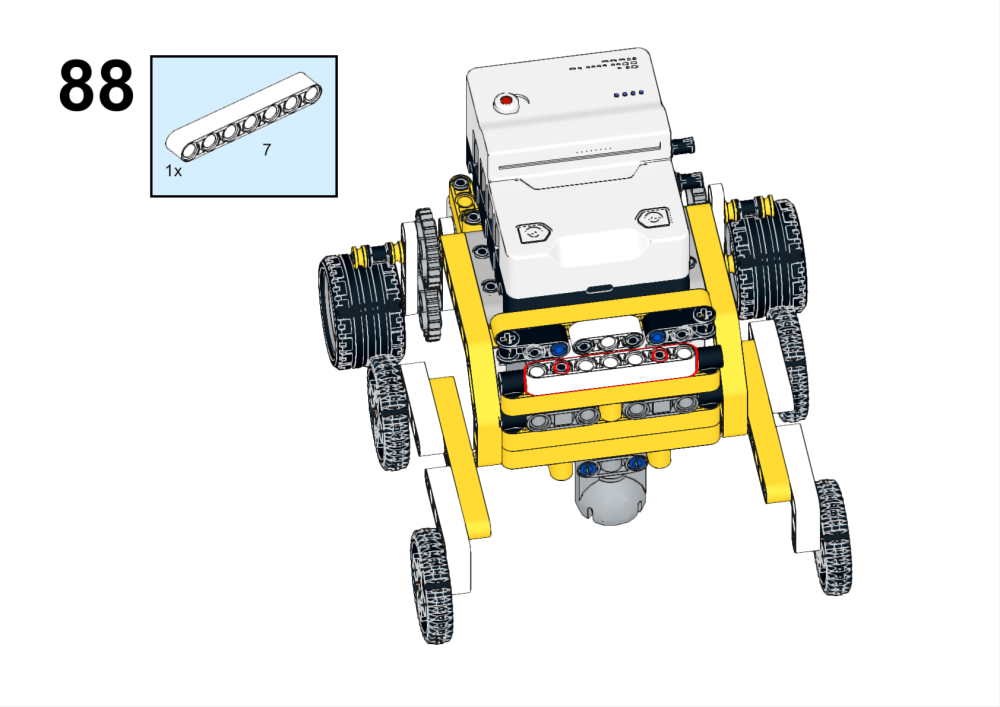
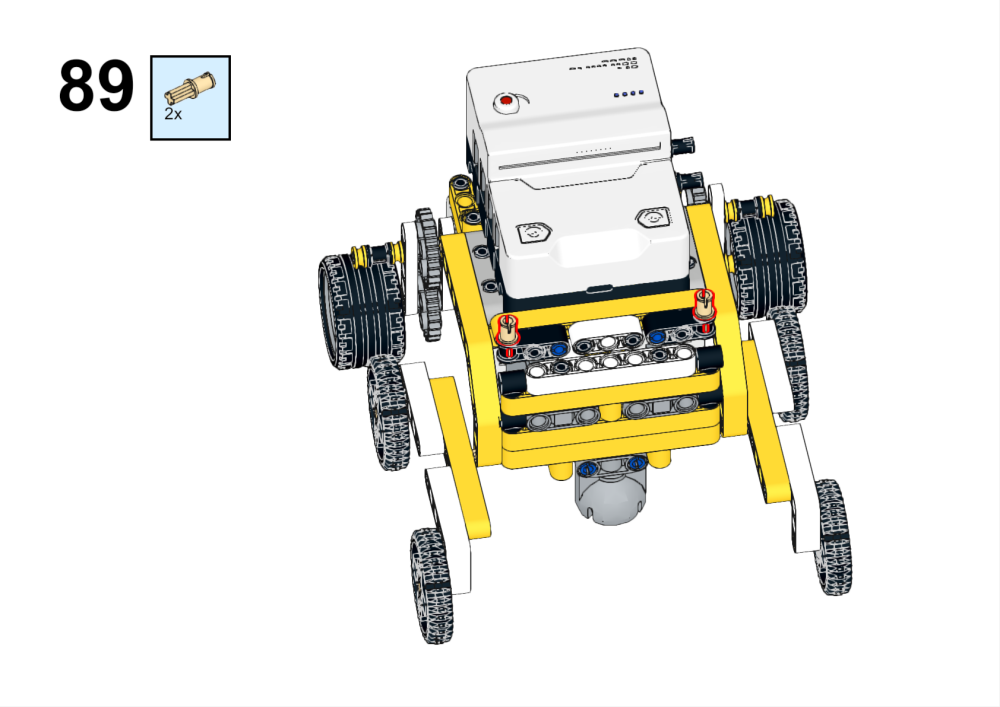
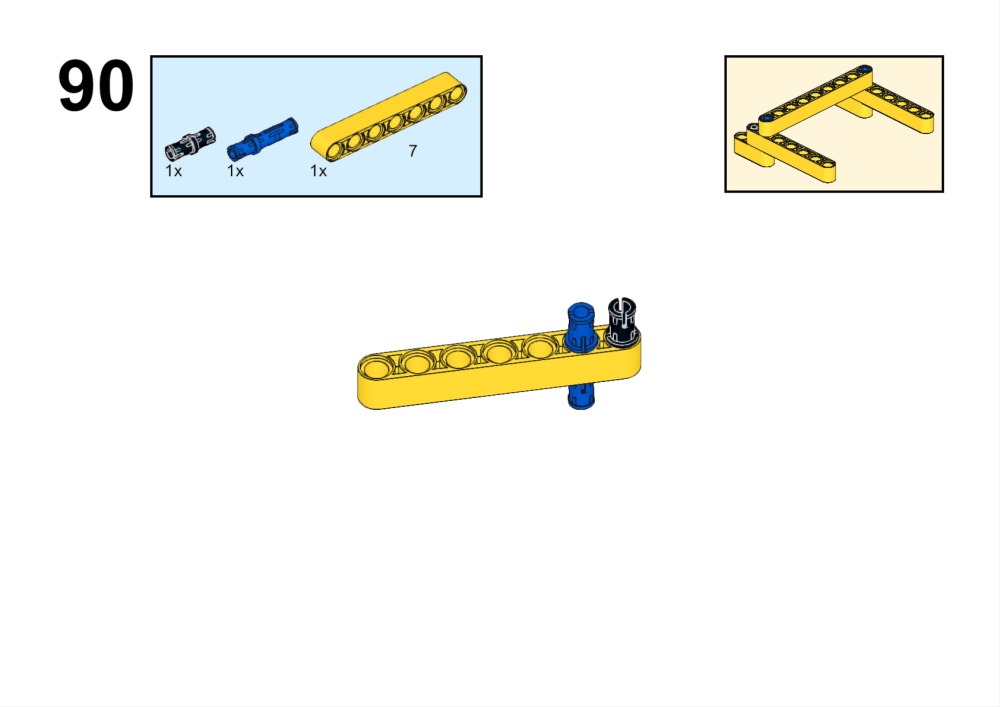
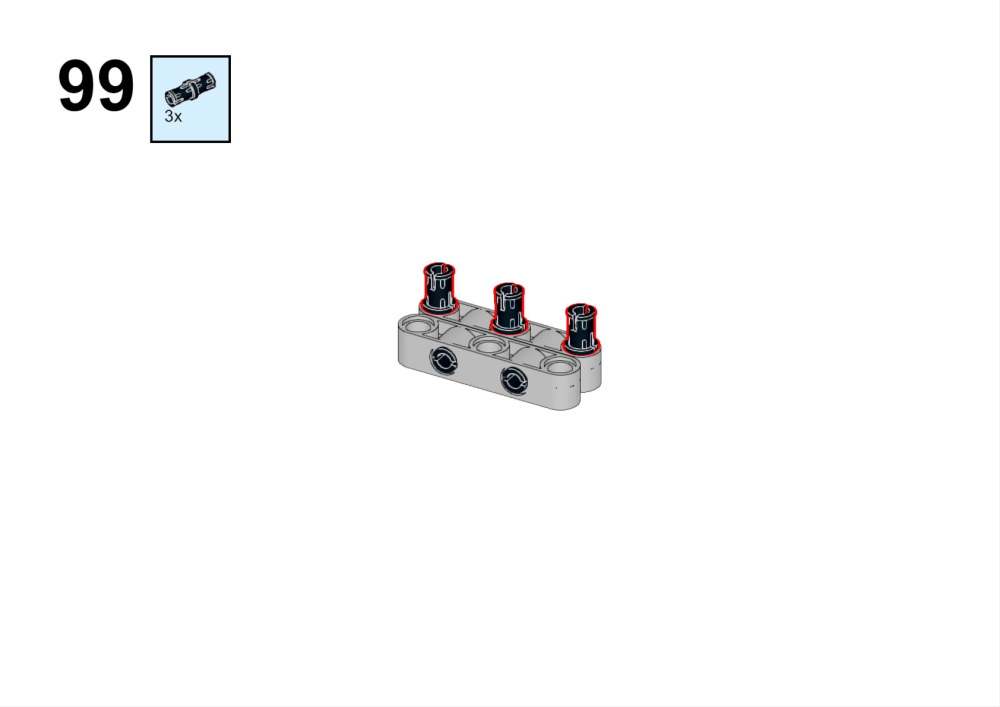
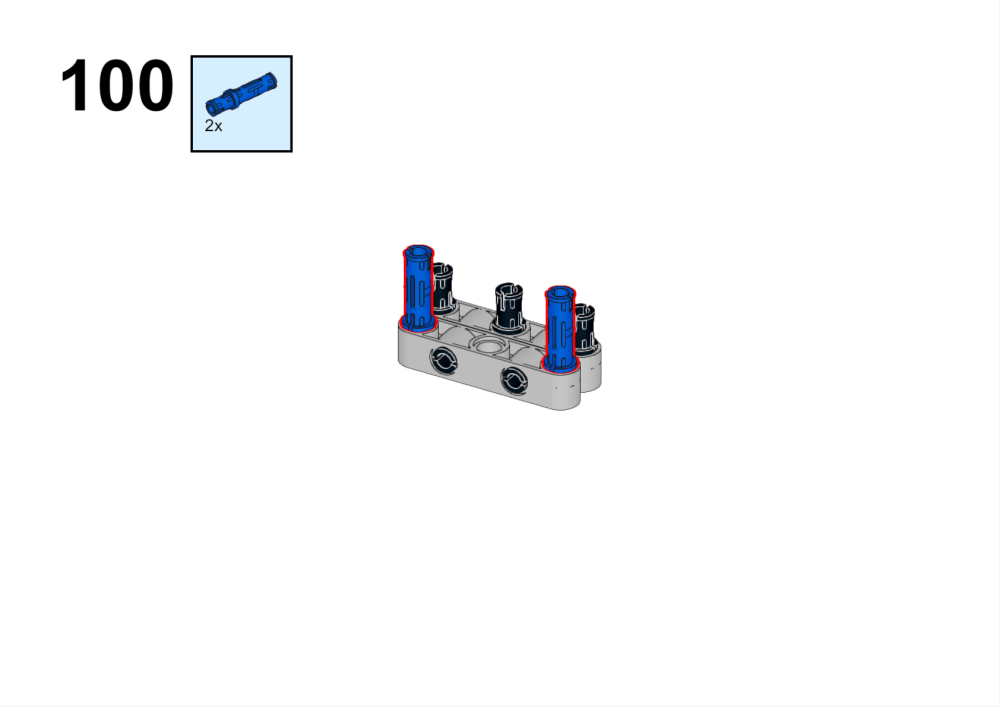
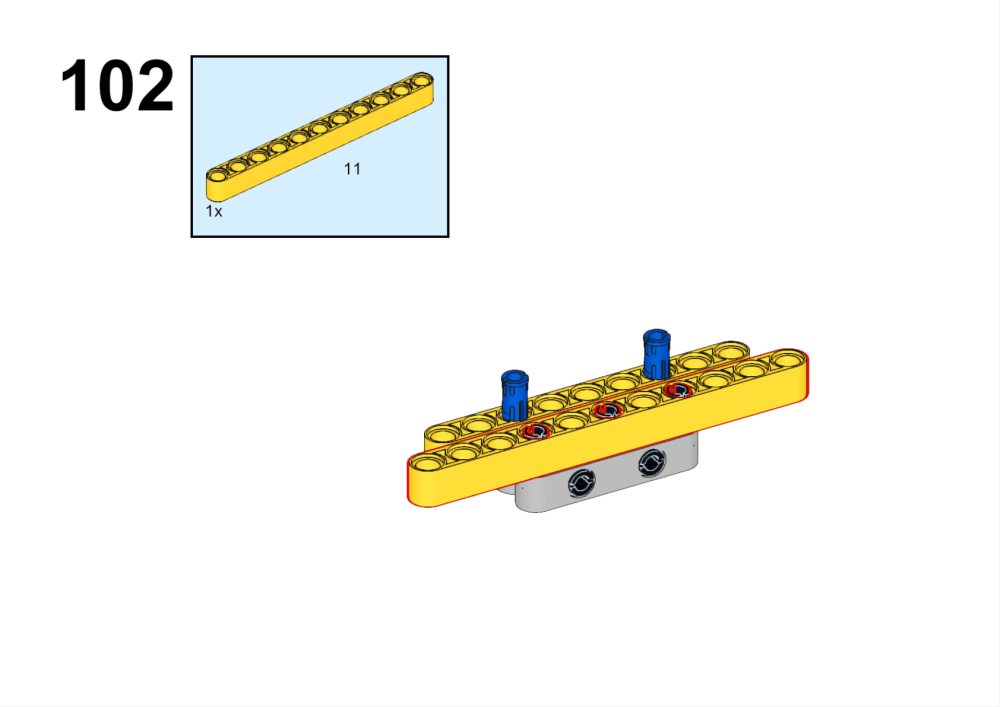
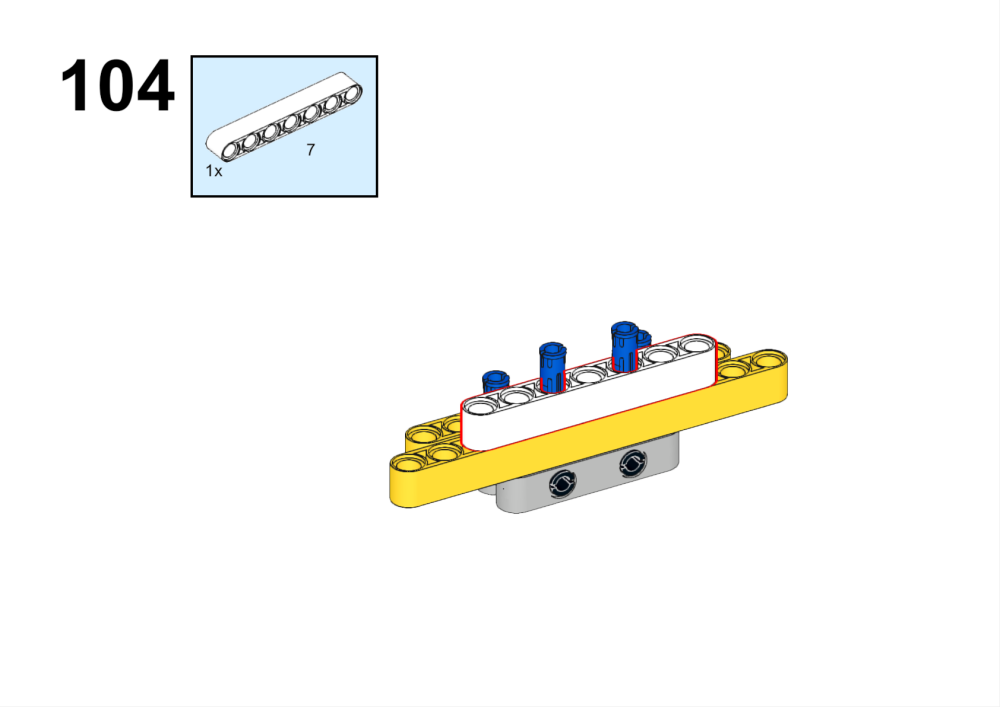
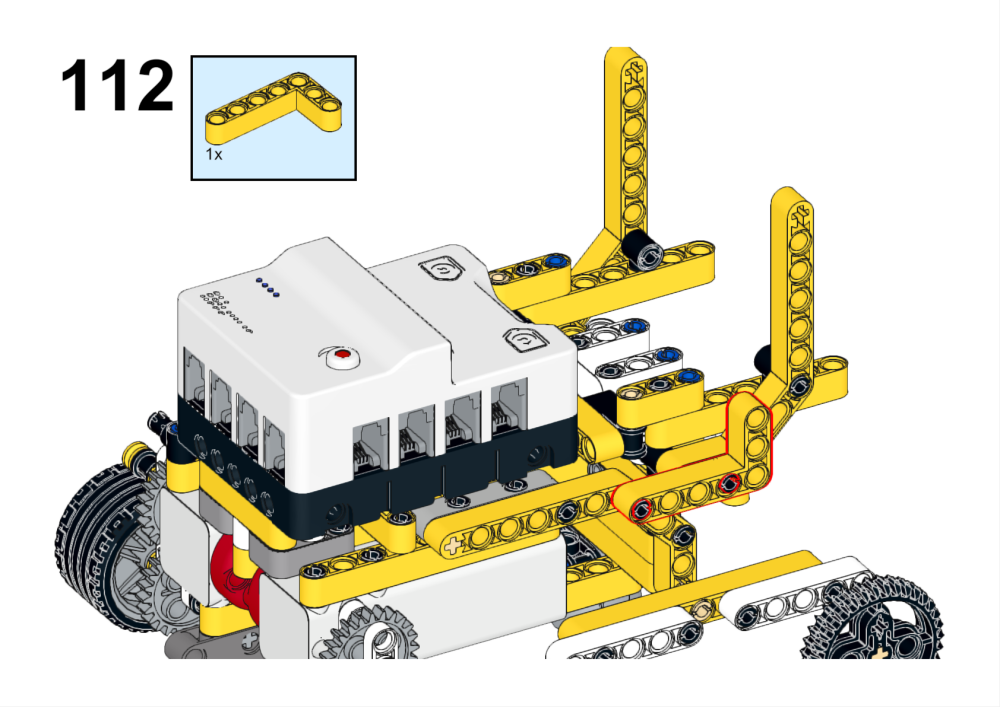
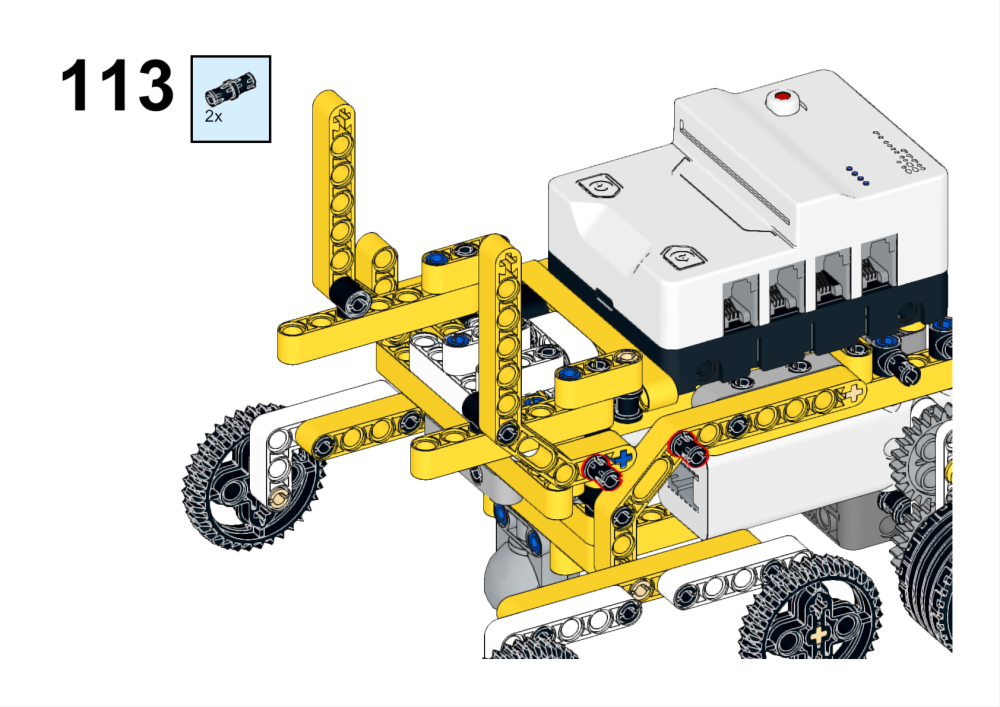
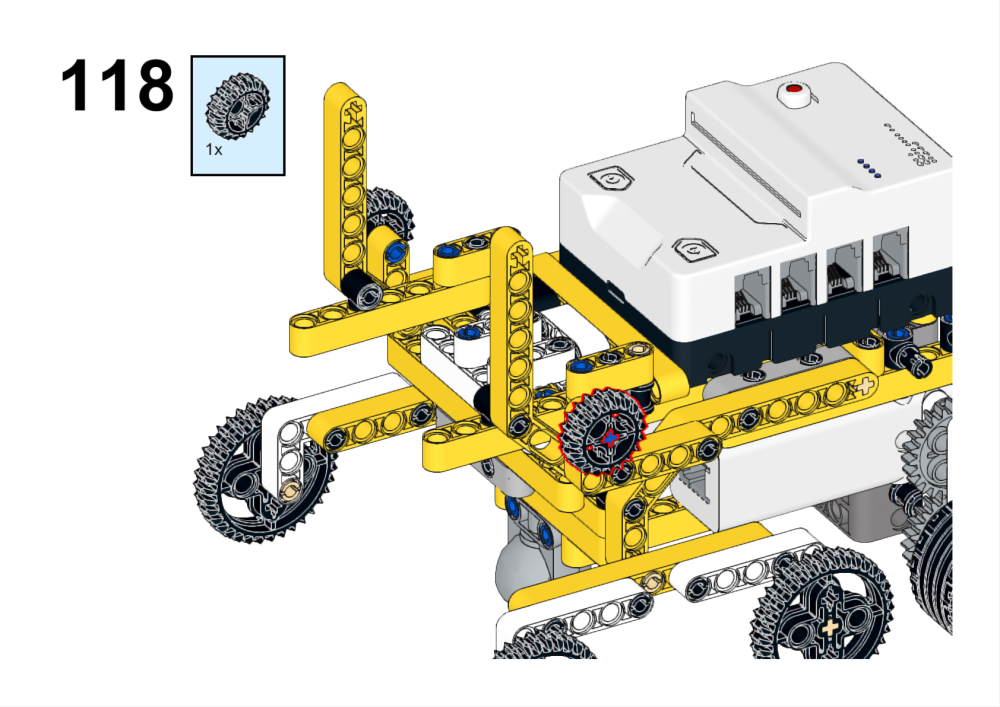
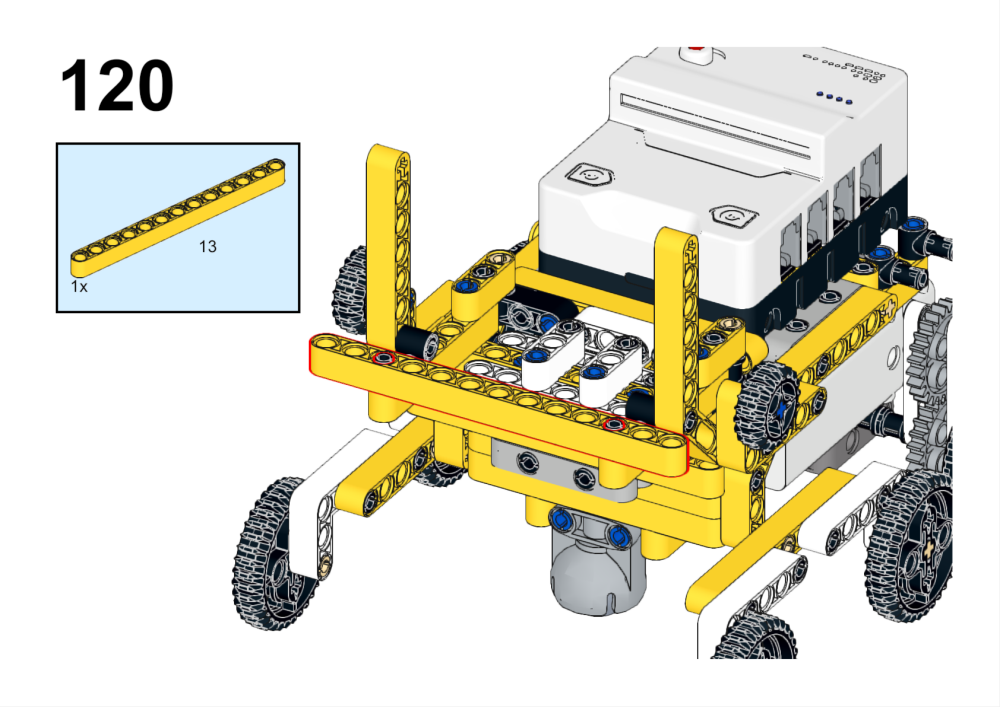
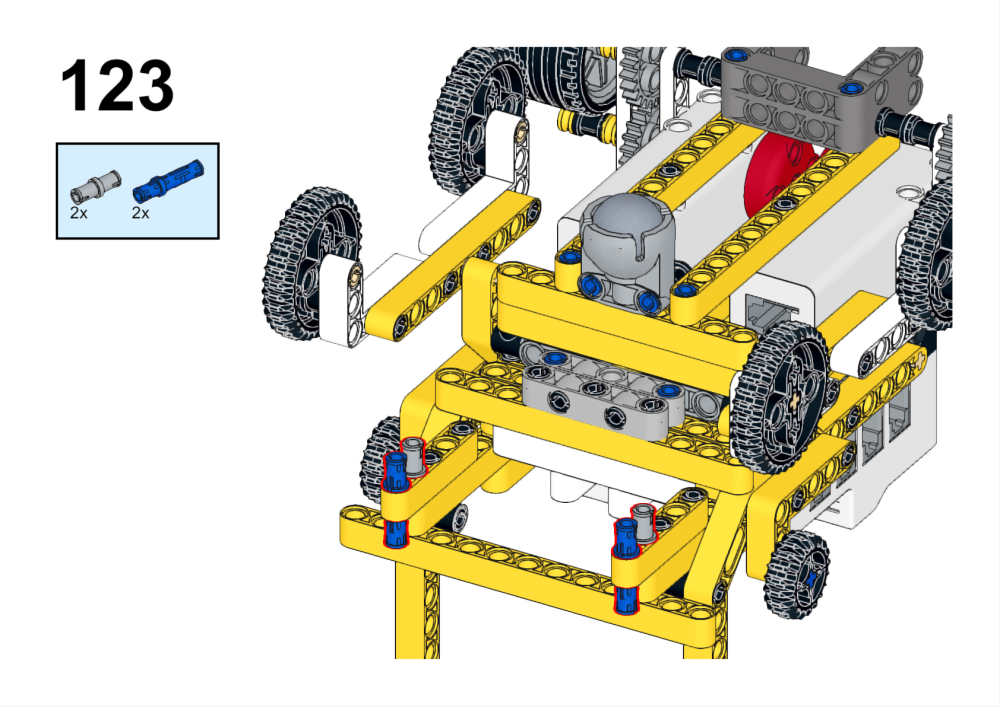
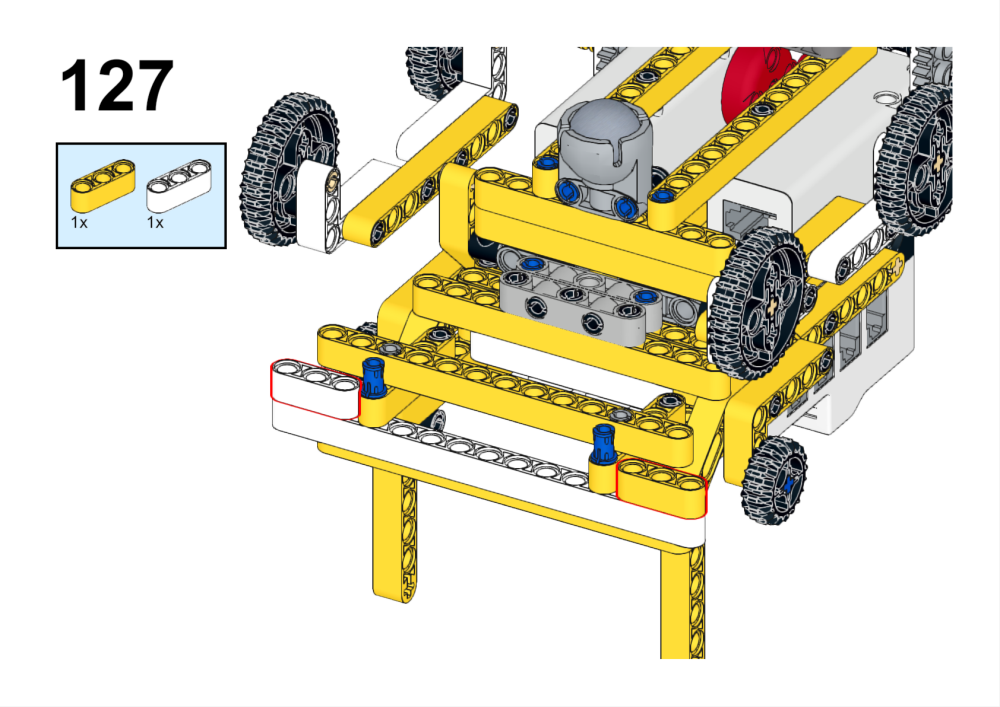
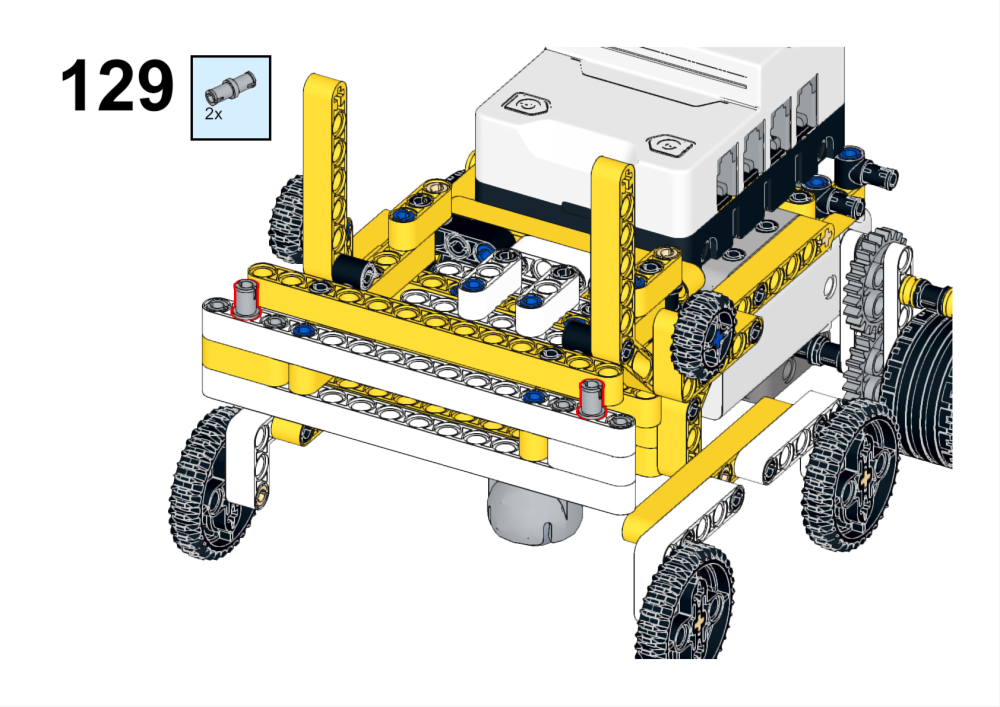
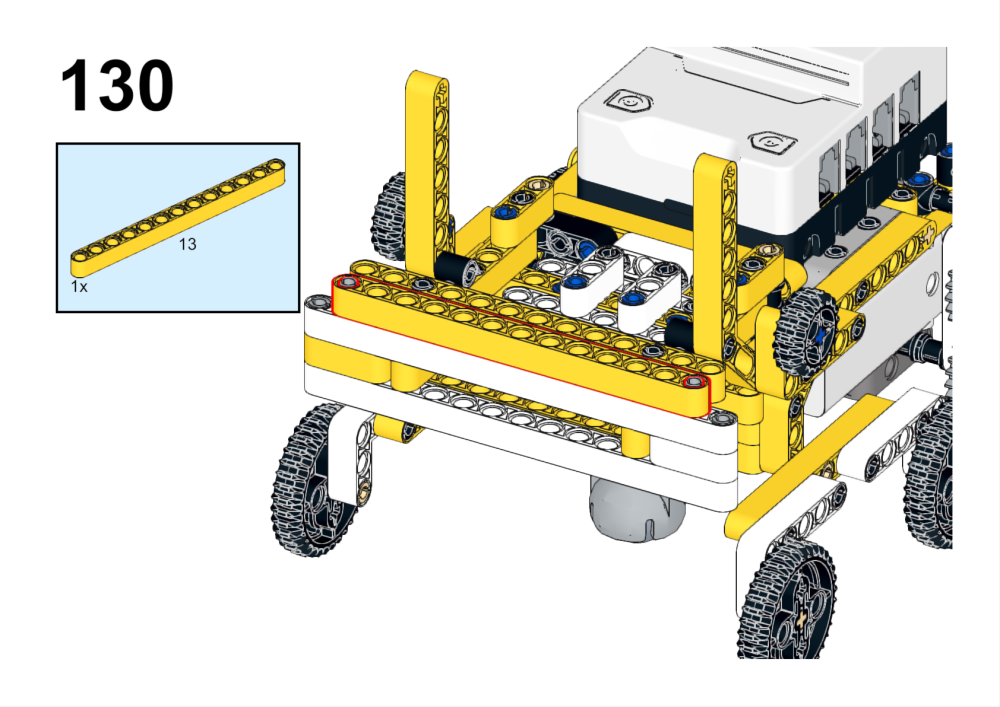
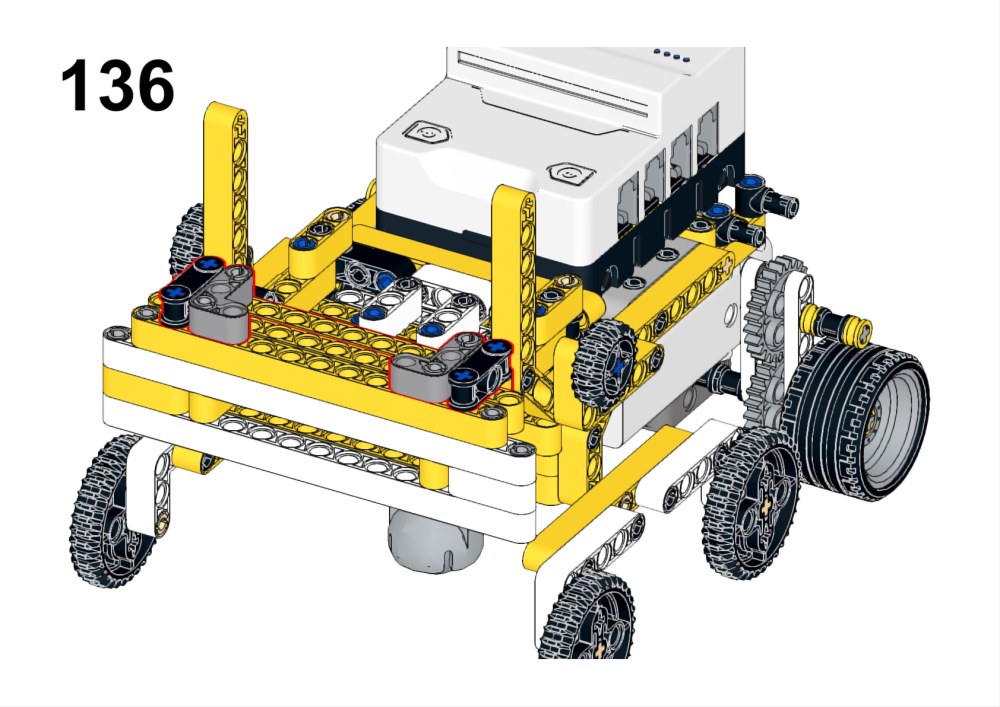
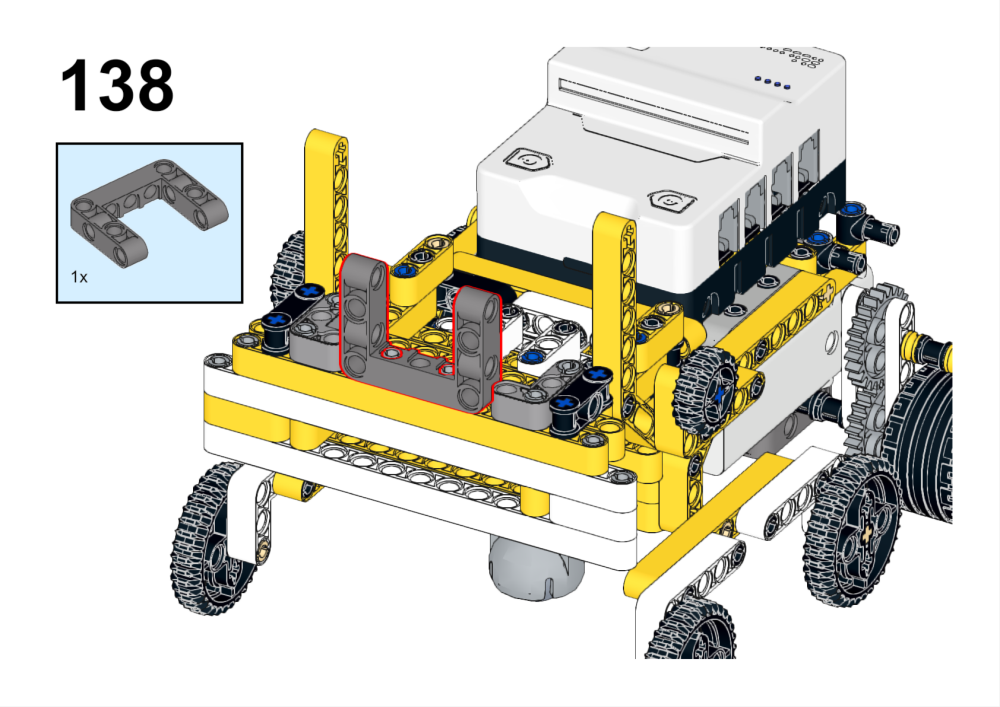
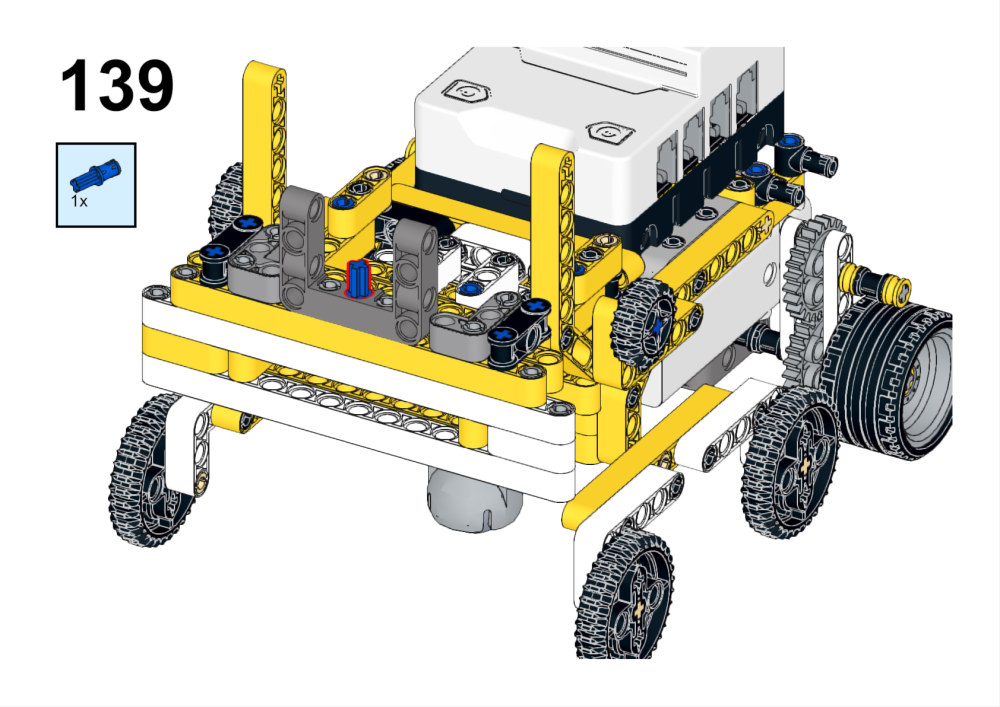
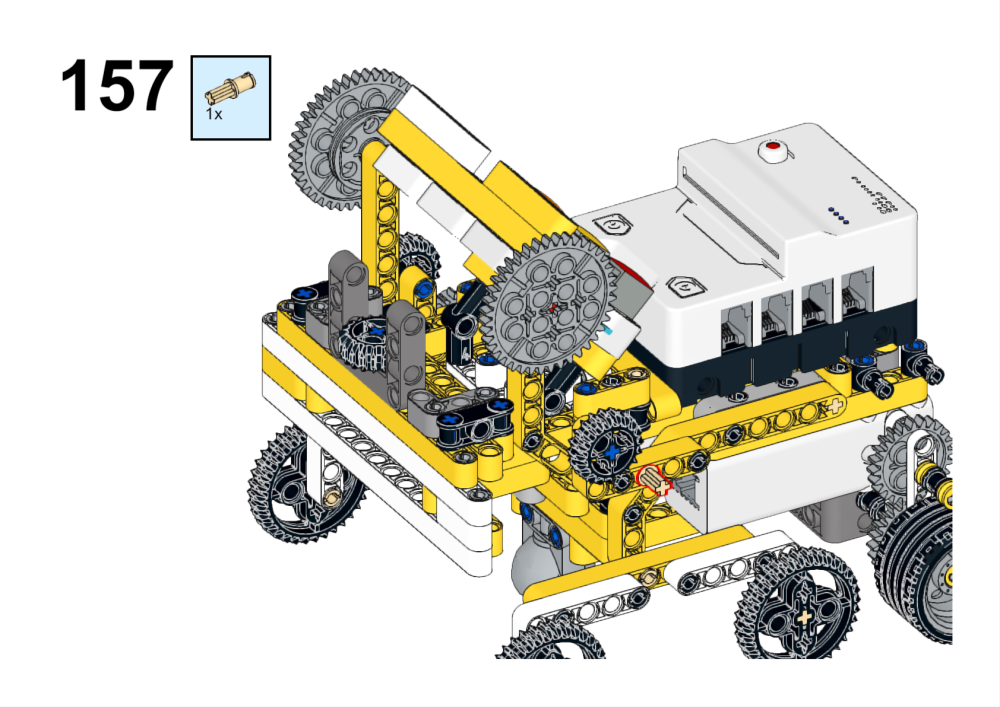
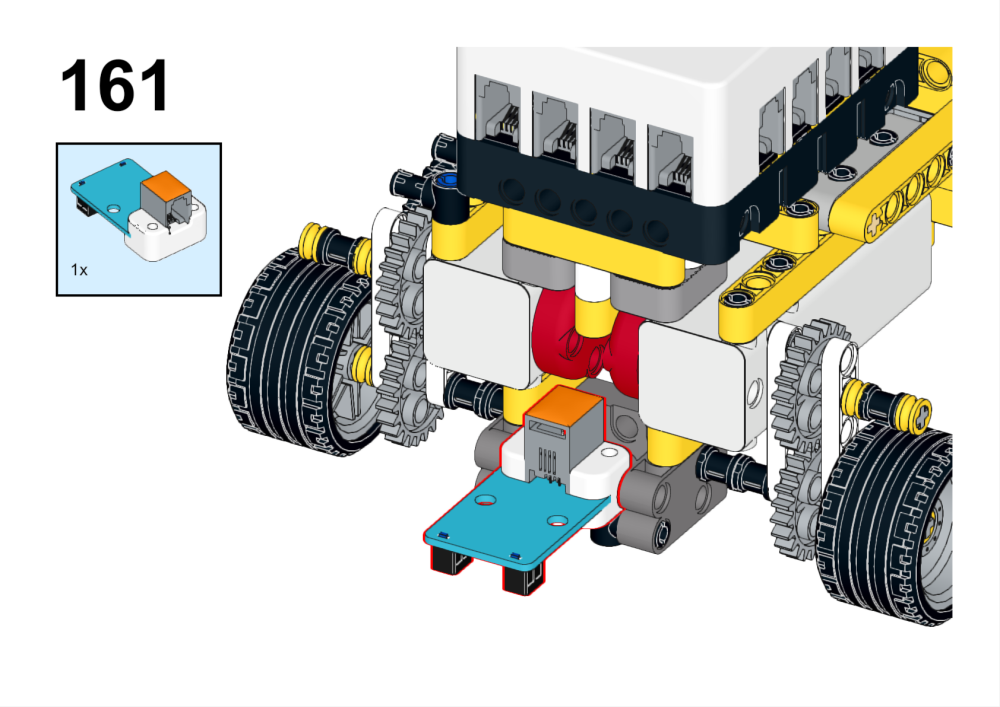
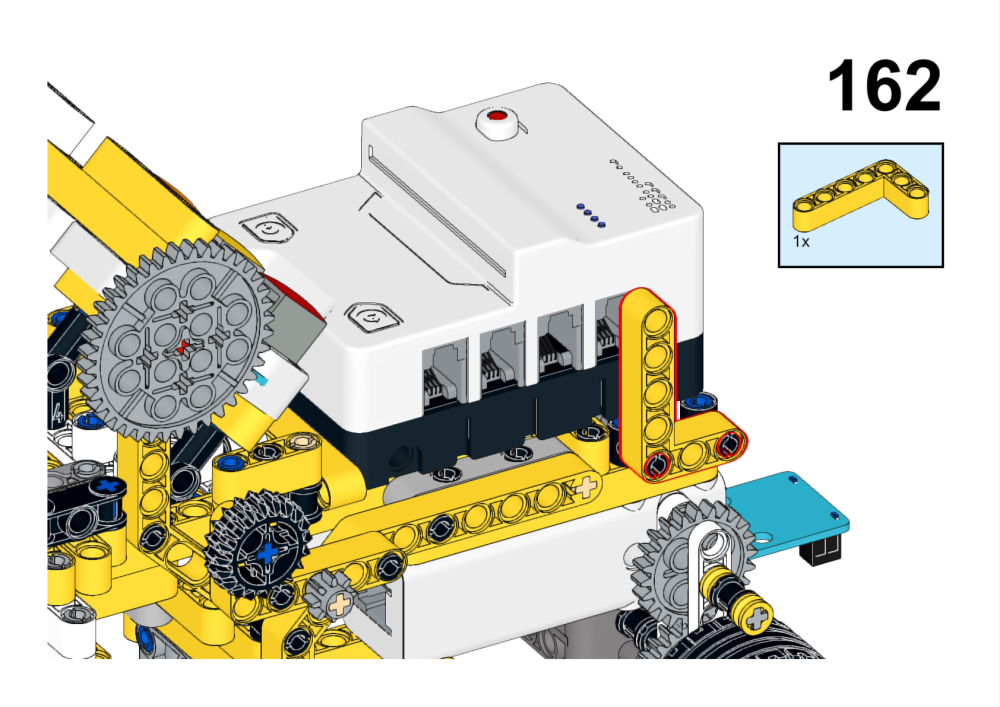
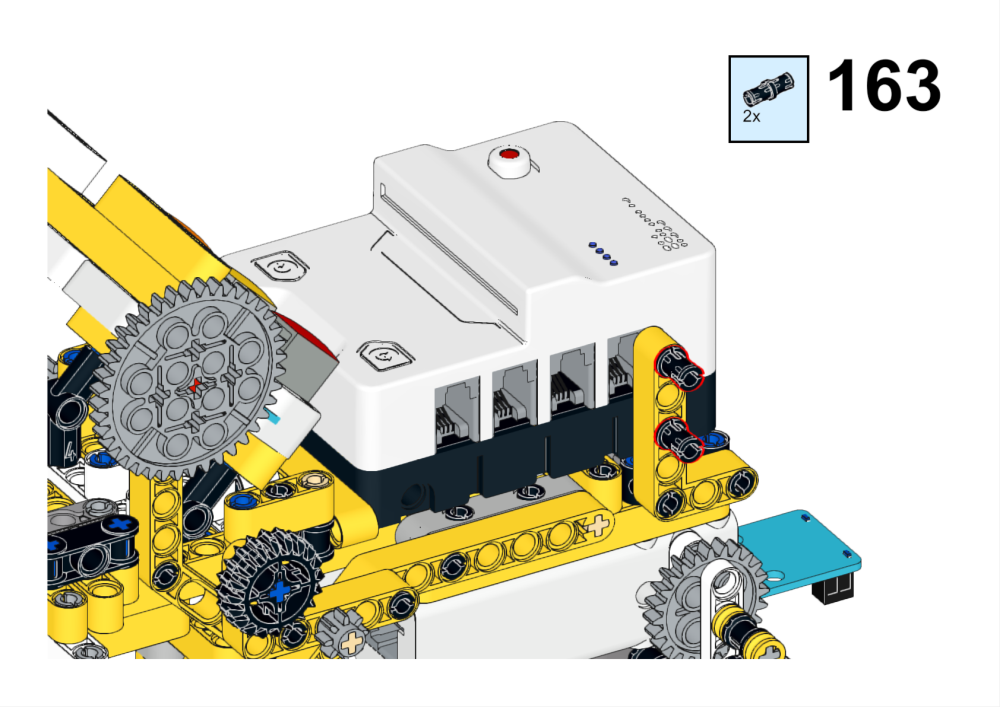
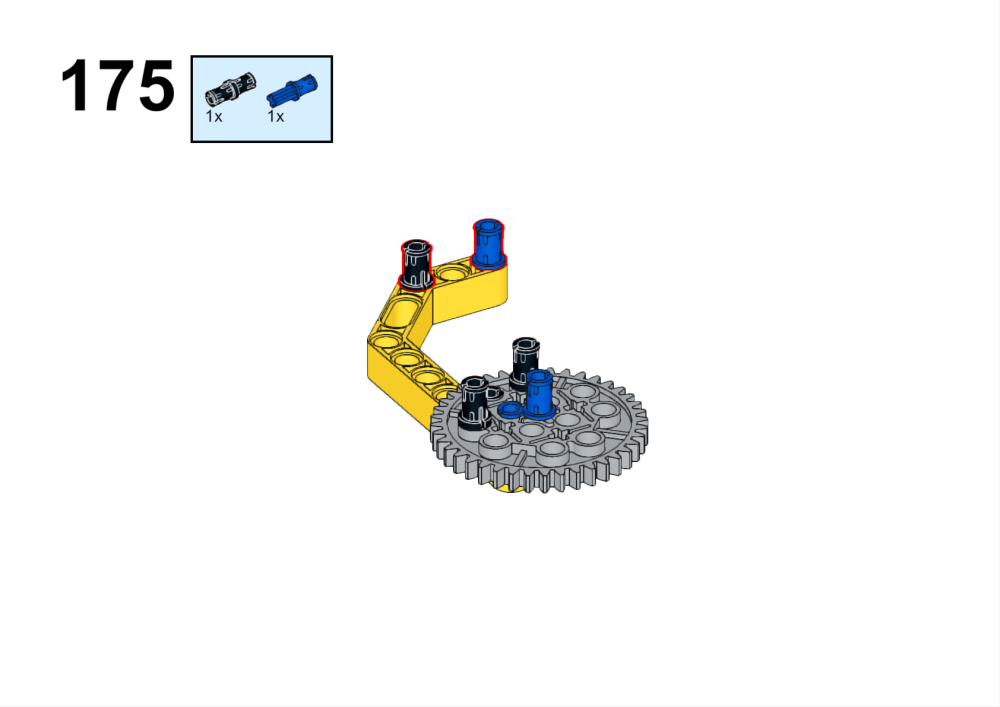
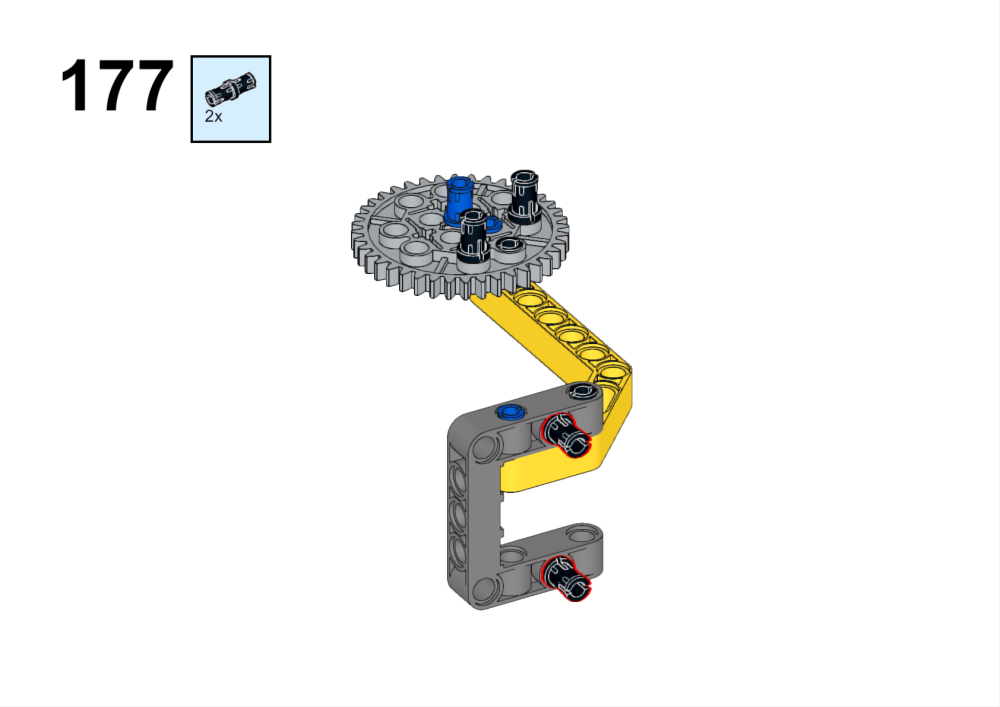
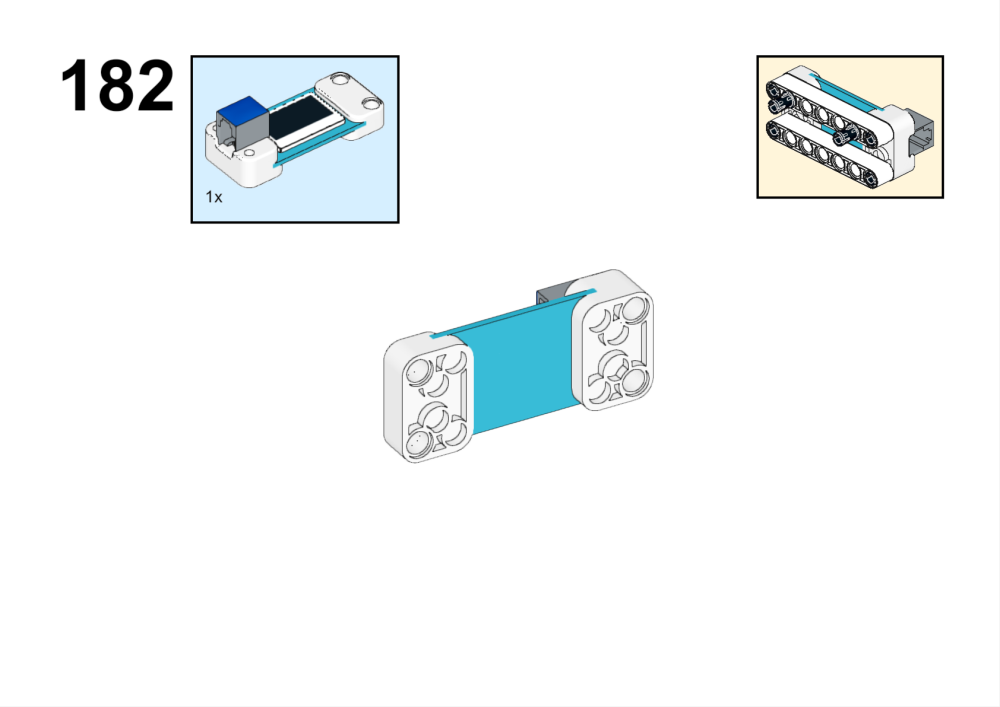
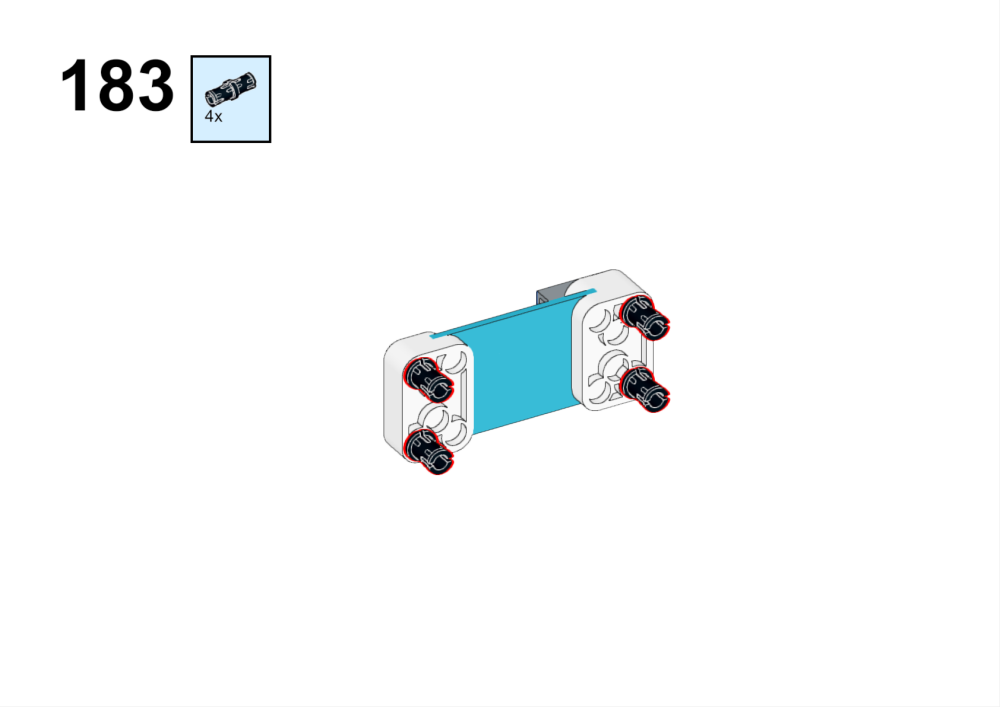
1. Build a space exploration moon rover case.


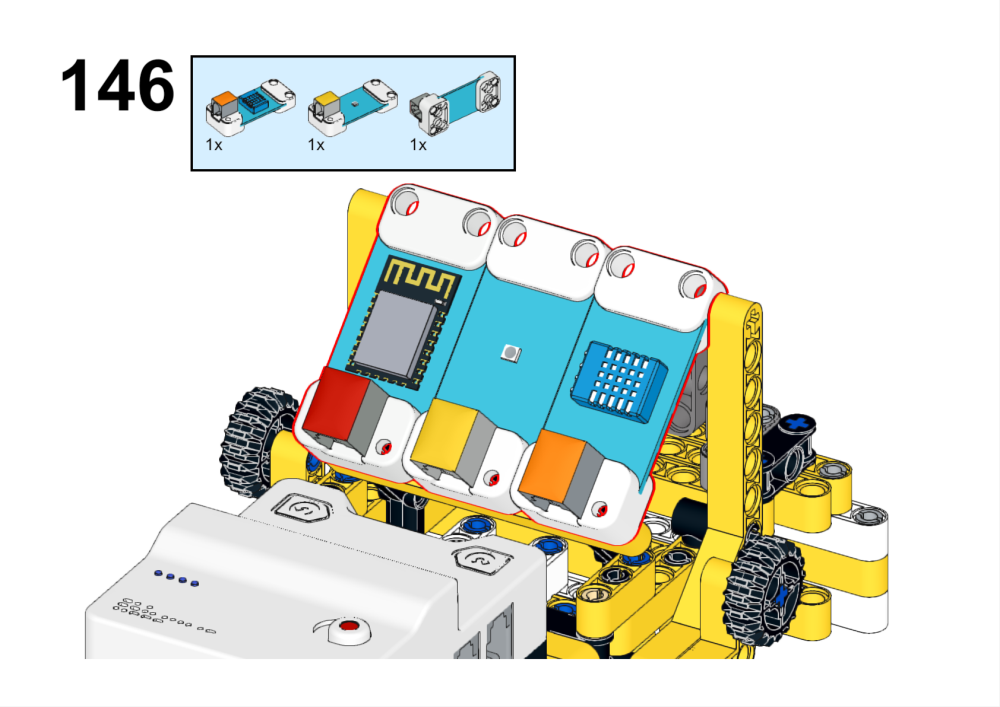
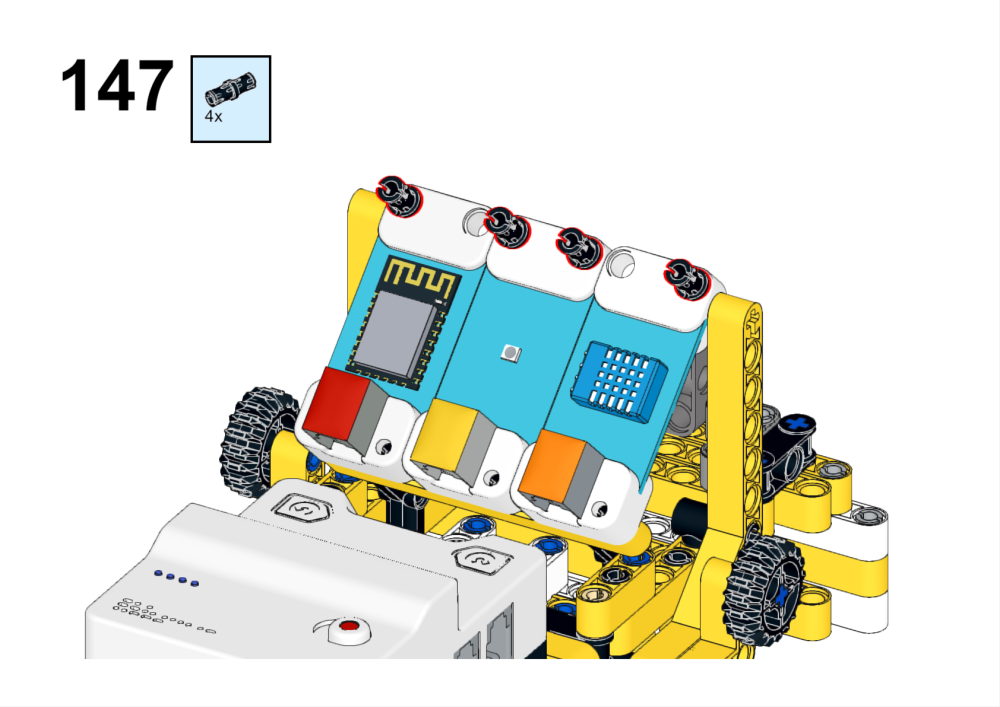


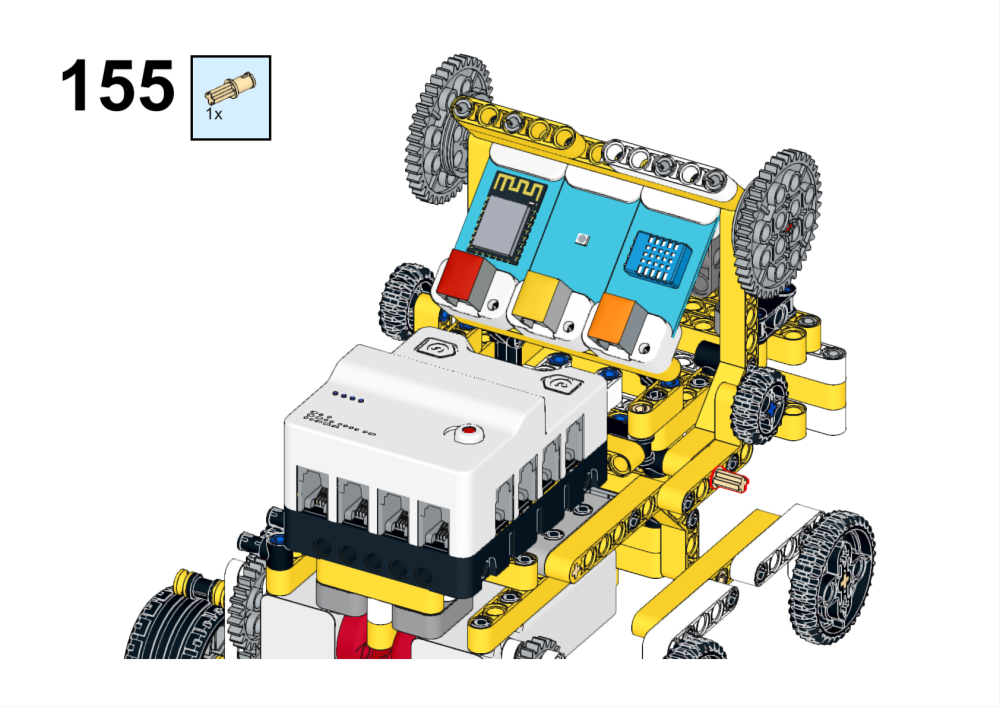


2. Connect the PlanetX Sensors
Refer to the connection diagram below, use the RJ11 cable to connect the PlanetX sensors, the PlanetX smart motor and the Nezha Breakout Board V2.

3. Download Program
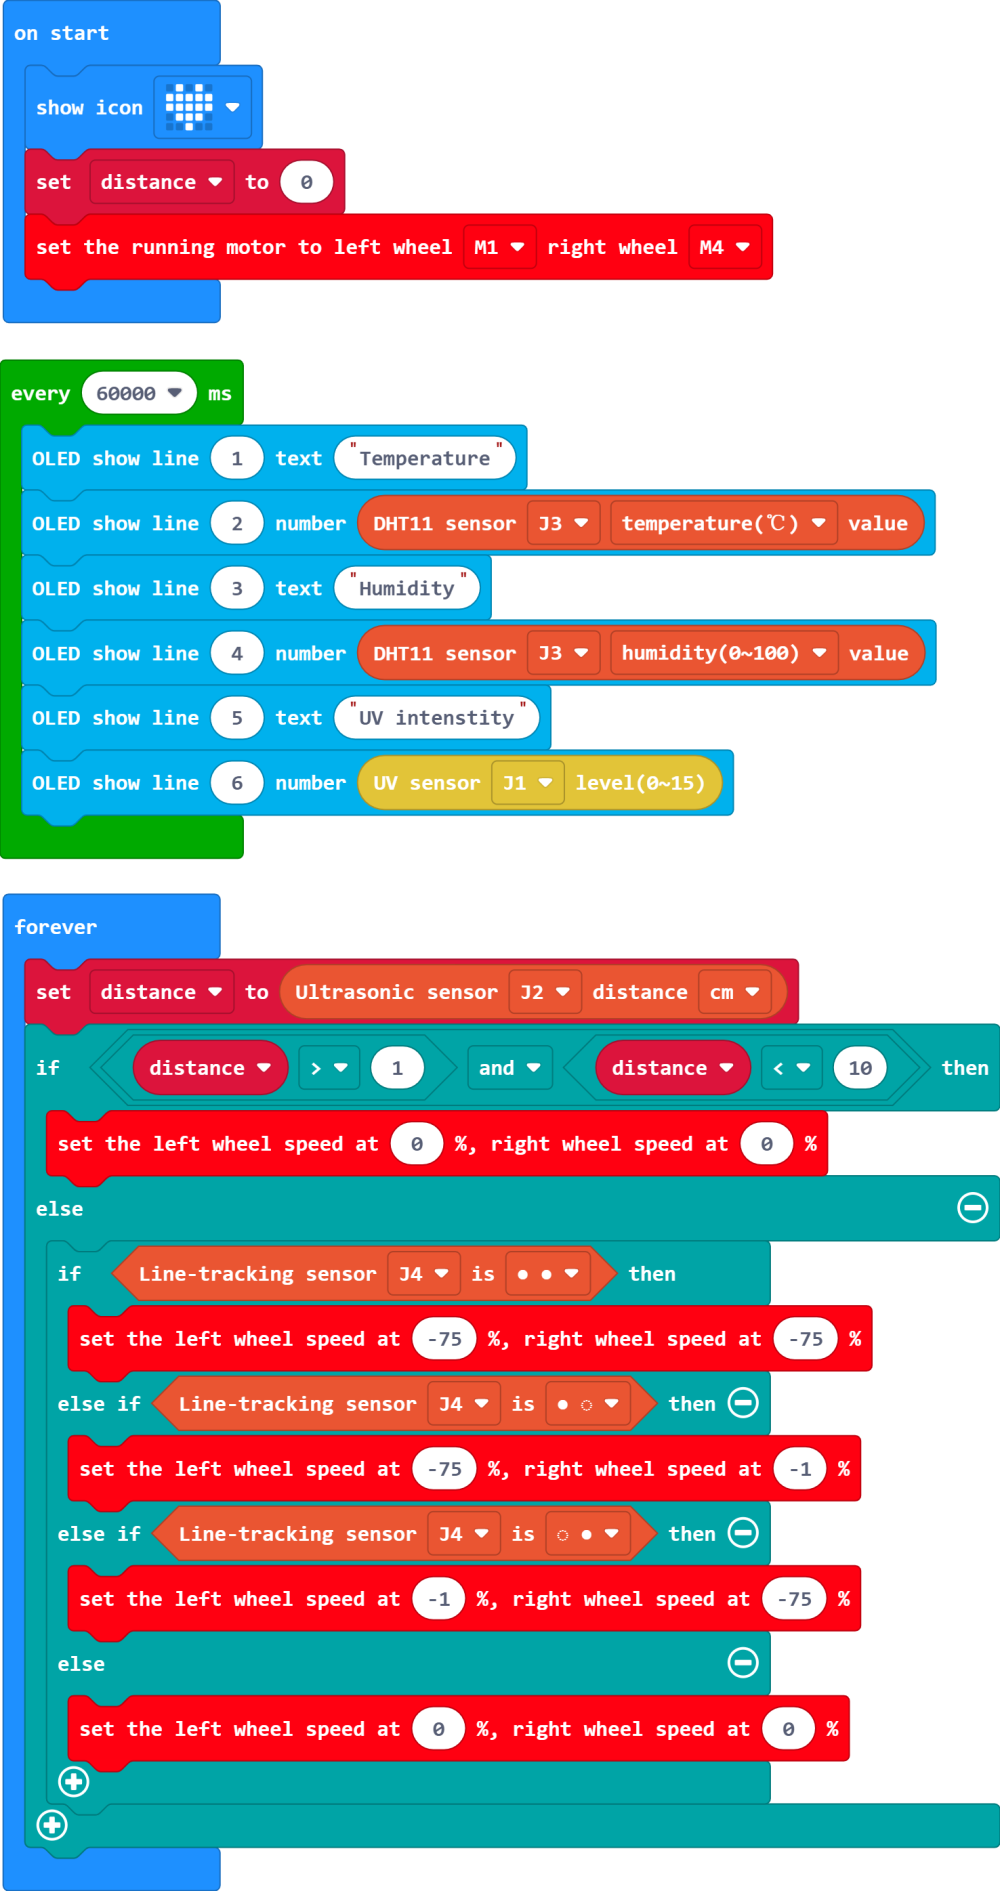
Program for the Vehicle microbit-lunar-rover.hex
Connect the micro:bit V2 and the PC with the USB cable.

After a successful connection, a disc drive named MICROBIT is recognised on the computer.

Copy the downloaded programme file microbit-lunar-rover.hex, into MICROBIT.
 After successful download, micro:bit V2 will automatically disconnect and reconnect, at this time the programme file microbit-lunar-rover.hex that you copied into MICROBIT will disappear.
4. Connect the micro:bit
Connect the micro:bit V2 board with the Nezha breakout board V2 and turn on the power.

5. Effect Display
Lay the space map flat on the ground or on a wide, flat tabletop and place the space lunar expedition vehicle to the moon launch site, see the suggestion picture below.
