On this page
Lesson 38 MicroPython: Reaction Time Tester Create a reaction time tester using the micro:bit and an OLED display. This tutorial was written by Jensen from Raffles Institution. Objectives Assemble a reaction time tester Try not to break it while testing your reaction speed! Materials 1 x Tinker Kit (or an OLED display)
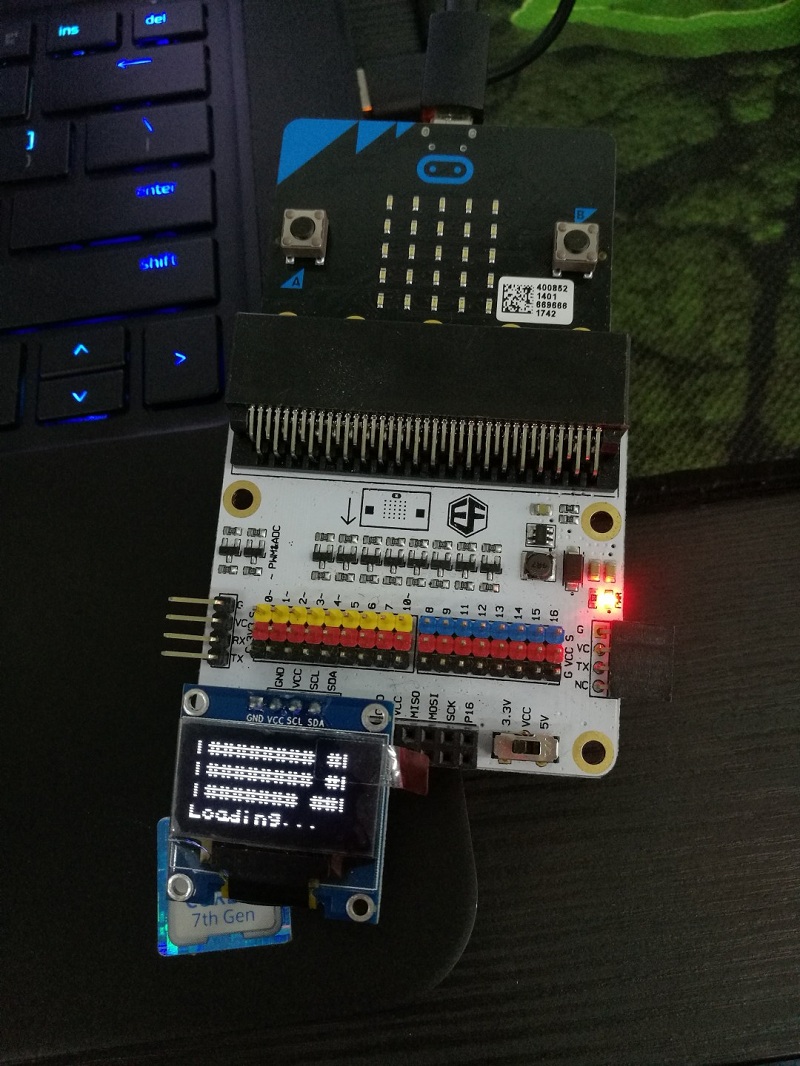
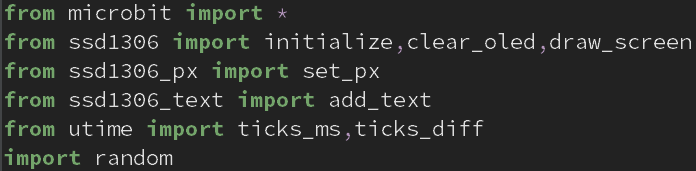
Connect the Micro:bit to the breakout board. Connect the LED to pin 12, which is a digital pin. Connect the light detector to another digital pin, pin 8. Brown wire to G (Ground), red wire to V (Voltage), orange wire to S (Signal). These components detect whether the light is on or off. Connect the OLED display to the I2C pins. Any I2C port will work. Connect the micro:bit to your computer and download the Mu Editor. Step 2 - File Transfer We need to download some modules to use in the project. Download the modules as a zip file from this link. Write the code (first screenshot) in the Mu Editor to import the files. Make sure the files are in the same folder as the project. Transfer some files from your computer to the micro:bit. On Windows, be sure to place the files in the folder under users/"Username"/mu-code so that the Mu Editor can detect them. These are modules that are not pre-installed on the micro:bit for you to import.
Step 3 - Loading Screen This step is not required, but it adds a nice touch to your project. We display this loading screen on the OLED module. Using the "add_text" module, we can display text and other characters on the screen. We use the "loading_screen()" function to display the animation. Head to the bottom of the post if you want more variations of the loading screen.
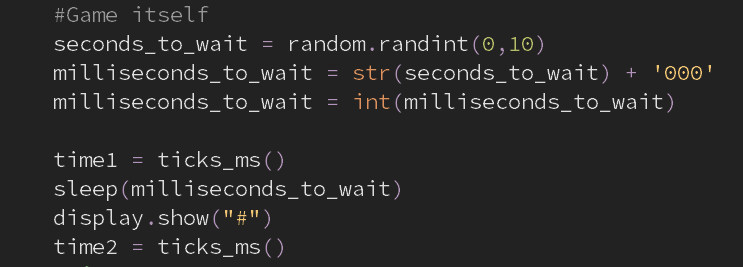
Step 4 - Code the Game This is the actual test itself. First, we need a time delay before showing the indicator for the player to press the button. We generate a random number and parse it into milliseconds by adding "000" to the end of the original number after converting it to a string. The variables time1 and time2 refer to 2 arbitrary time points before the "#" (player indicator) symbol is displayed. An important point to note about MicroPython and the Micro:bit is that the time module is replaced by the utime module, and you must import utime instead of time.
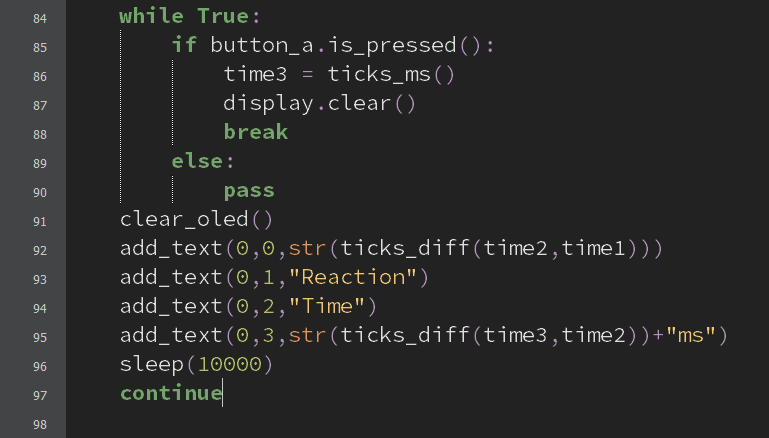
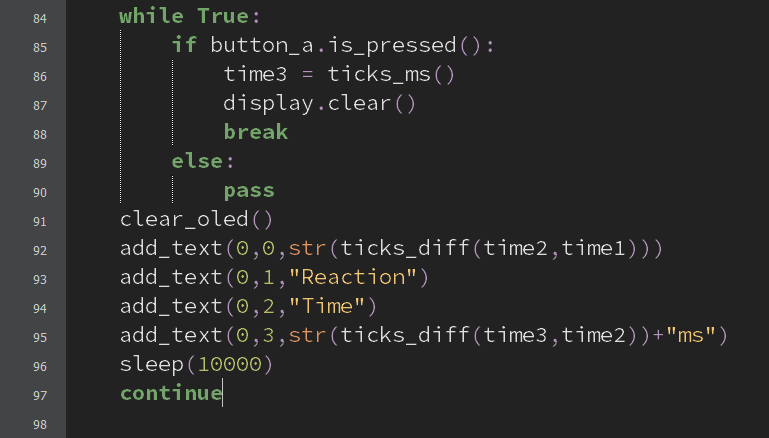
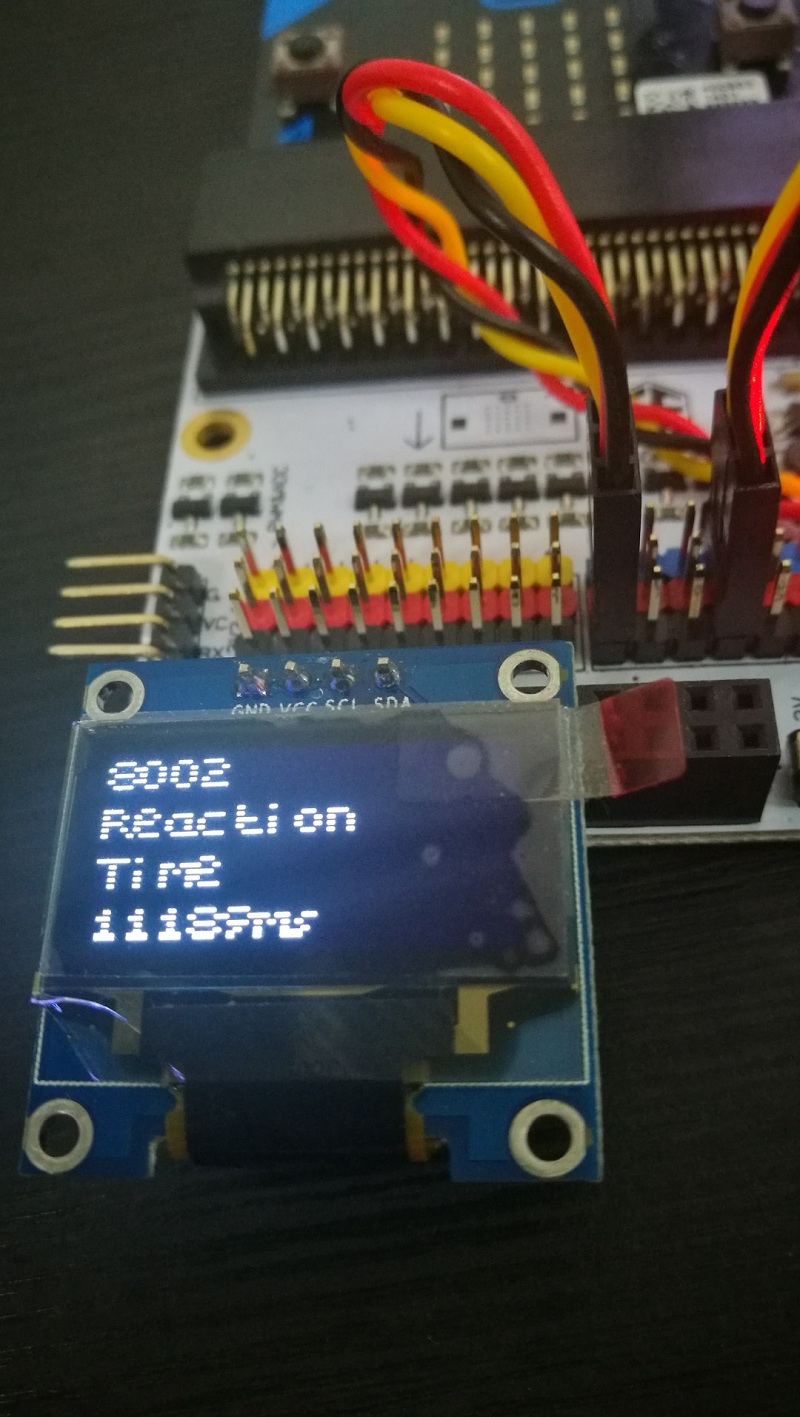
Step 5 - More Logical Programming This is the step where we calculate and display the player's reaction time. This is done by calculating the time between the indicator appearing and the player pressing the button. We then display the player's reaction time on the OLED screen.
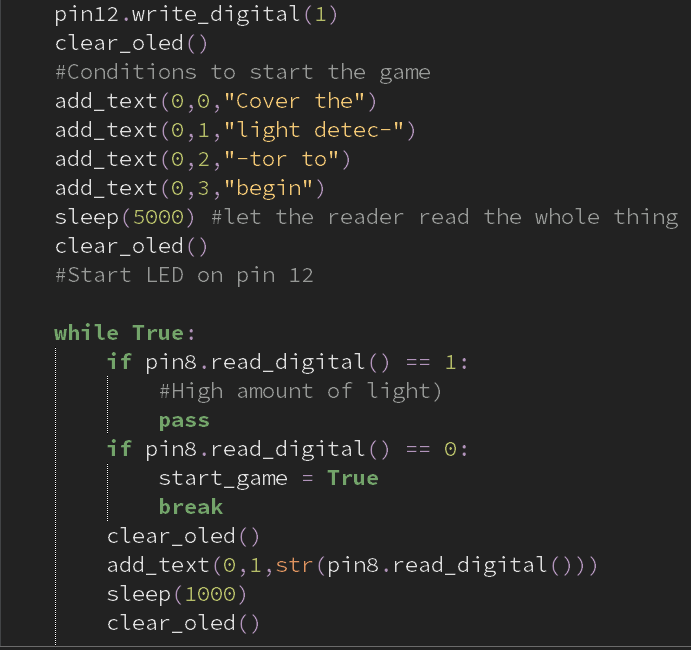
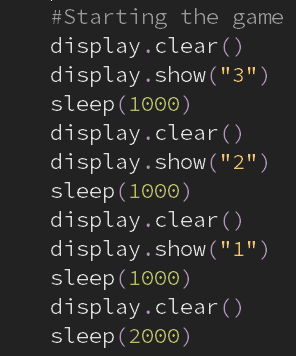
This uses the light sensor and LED to start the game. It detects light, and once the light is covered, the game starts. The next animation is simple: display the characters "3", "2", and "1" as a countdown before starting the game. The code is very self-explanatory.