Lesson 4: Iot kit with Thingspeak platform and IFTTT platform to create temperature alarms
How to Send Temperature Threshold Alarm Emails via IFTTT
In this case, we will discuss how to use IFTTT to send micro:bit temperature alert emails.
what is IFTTT?
IFTTT is an acronym for "if this then that". IFTTT is designed to help people link websites (e.g. Facebook, Twitter, etc.) or applications together by leveraging the public APIs of different websites. With IFTTT, everyone can be a programmer for the entire Internet without having to write a program. IFTTT connects all kinds of information through processes and then presents the information you need in one place, and then solves the problem of miscellaneous information to keep, receive or focus on important information for you. In IFTTT, the action of "this" is called a "trigger," which is your behavior on a site; and "that" means another "behavior" caused by a chain reaction. Another "action" caused by a chain reaction. These triggers and actions are based on a site, called a "channel" in IFTTT. The whole "if this then that" action is defined as a "task". Let me explain it to you with an example. In IFTTT, users can create and implement "tasks" to achieve a chain reaction on a website. For example, if you use micro:bit to upload temperature data to Thingspeak, then when the temperature reaches a threshold, it will activate a trigger to perform the action you specify: send an email to your mailbox. Sending micro:bit temperature alarm emails via IFTTT First, make sure you have successfully uploaded temperature data from micro:bit to Thingspeak. if you don't know how to do this, you can read this article How to send Micro:bit Data to ThingSpeak IoT Platform for help.
Step 1: Register an IFTTT account
If you do not have an account, please register a IFTTT account first.
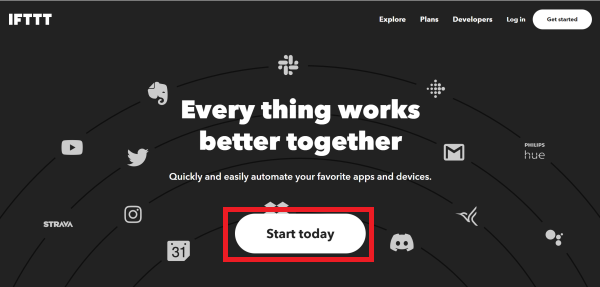
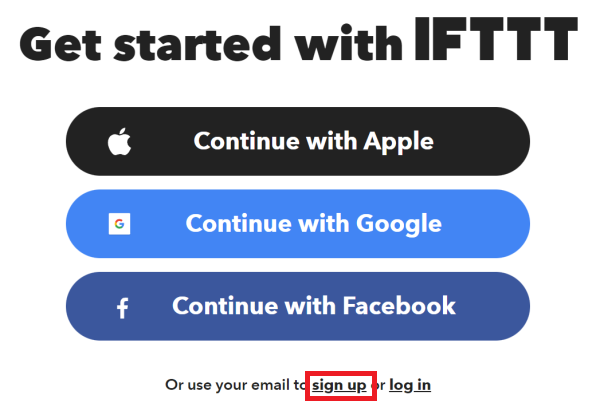
After opening the IFTTT official website, click "Start today", and enter the login screen.
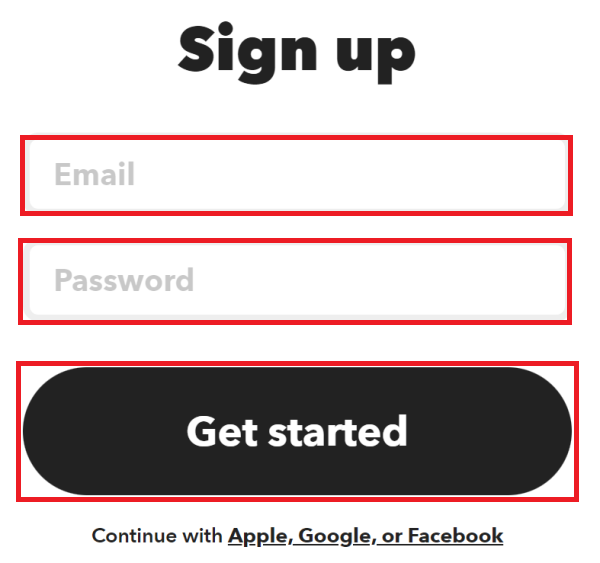
You can choose from a variety of ways to sign in to IFTTT, but we recommend that you sign up for a new account through an email address that you use regularly, click on "sign up" and the sign up page will appear.
After you enter your email account and set your password here, the registration success page will appear.
Step 2: IFTTT Webhooks setup
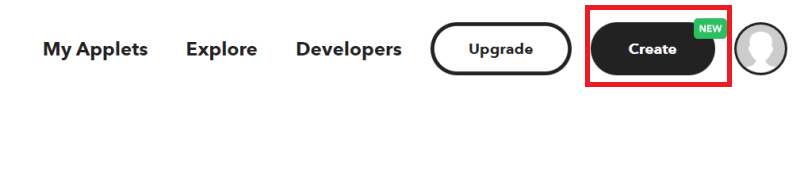
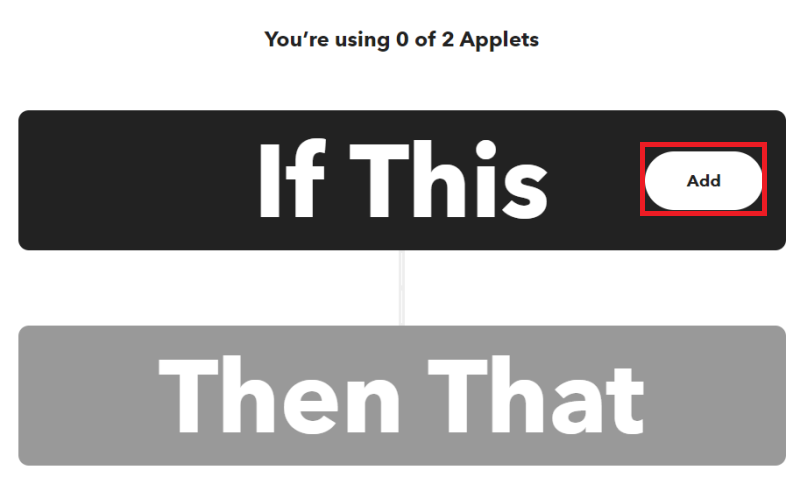
Select "Create" in the upper right corner of the main page to create an applet. We are prompted that we can create 2 applets. We click "Add" after "If This" to add a trigger.
Note: If you create more than 2 "Applets" later, you need to modify or delete the "Applets", so that you can create different "Applets" next time. ", later in this article will be introduced to how to delete or modify "Applets".
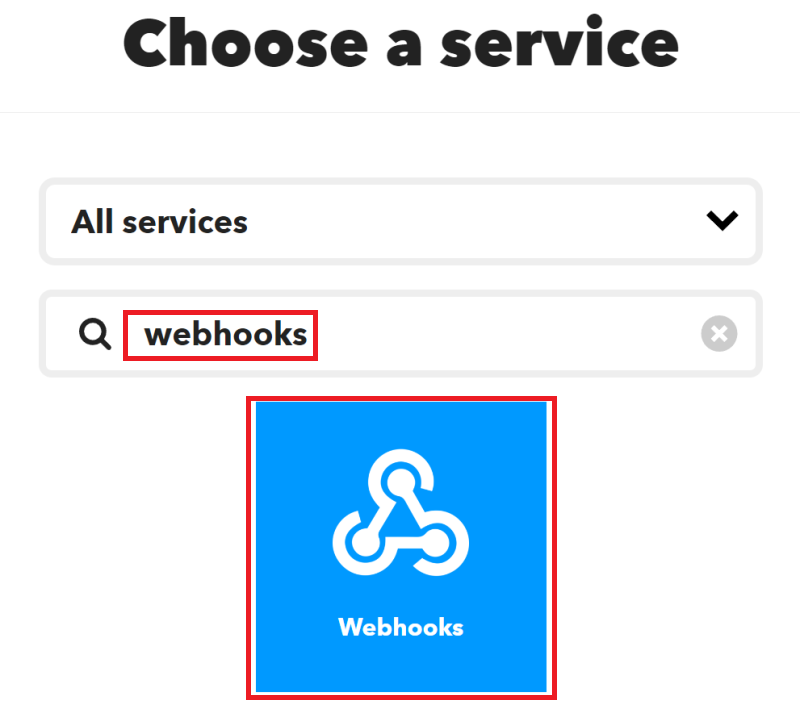
Search for "webhooks". Click on "Webhooks".
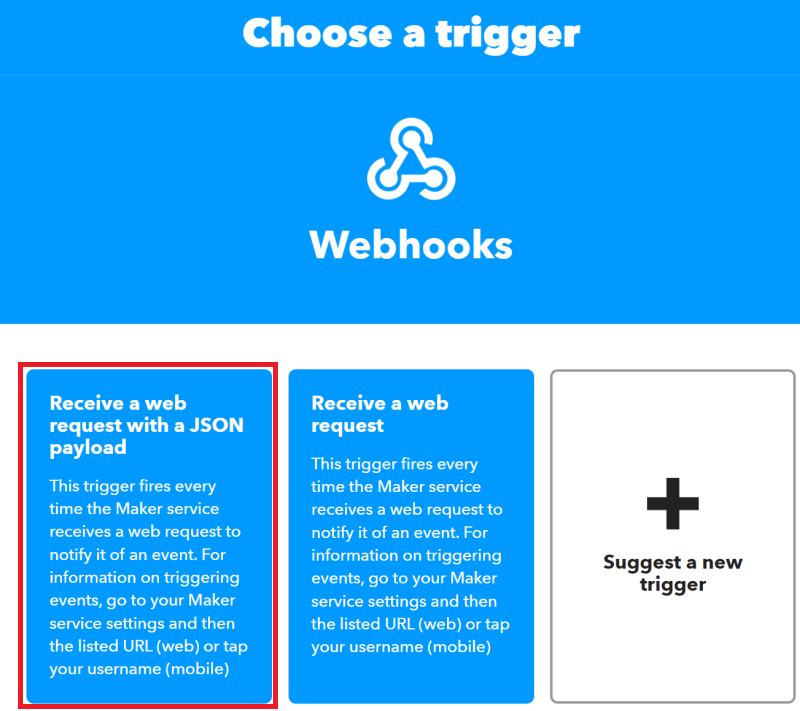
Select the trigger.
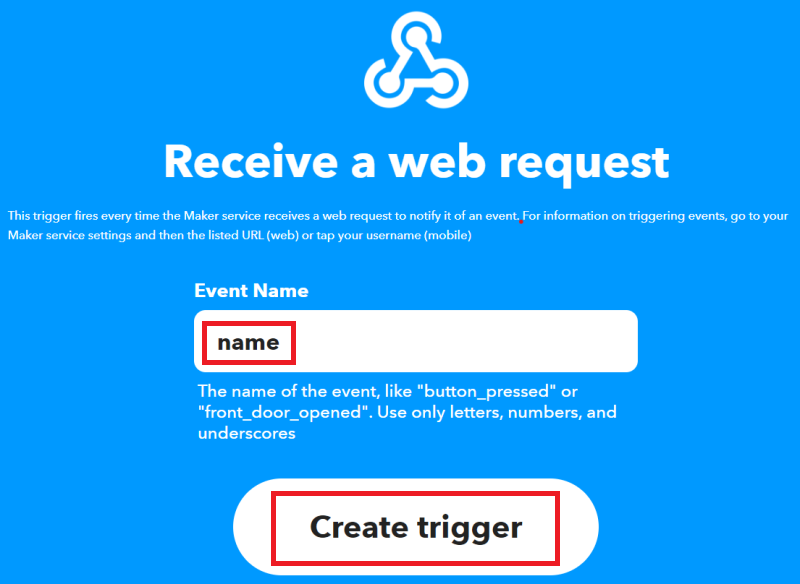
Name this task. Here we call it "name", where "Event Name" can be customized. Click "Create trigger" to finish creating the trigger.
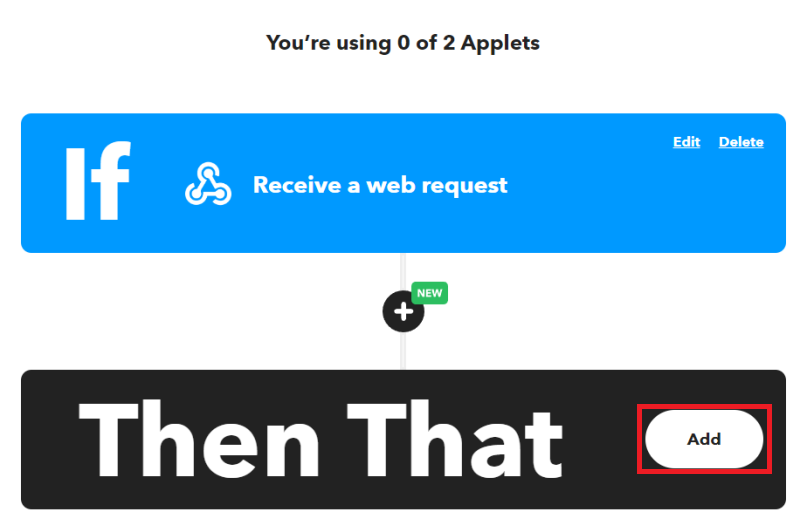
After completing the trigger settings, select "Add" after "Then That".
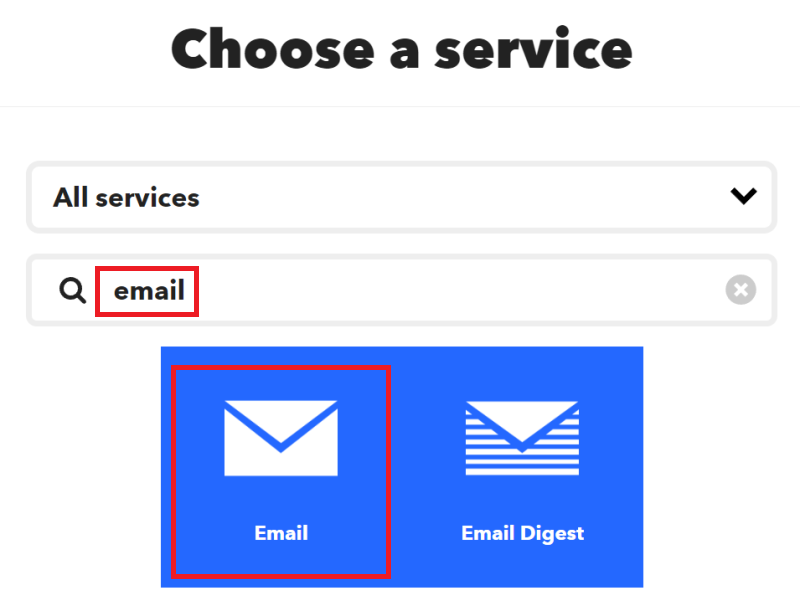
Search for "email" and select "Email".
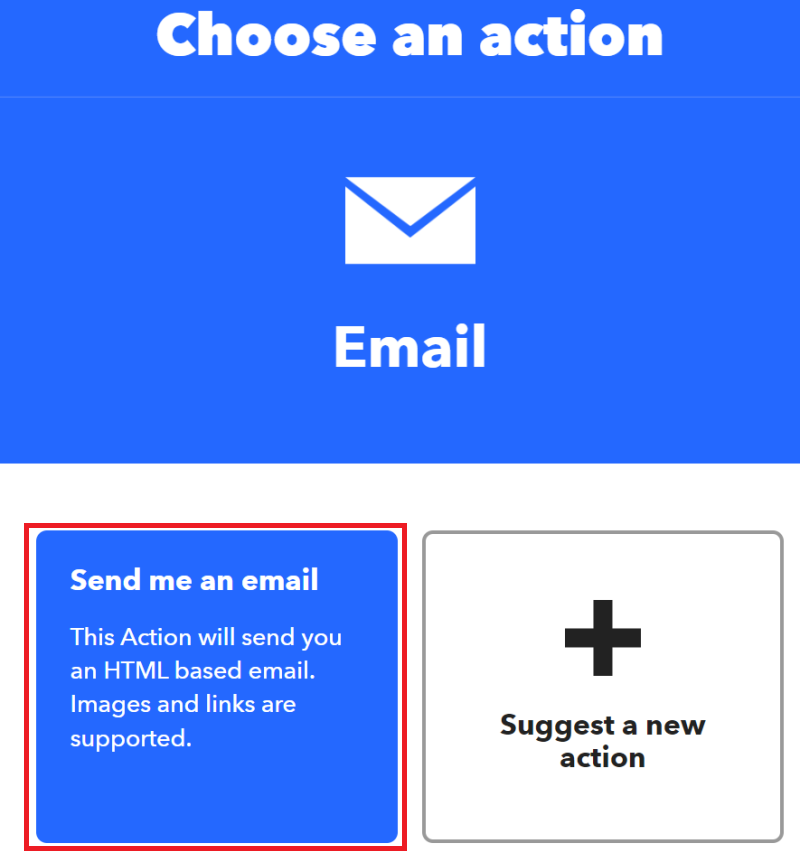
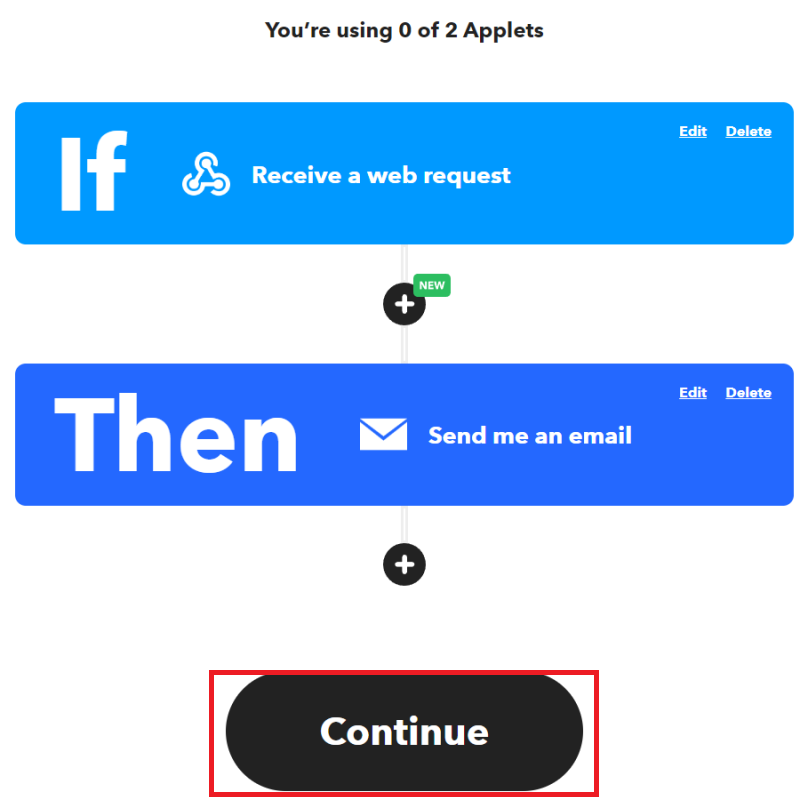
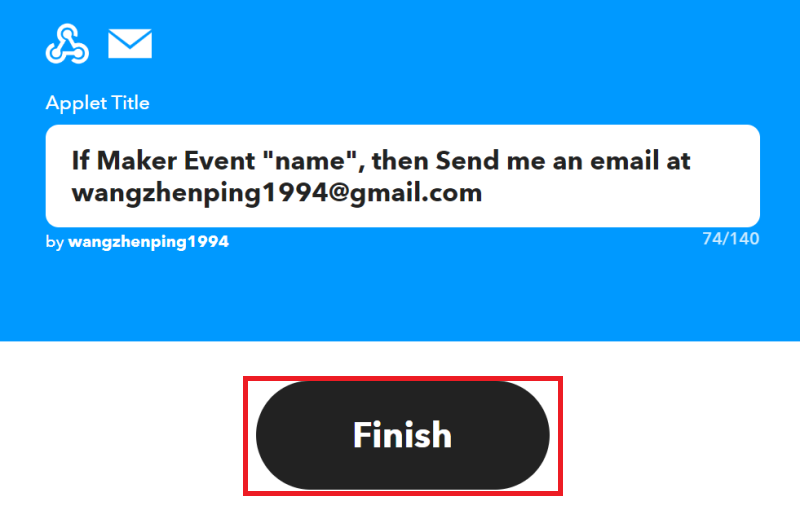
Select "Send me an email", then select "Create action", then click "Continue" and finally select "Finish".
Step 3: Thingspeak setup
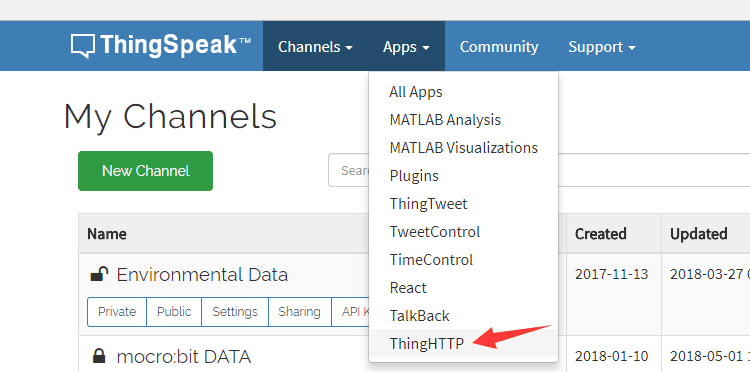
Before you can do this, you must upload temperature data from micro:bit to Thingspeak. if you don't know how to do this, read this article How to send micro:bit data to the ThingSpeak IoT platform for help. First, create a new ThingHTTP service.
This is the setup for the connection to IFTTT.

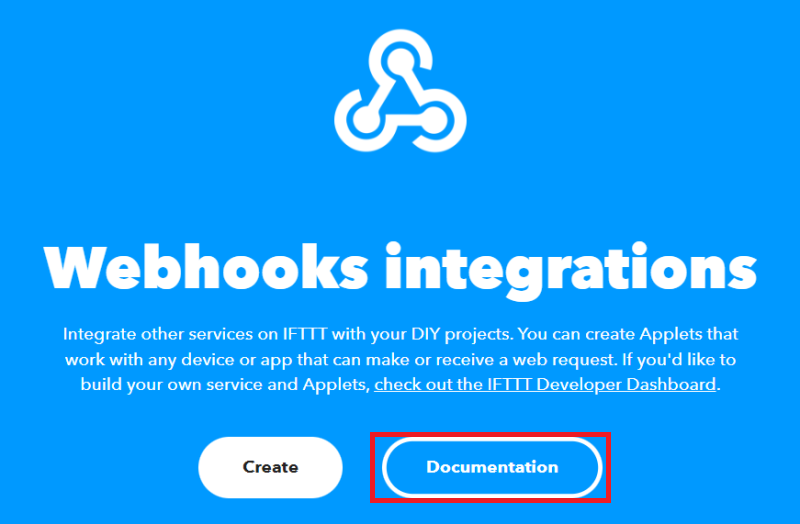
Note: You can search for "webhooks" from the main page in IFTTT and click "webhooks".
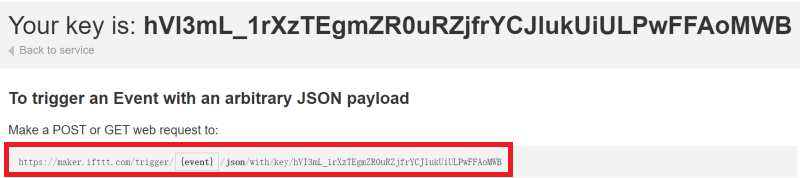
Then click "Documentation", change the {event} in the link to the name of the trigger event, in this case "name", and copy the changed link to ① of ThinkSpeak.
In the Body, you can call any data in the Channel. This is the data that will be sent to IFTTT, in the following format: {"data": "%% channel_2009185_field_1 %%"}, where ② the numeric ID is the Channel you have created ID.

For more details on the ThingHTTP application, please refer to: //ww2.mathworks.cn/help/thingspeak/thinghttp-app.html.
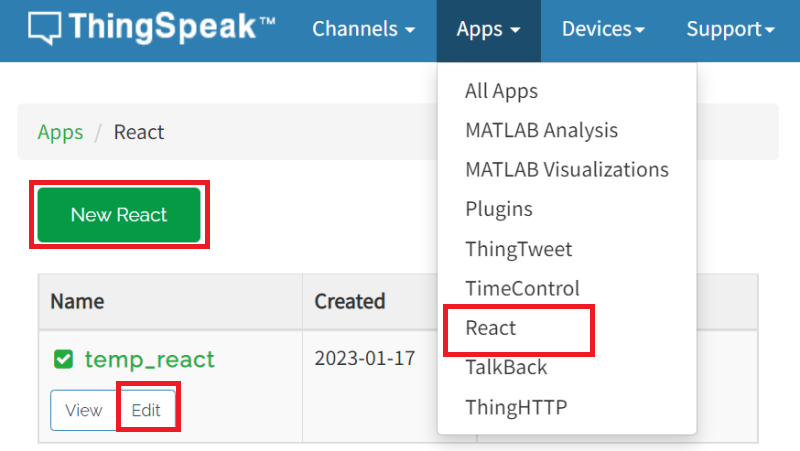
Finally, create a React service. Under the Apps option, select React and you can click New React or edit the React you created earlier.
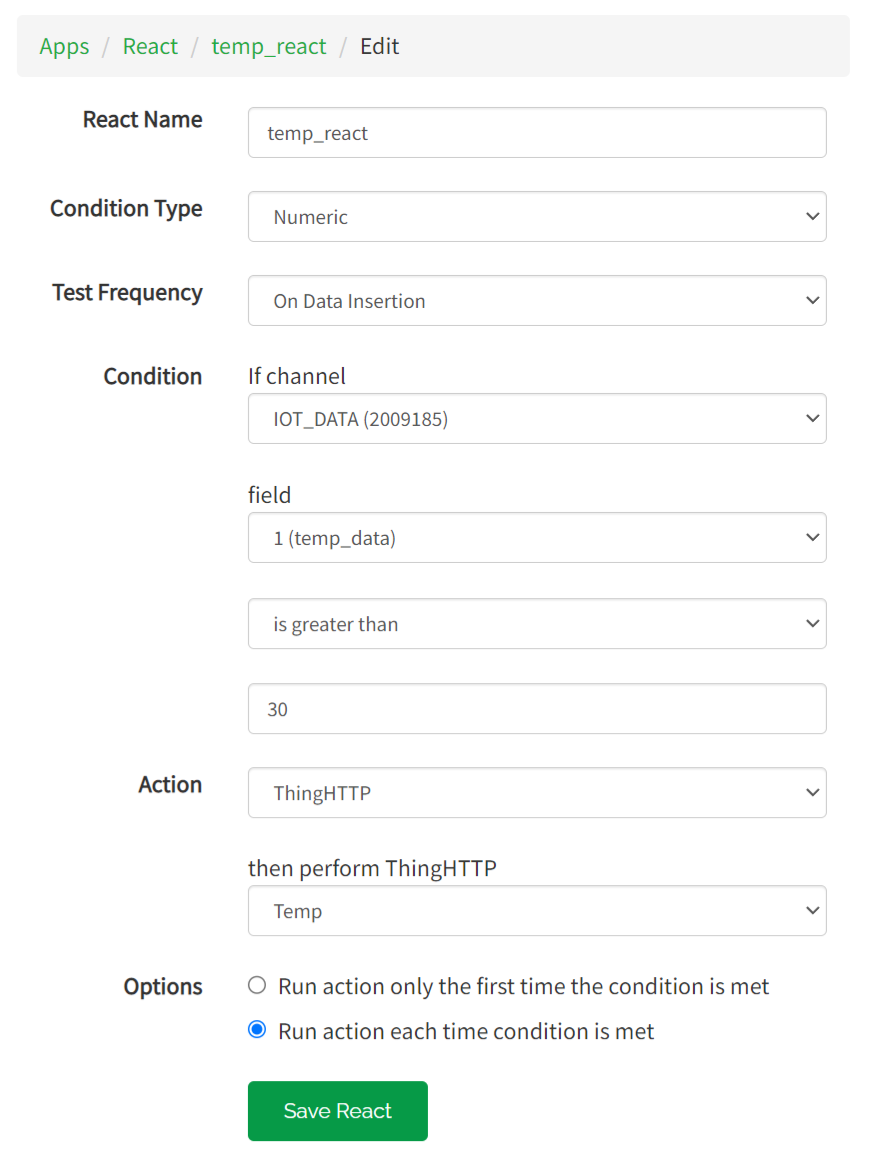
Here are the settings: Test channel 2009185 (different accounts have different channels, change it to your own) to see if the temperature value is higher than 30. If it is, then the Temp service in ThingHTTP is triggered.
For more details about React APP, please refer to: https://ww2.mathworks.cn/help/thingspeak/react-app.html.
Step 4: MakeCode Platform Programming
We need to program the micro:bit with the following reference code.
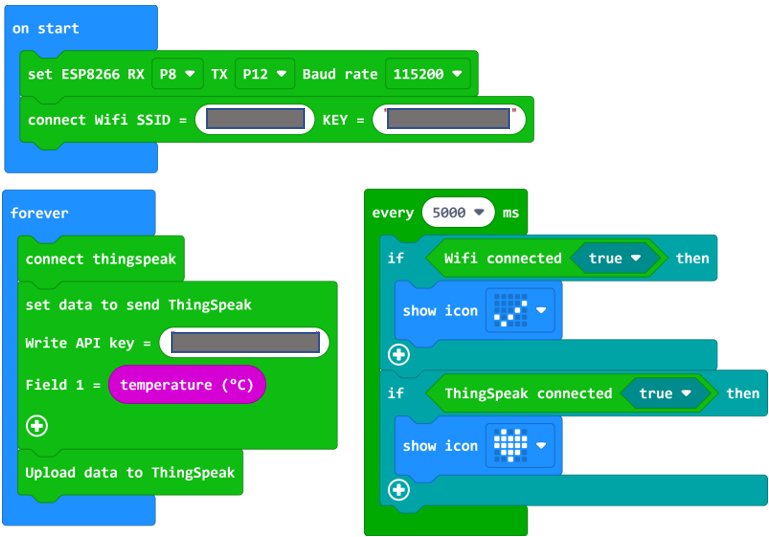
Link: https://makecode.microbit.org/_aLe2ddHwFCs6
Step 5: Testing
At this step, you have completed all settings. Now let's test it! If the temperature has not yet reached 30 degrees, you can raise the temperature by holding the micro:bit in your hand.
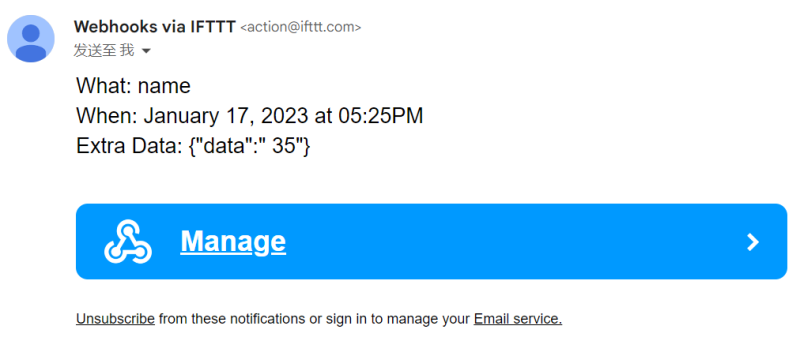
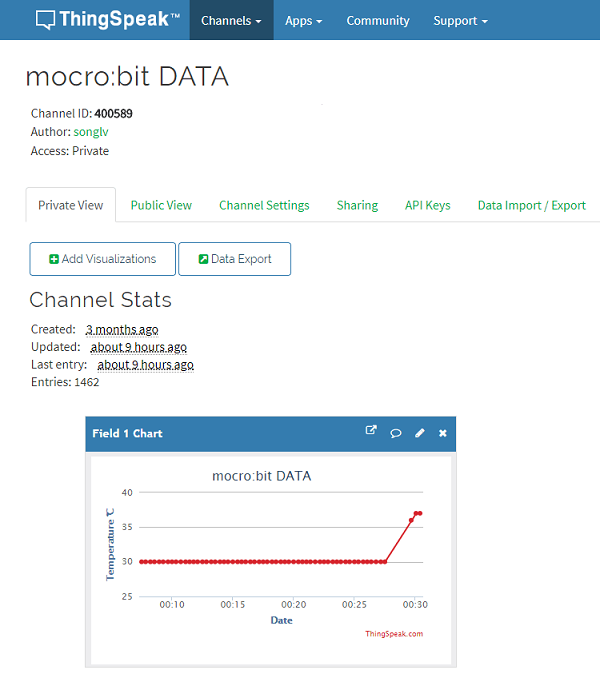
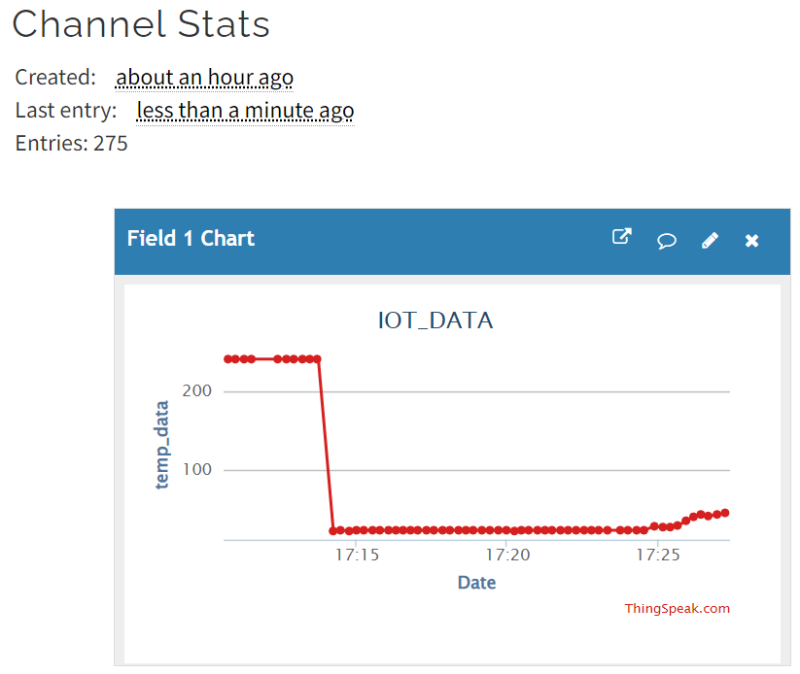
We can see from the data of Thingspeak channel that the temperature is over 30m degrees.
Check your email to see if you've received an email from IFTTT!