Lesson 39 Coding Shooting
- You have a town to save and a dragon to shoot! This is a great chance to show off your creativity.
Objectives
- Assemble all the parts of the shooting game
- Code the micro:bit to detect laser hit signals and score high points.
Materials
- 1 x Shooting Game Box
- 1 x Light Sensor
- 1 x Servo
- 1 x ring:bit
- 1 x micro:bit
- 5 x Screws
- 3 x AAA Batteries
Step 1 - Set Up Your Town!
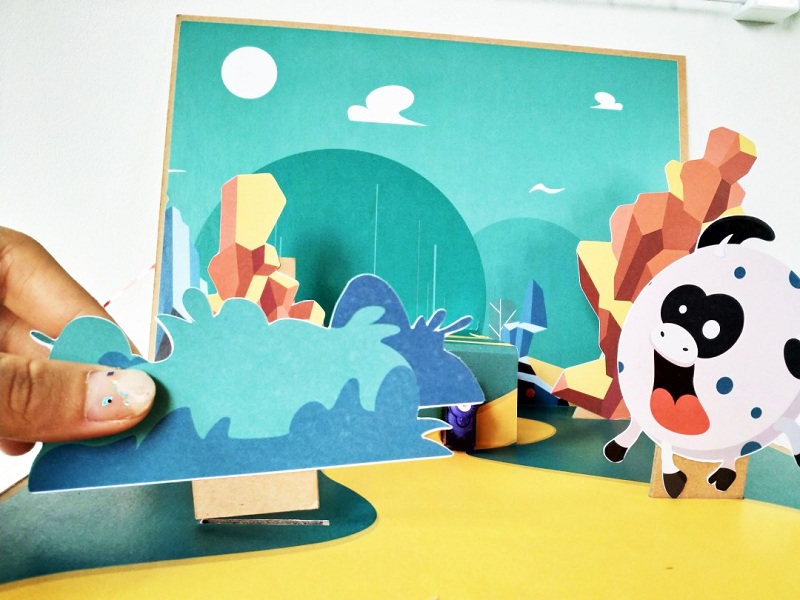
- Insert all the mountains and bushes into the paths of your town.
- Mount the servo into the hole in the pop-up center.
- Thread the servo wires through the hole and out of the front of the box.
Step 2 - Install Your micro:bit
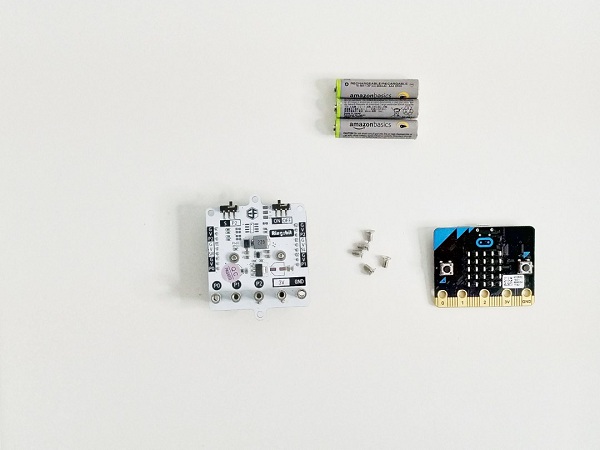
- Mount the micro:bit onto the ring:bit and secure it with 5 screws.
- Insert all 3 batteries into the back of the battery pack.
- Toggle the left switch to P2 and the right switch to OFF. We will turn it on after we code the micro:bit.
Step 3 - Connect All the Components!!
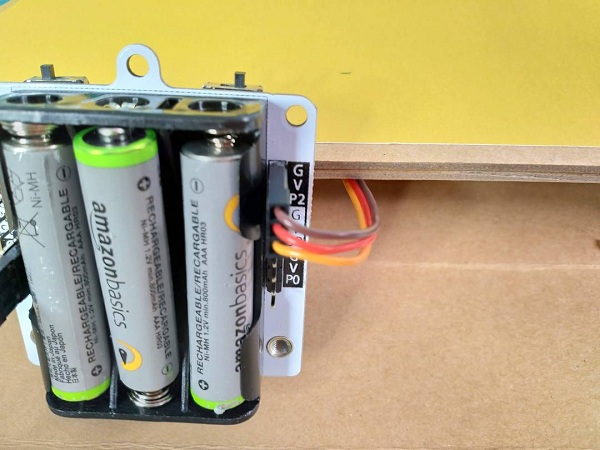
- Connect the servo to port P2 on the ring:bit. Make sure the brown wire connects to G and the yellow wire connects to P2.
- Connect the light sensor to port P1 on the ring:bit. The black wire should connect to G.
Step 4 - Coding!
- If you have never coded with the micro:bit before, check out our Getting Started Tutorial!
Step 5 - The Real Challenge - Calibration
Calibrate your dragon to ensure it flies back and forth across the sky instead of facing the ground repeatedly.
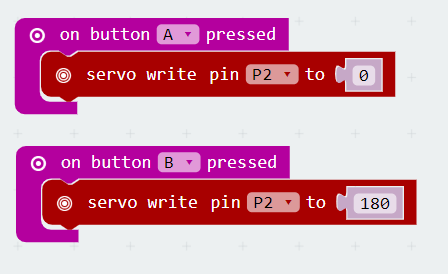
- With the servo firmly in place - code the micro:bit to rotate the servo to 0 degrees when Button A is pressed, and 180 degrees when Button B is pressed.
- After pressing Button A, place the servo arm onto the servo head and observe its position when Button B is pressed. If the servo arm points too far down or to the side, adjust the arm and reduce the coding angle. (e.g., Adjust 0 - 180 degrees to 20 - 160 degrees)
- Replace the servo with the dragon arm at the same angle and tighten it securely.
Step 6 - Calibration Part 2
For the light sensor. We must capture the current light level, and when the laser passes by, the sensor will alert the micro:bit that the light intensity has increased.
- Thread the light sensor through the hole below the pop-up window and out the front of the box.
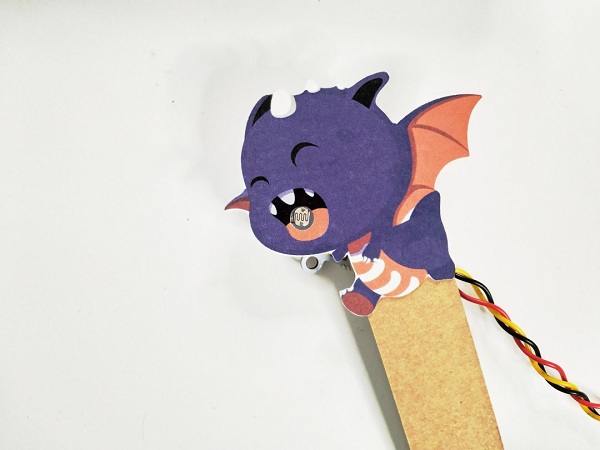
- Place the light sensor into the dragon's mouth and secure it in place.
- Code the micro:bit to detect the light level via the light sensor when a button is pressed.
Step 7 - Put It All Together.
Now we want to be able to stop the dragon when it gets hit and also increase the score!
- We should combine the two sets of code and use IF logic blocks to check if we have a hit.
- If we get a hit, we change the icon on the micro:bit, pause for a moment, then change it back to the default icon.
- ELSE (if we do not detect a hit) then we allow the servo to move as normal.
- Don't like coding on your own - Find the full code here!
- Additionally - Add more blocks to increase the score when the dragon is hit.
- Complete!