case 34 micropython
Getting Started
Products Link
Pre-coding:
- Get hold of a Micro:bit Tinker Kit
- Download the Mu editor Mu editor
Project 01: Music Machine
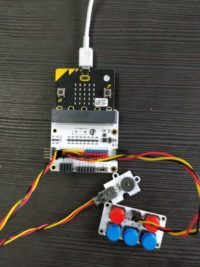
Pin Layout
- Buzzer: Pin0
- ADKeypad: Pin2
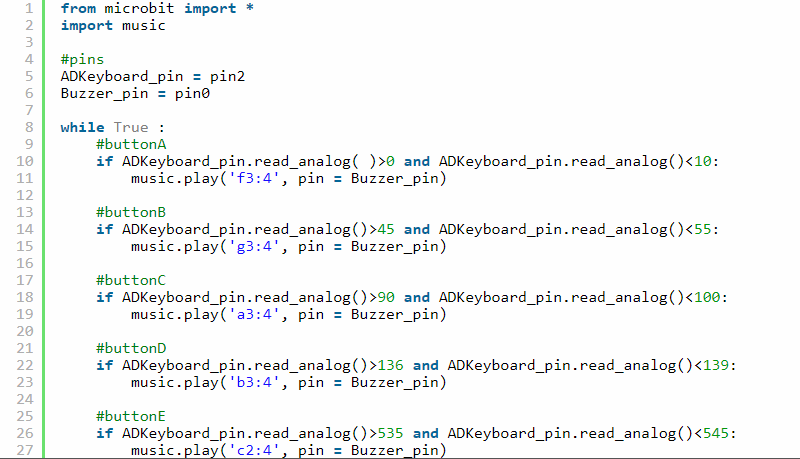
Small note about the ADKeypad
The ADKeypad returns an analog signal when its buttons are pressed. Each button pressed would return a unique integer value ranging from 0 (meaning 0V) to 1023 (meaning 3V). However, it is not uncommon that each button would give a small range of values when pressed at different times and different ADKeypads might give different signals yet again. Hence, in this example code, we provide a range of possible values that your ADKeypad’s buttons are likely to return when pressed. Feel free to test out the values that your ADKeypad might return when pressed and change the values in the example code. ^ ^
Project 02: Smart Light
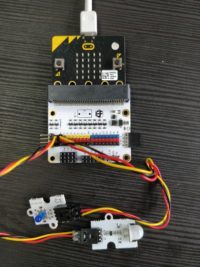
Pin Layout
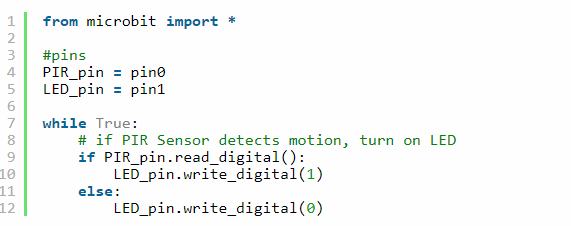
- PIR Sensor: Pin0
- LED: Pin1
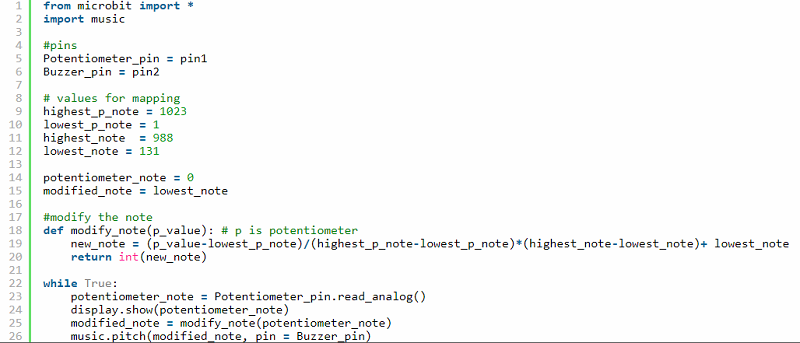
Project 03: Electro-Theremin
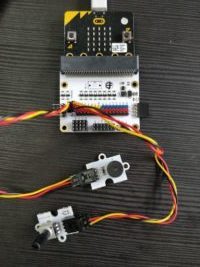
Pin Layout
- Buzzer: Pin0
- Potentiometer: Pin1
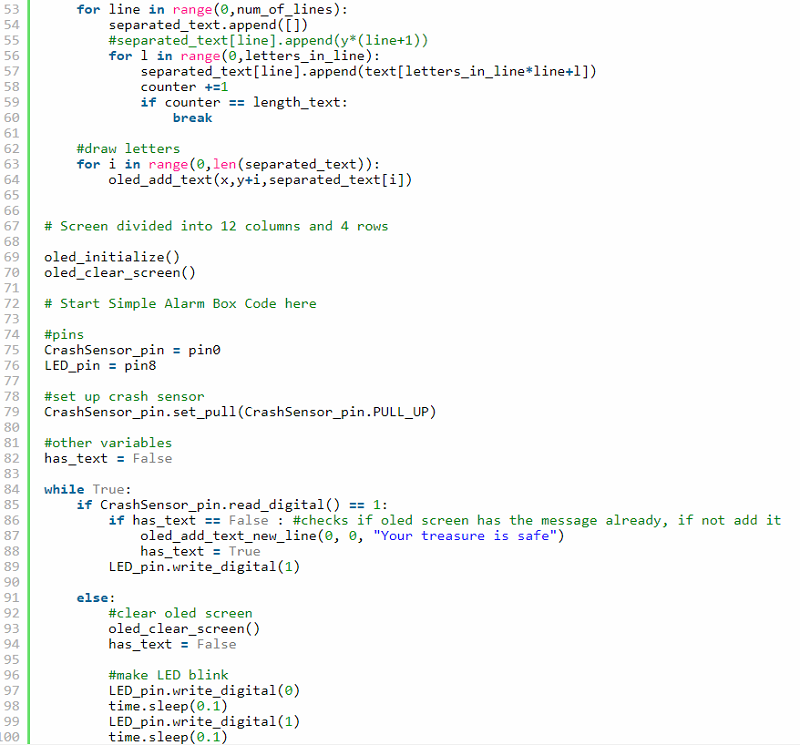
Project 04: Simple Alarm Box
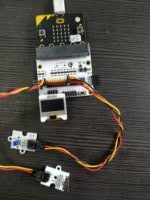
Pin Layout
- Crash Sensor: Pin0
- LED: Pin8
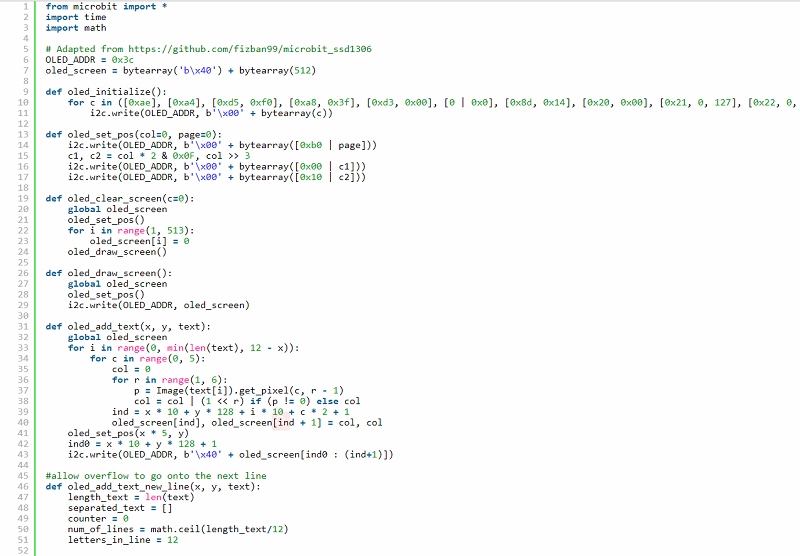
- OLED: I2C row (at the bottom of the BoB)
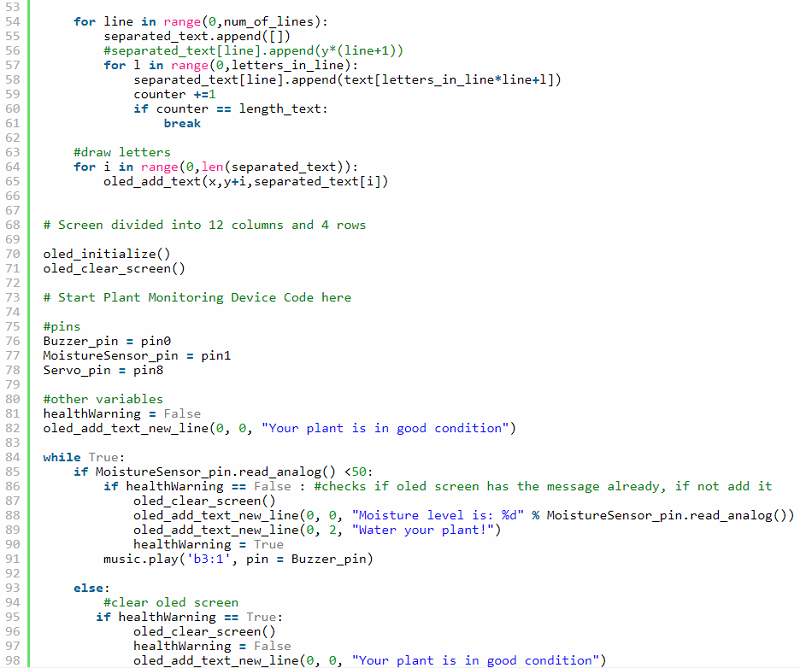
Project 05: Plant Monitoring Device
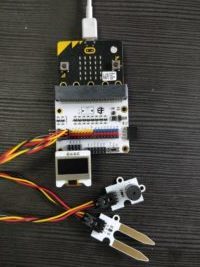
Pin Layout
- Buzzer: Pin0
- Soil Moisture Sensor: Pin1
- OLED: I2C row (at the bottom of the BoB)
Get Creative!
Mix and match the component in the Tinker Kit to create your own projects.
For a more comprehensive explanation of MicroPython, visit the official documentation here