Case 01 Drive forward
Introduction
This course is designed to introduce students to the concepts of graphical programming and encoder motors. Students will learn how to write programs to control the speed of the two wheels of the cart using the Cutebot Pro.
Teaching objectives
Understand basic robot control concepts
Teaching preparation
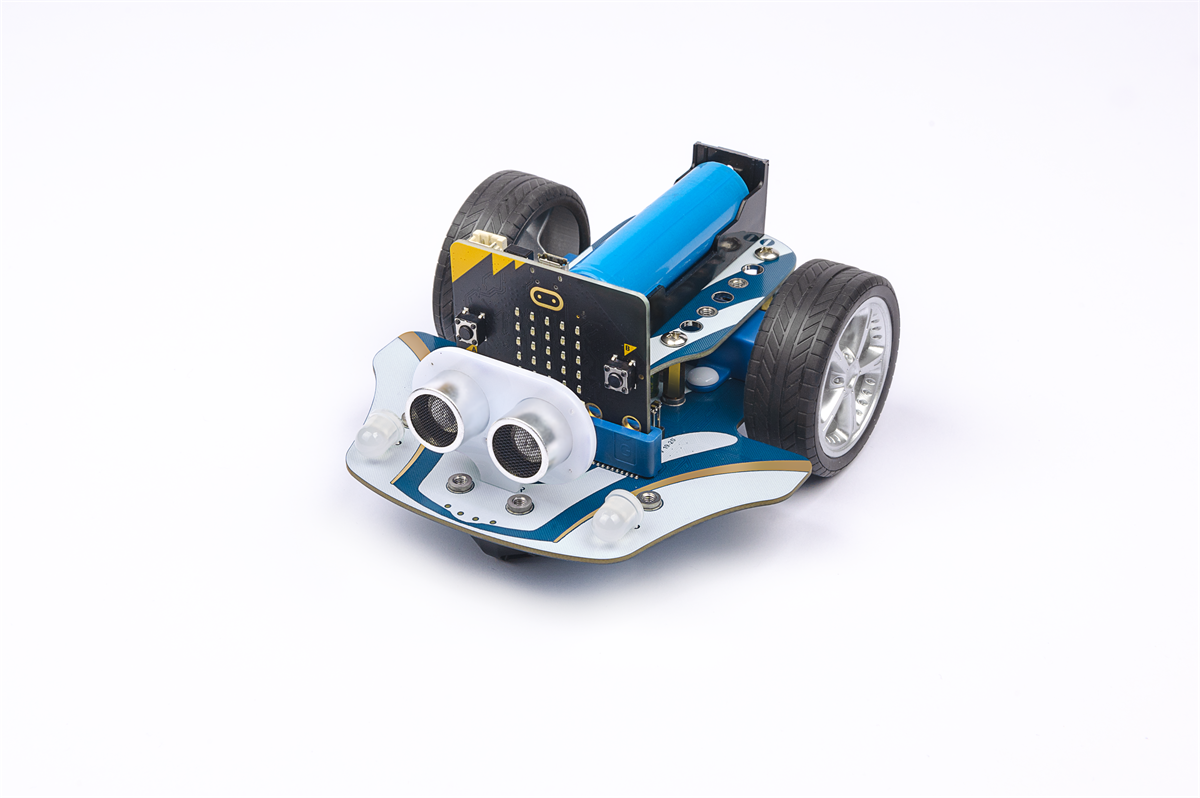
Cutebot Pro × 1 micro:bit × 1
Teaching process
Introduce
In this lesson, we will explore together how to control a Cutebot Pro forward through a graphical program. Have you ever wondered how to use programming to control a smart racing car? Programming is a way of getting a computer or robot to perform a task according to our instructions. Today, we will learn how to use graphical programming to control the Cutebot Pro.
Now, let's start this fun learning journey together! Ready to explore the world of graphical programming with the Cutebot Pro?
Exploration
How do you write a simple program to move the car forward?
What effect does adjusting the parameters for speed and travel time have on the movement of the trolley?
Can the trolley be programmed to do anything other than move forward?
Samples

Reference: https://makecode.microbit.org/_XD8U42Lwc83W
You may download it directly below:
Teamwork and demonstration
Students break into small groups and work together to build and program the carts.
Students are encouraged to collaborate, communicate and share their experiences with each other.
Each group will have the opportunity to show and demonstrate the smart car they have made to the other groups.
Conclusion and reflection
Review the content of the lesson and remind students what knowledge and skills they have acquired.
Lead students to discuss the problems and difficulties they encountered during the production process and how they solved them.
Lead students to think about areas of optimisation and improvement for the trolley, such as what other interesting examples can be made using Cutebot Pro.