Lesson 04 Photocell

Introduction:
The photodiode is a semiconductor device that converts light energy into electrical energy. In this experiment, we use a photodiode to control a micro:bit 5x5 LED screen to display a love icon.
Components List:
Hardware:
- 1 x micro:bit
- 1 x USB Cable
- 1 x micro:bit Breadboard Adapter
- 1 x Transparent Breadboard--83 x 55 mm
- 1 x Photodiode
- 1 x 10kΩ Resistor
- patchcords
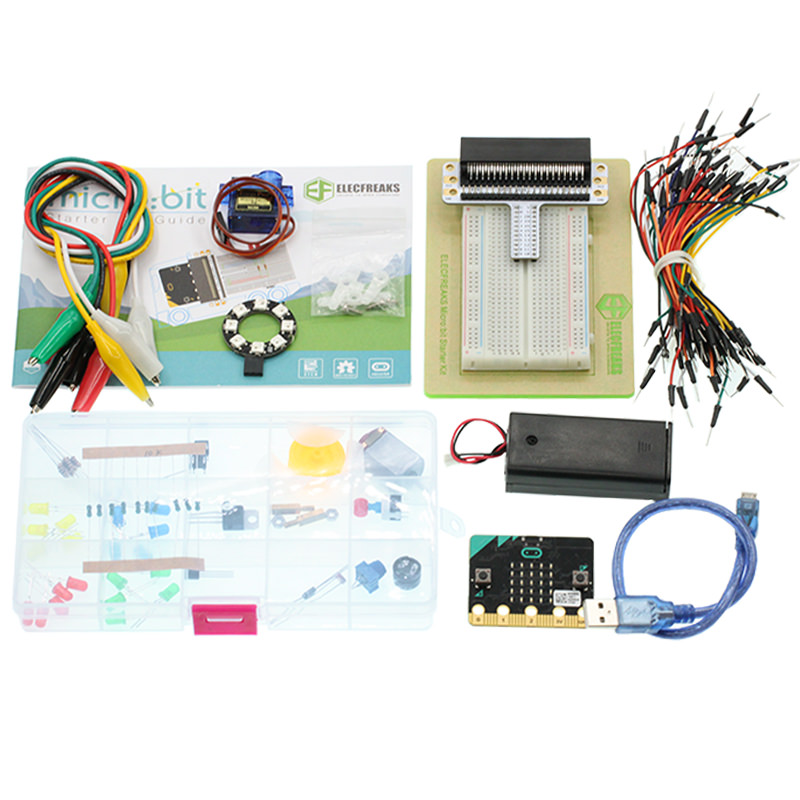
Tips: If you want to buy all components above, then you will need Elecfreaks micro:bit Starter Kit .
Major Components Introduction
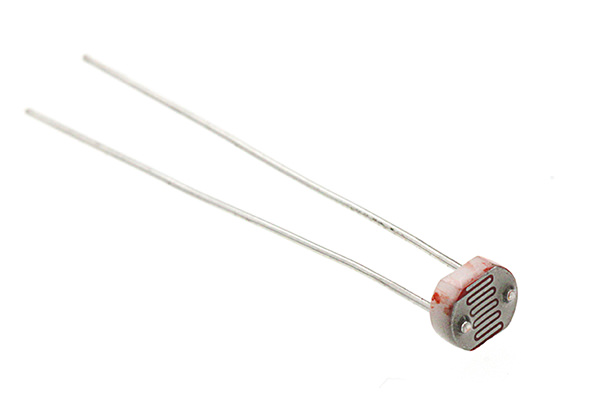
Photocell
Photodiodes are special resistors made of semiconductor materials such as CdS or CdSe, and their working principle is based on the internal photoelectric effect. The stronger the light, the lower the resistance value, with the increase in light intensity, the resistance value is rapidly reduced, the bright resistance value can be as small as 1KΩ or less. Photodiode is very sensitive to light, its in the absence of light, was a high resistance state, dark resistance is generally up to 1.5MΩ.
Experimental Procedure
Hardware Connection
Connect your components according to the picture below:
1.Connect the photodiode to the P0 port
2.Connect the 10kΩ resistor in parallel with the photodiode (note the orientation of the photodiode, the long end is positive)
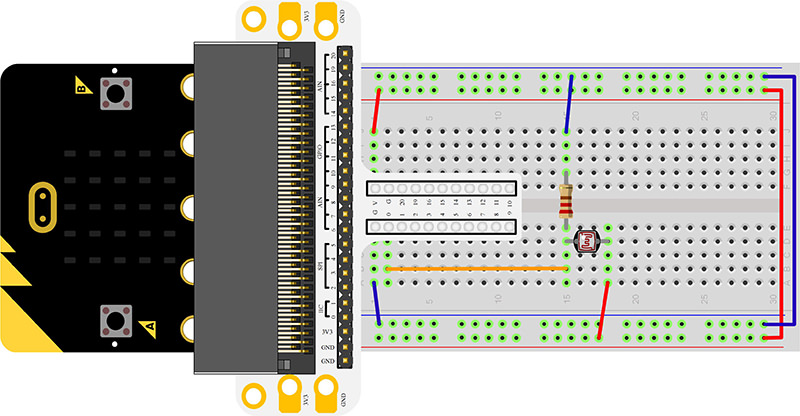
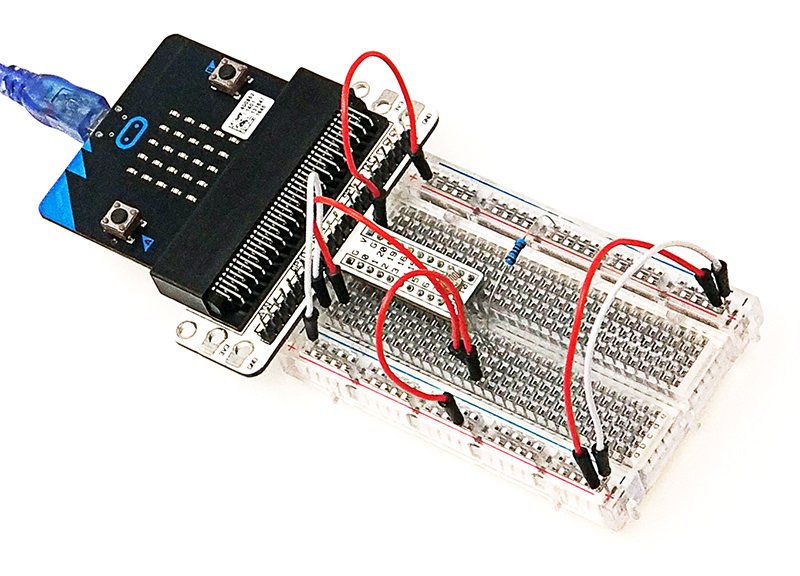
The connection is completed as shown:
Software Programming
Click to open Microsoft Makecode, write the following code in the editor.
Program as the picture shows:
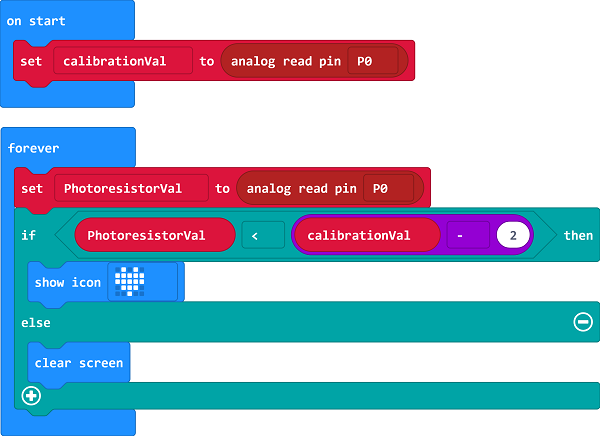
Details for the code:
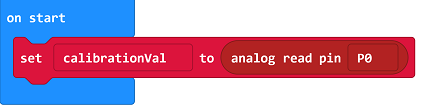
- 1.When the power is switched on, the analogue voltage is read as a reference value for the brightness.
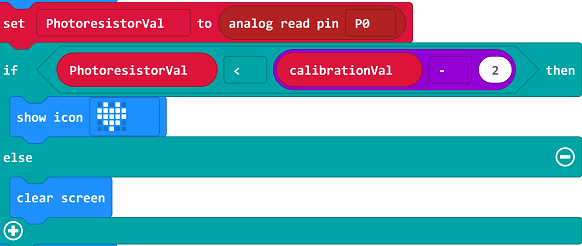
- 2.In the infinite loop block, the analogue voltage of P0 port is scanned cyclically. Once the current voltage value is lower than the reference value minus 2 (indicating that the light intensity becomes lower, the photoresistor resistance drops), it means that the light has been switched off, and at this time, a heart icon is displayed. calibrationVal-2 is used to adjust the sensing sensitivity, and the smaller the value is, the higher the sensitivity is.
Reference
Links:https://makecode.microbit.org/_3tFFoPhLF7hX
You can also download the links directly:
Result
When the lights are on, the micro:bit LED screen shows nothing; when the lights are off, the screen shows a heart icon.
Elploration
If we want to use a photodiode to control an LED on and off, how do we design the circuit and program it?